Everydays Project #392-405
Hello and welcome to the Wednesday Recap. I’m addicted to the Scatter tool recently so I used it for almost every image in this post. I also started using the AEC foliage tools to add trees to environments. In addition, Halloween was a couple of days ago, so I tried to stay in theme for at least the week leading up with some themed images. Enjoy!
#392: Inverted Granite
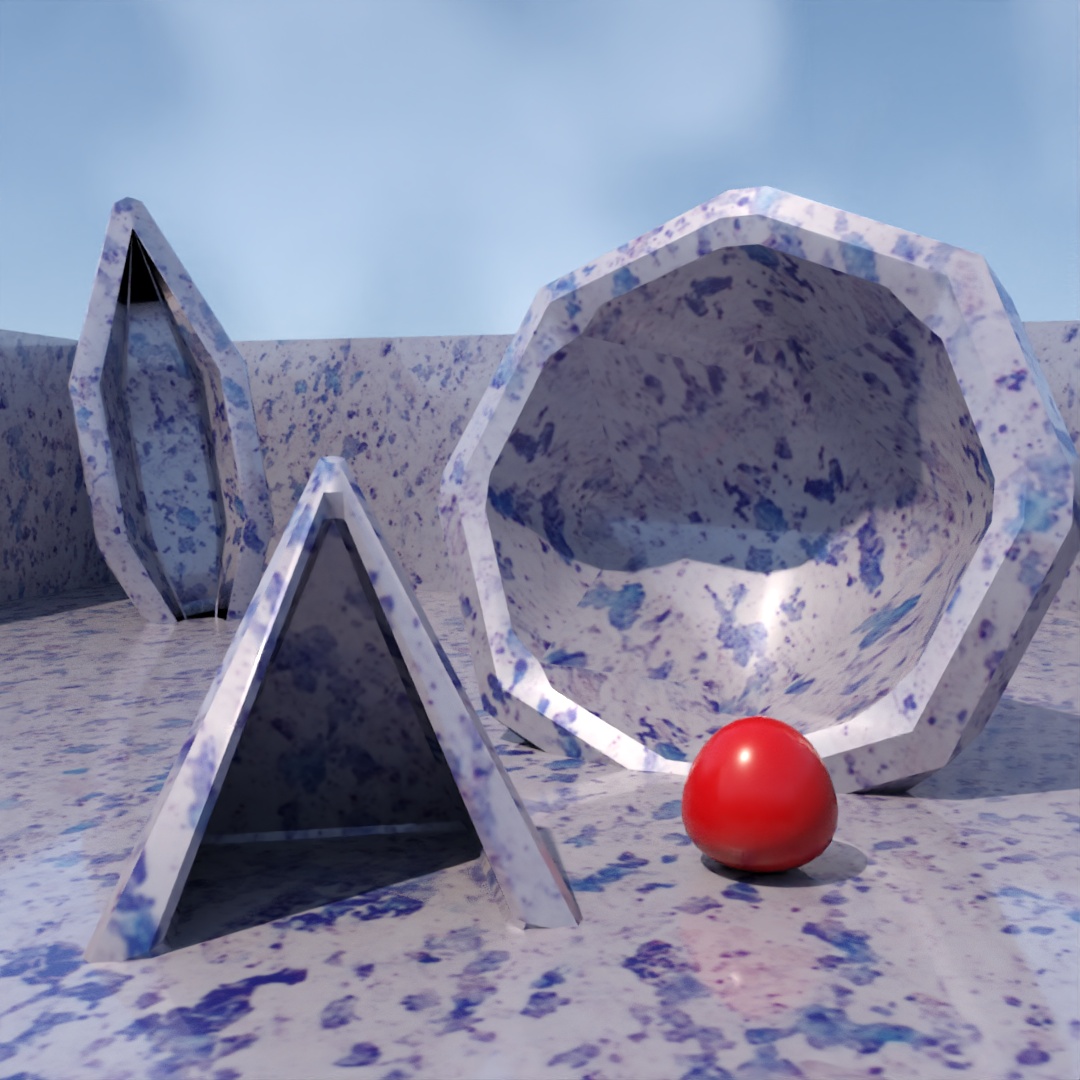
This was a pretty rushed image. All three large shapes (spindle, pyramid and geosphere) have Slice and Shell modifiers applied to them. The ball is a sphere with a Squeeze modifier. The ball has a red glossy plastic material. For everything else, I started out with the default Polished Granite material and inverted the color map in the bitmap output settings.
#393: Automation Knight
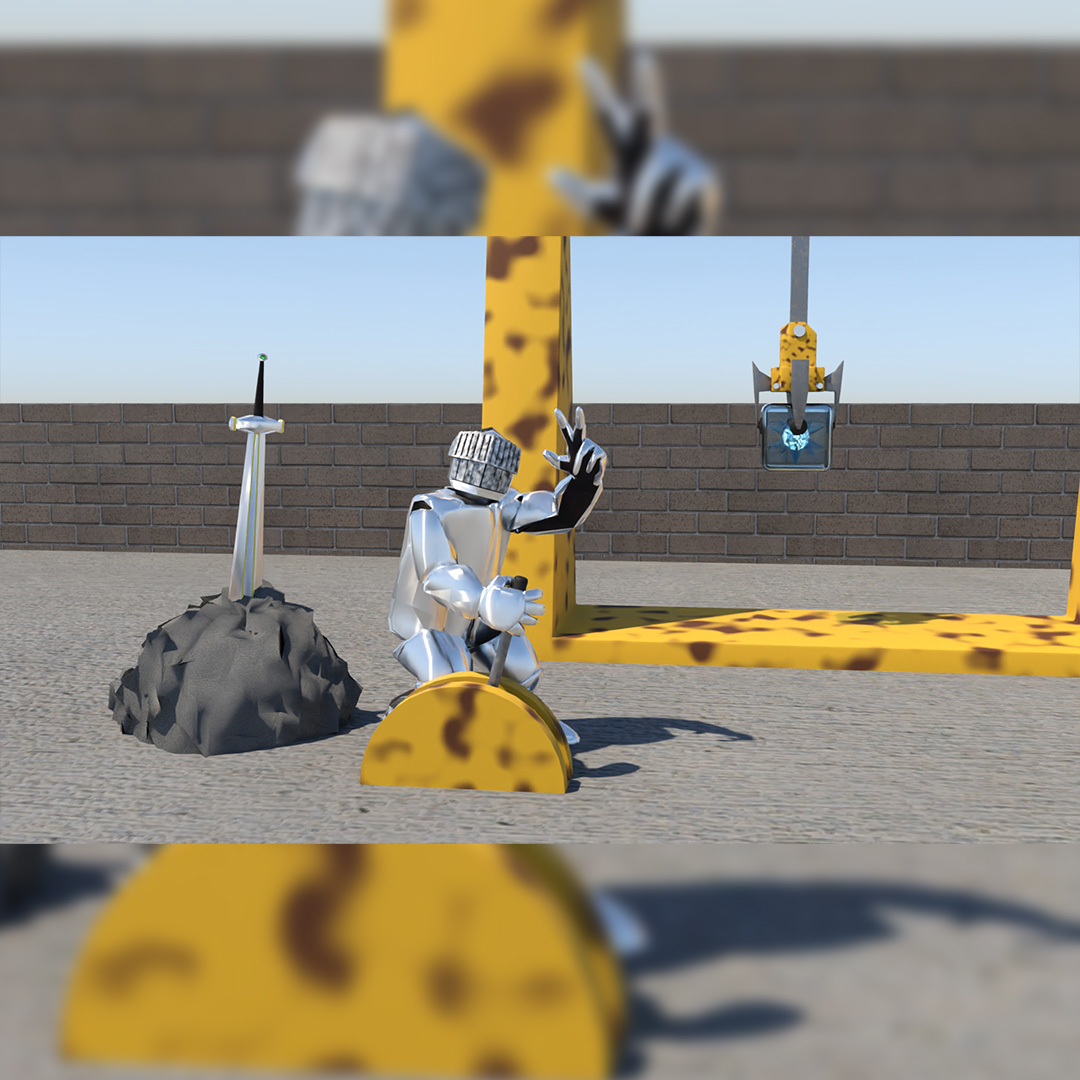
More of the character development for my capstone project. The brave knight has set aside his sword to take up a loading yard job, pulling the levers to work the machines. He is a master of automation.
#394: Floaty Boxes
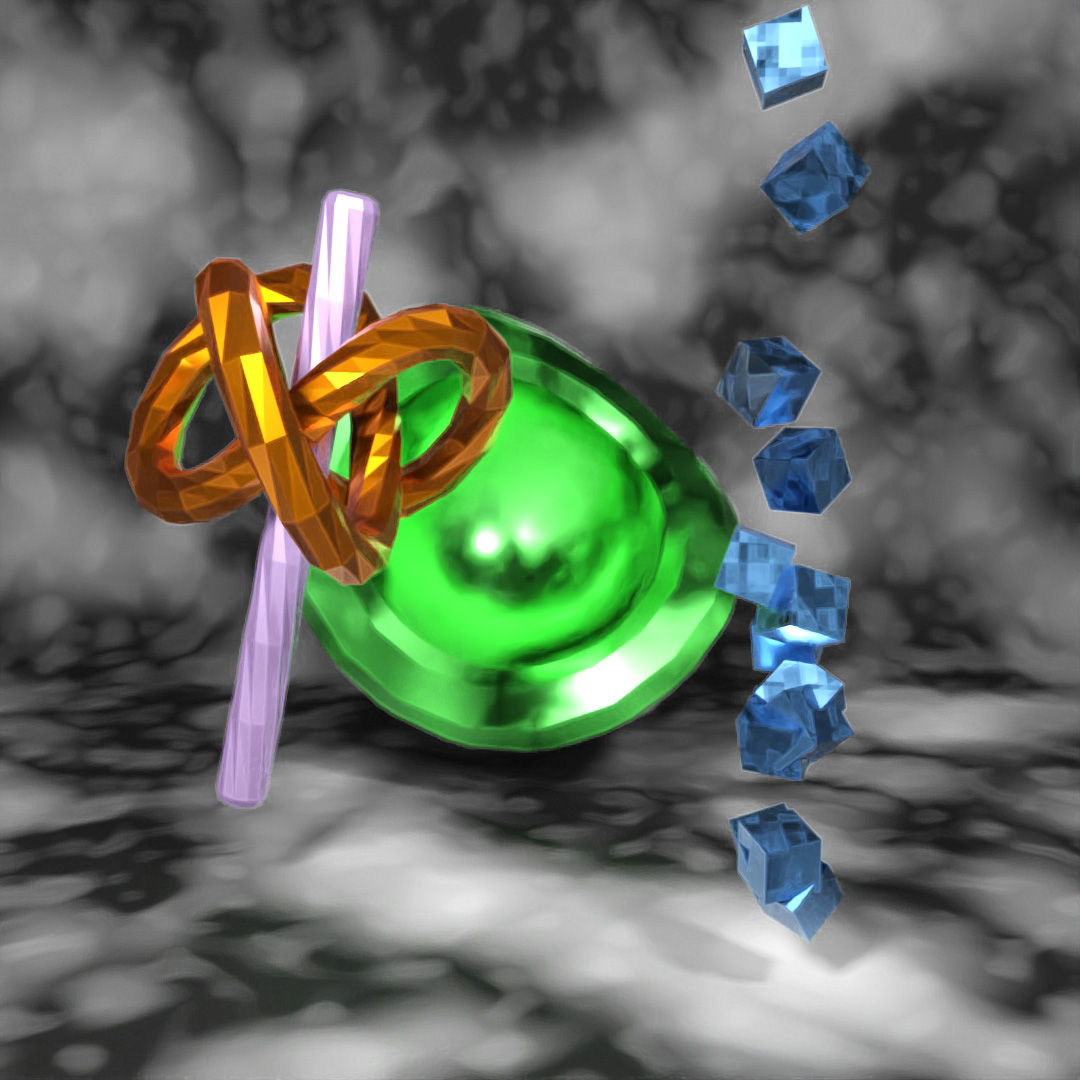
A creation of 4 shapes. The center shape starts out as a geosphere with the hemisphere box checked. I used Edit Poly to remove the flat faces from the middle. Then used a Shell modifier, a Chamfer modifier and a Twist modifier. For the material, I started with stained copper and changed the base color to bright green.

The other shapes are much simpler. The rod is a chamfer cylinder with the Smooth setting turned off and a Twist modifier applied to it. The knot shape is a torus knot with P=2, Q=3 and all smoothing turned off. Both of these objects have materials that were default brushed metal with different colors applied. The boxes are a simple 3″ box duplicated and randomly distributed along the z-axis using Scatter. The boxes have a material that started as stained copper but I changed the color to blue and the noise map that controls the roughness to a Cell noise map instead of the default Uperlin noise map.
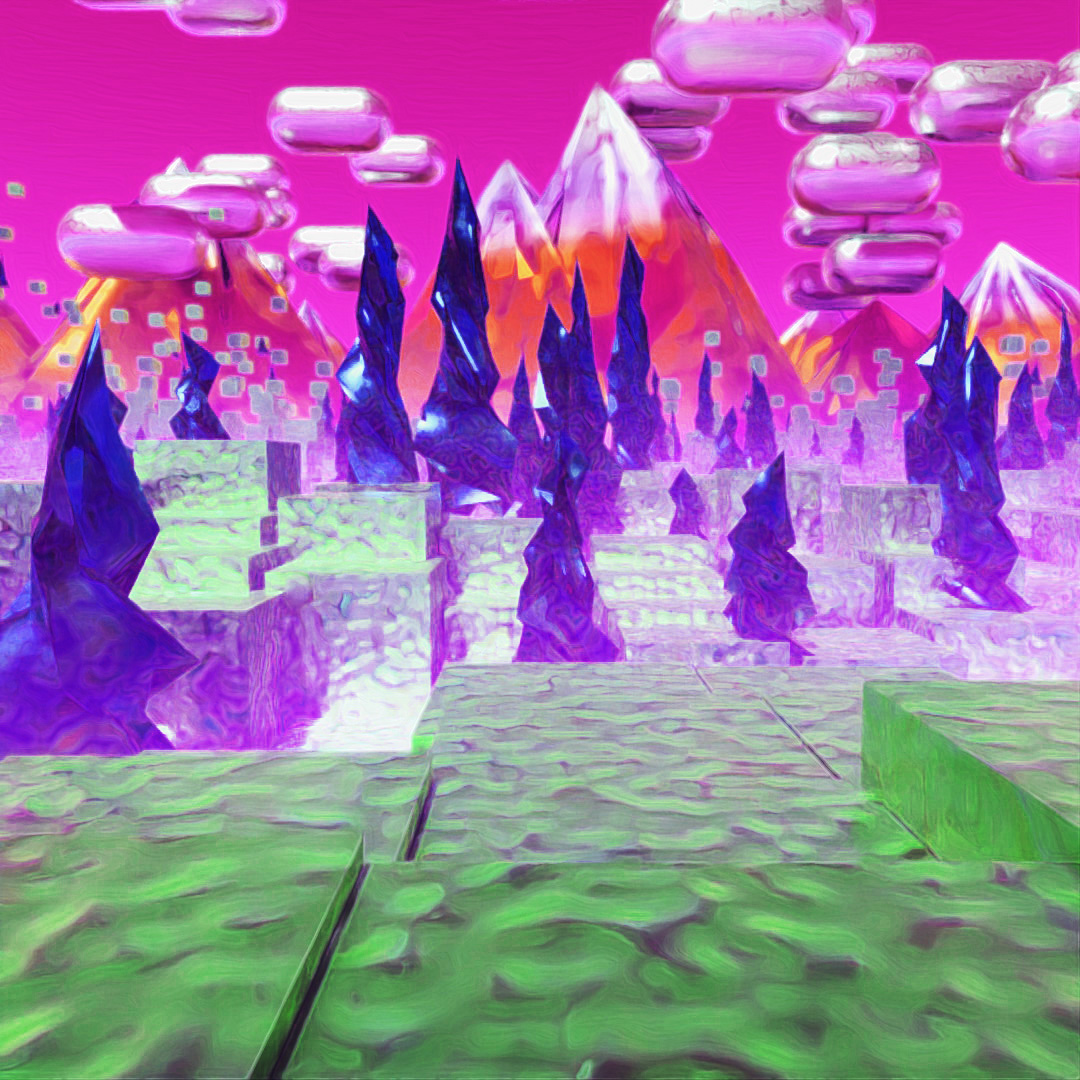
#395: ScatterLand
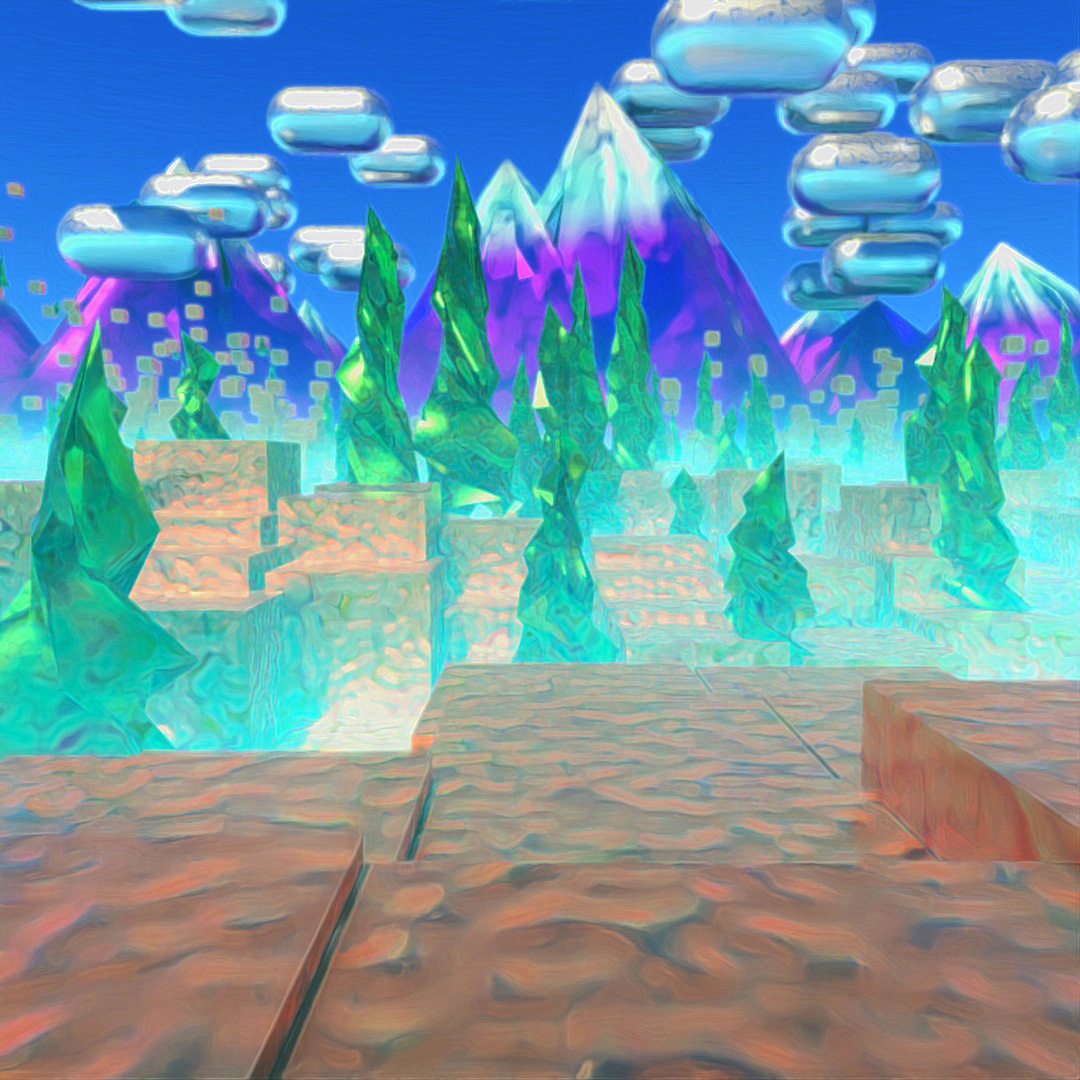
Everything in this scene is made using the Scatter tool. To make the ground, I started with a large plane, applied a Noise modifier to it and used Edit Poly to scale up the noise and coordinates at the end of the plane farthest from the camera. Then I used this plane to Scatter the ground boxes and the trees (which are pyramids with Twist modifiers). The trees have vertex chaos at 15% and randomized scaling at x:25%, y:25% and z:50%.
The clouds are a capsule shape with Scatter local translation used to randomly distribute them in X, Y and Z directions. The mountains are a large pyramid duplicated and distributed only in x and y directions, vertex chaos at 250% and random scaling at x:25%, y:25% and z:75%. I rendered a few different versions using different values for the Fog environment material and Depth of Field turned on and with different aperture values. I layered them together and I played around with the Hue and Saturation settings in Photoshop to make the main image and an alternate colored version.
#396: Egg-splosion
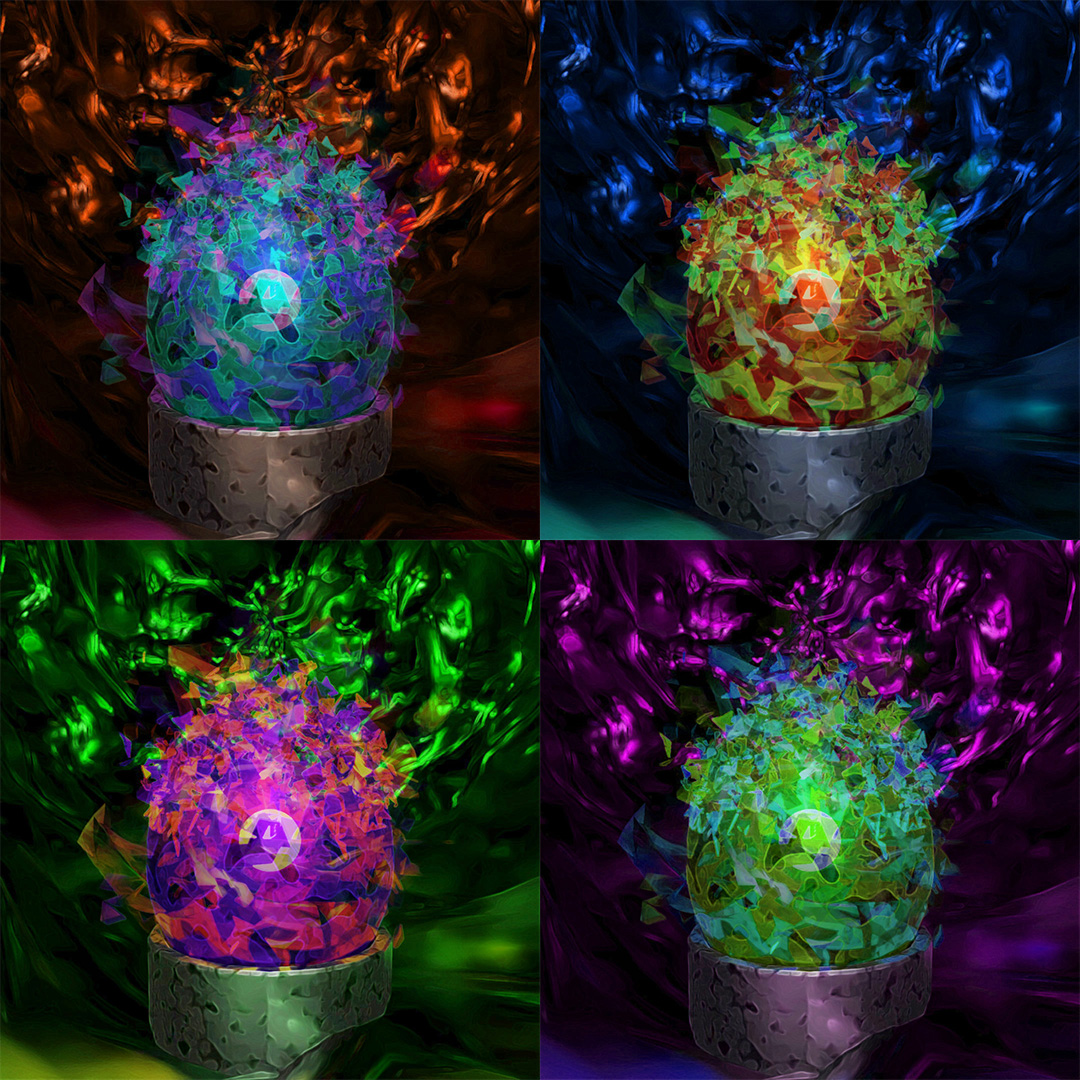
To create the egg, I started with a Geosphere and used Edit Poly to stretch it vertically into an egg shape. I then used a mesh bomb to simulate the egg exploding. After simulating the bomb, I placed the rest of the environment: a tube for the center stand, a large capsule with a Noise modifier for the surroundings and a light in the center of the egg. Then I rendered a few different versions at frames 0, 1 and 2. I toggled the Motion Blur checkbox for some of the images.

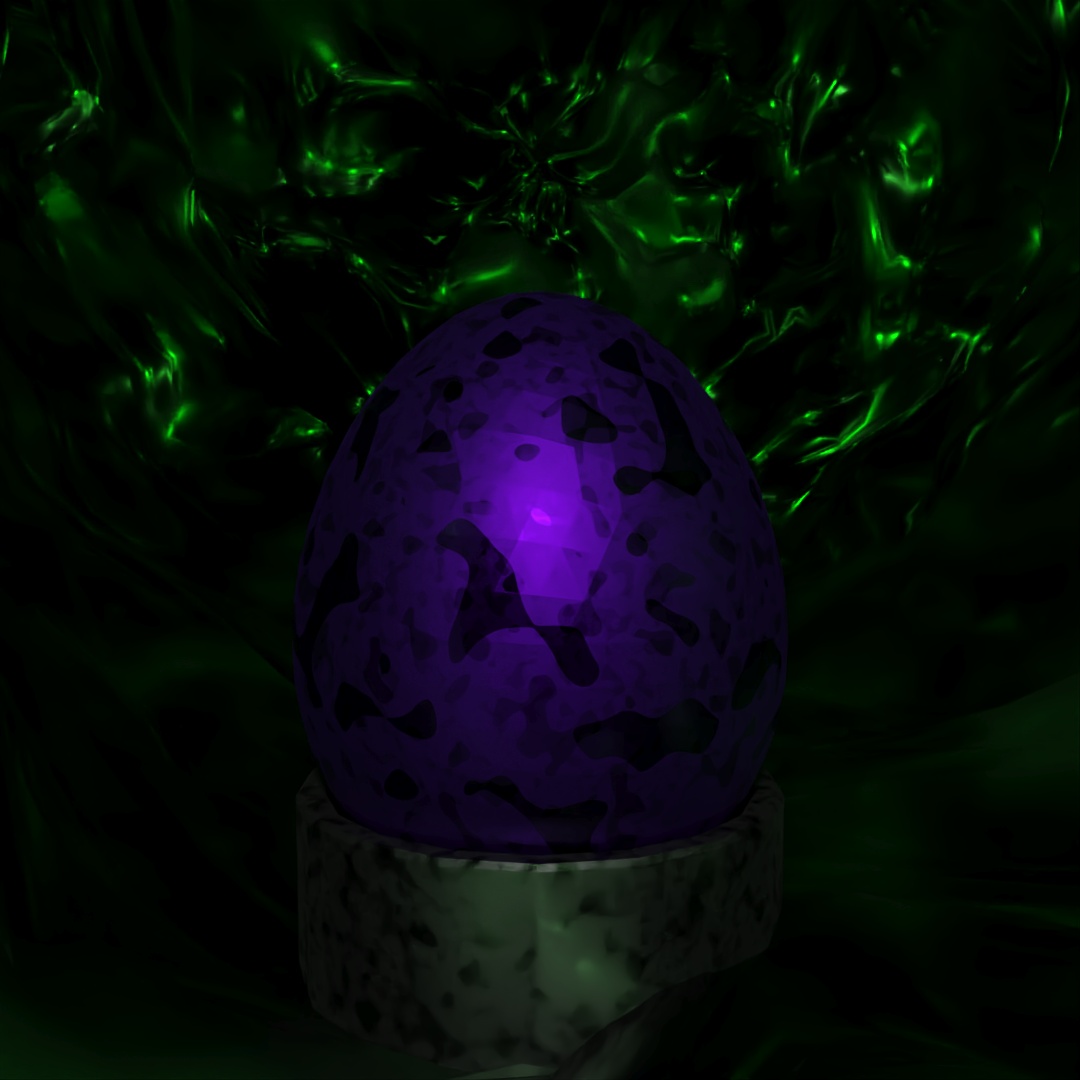

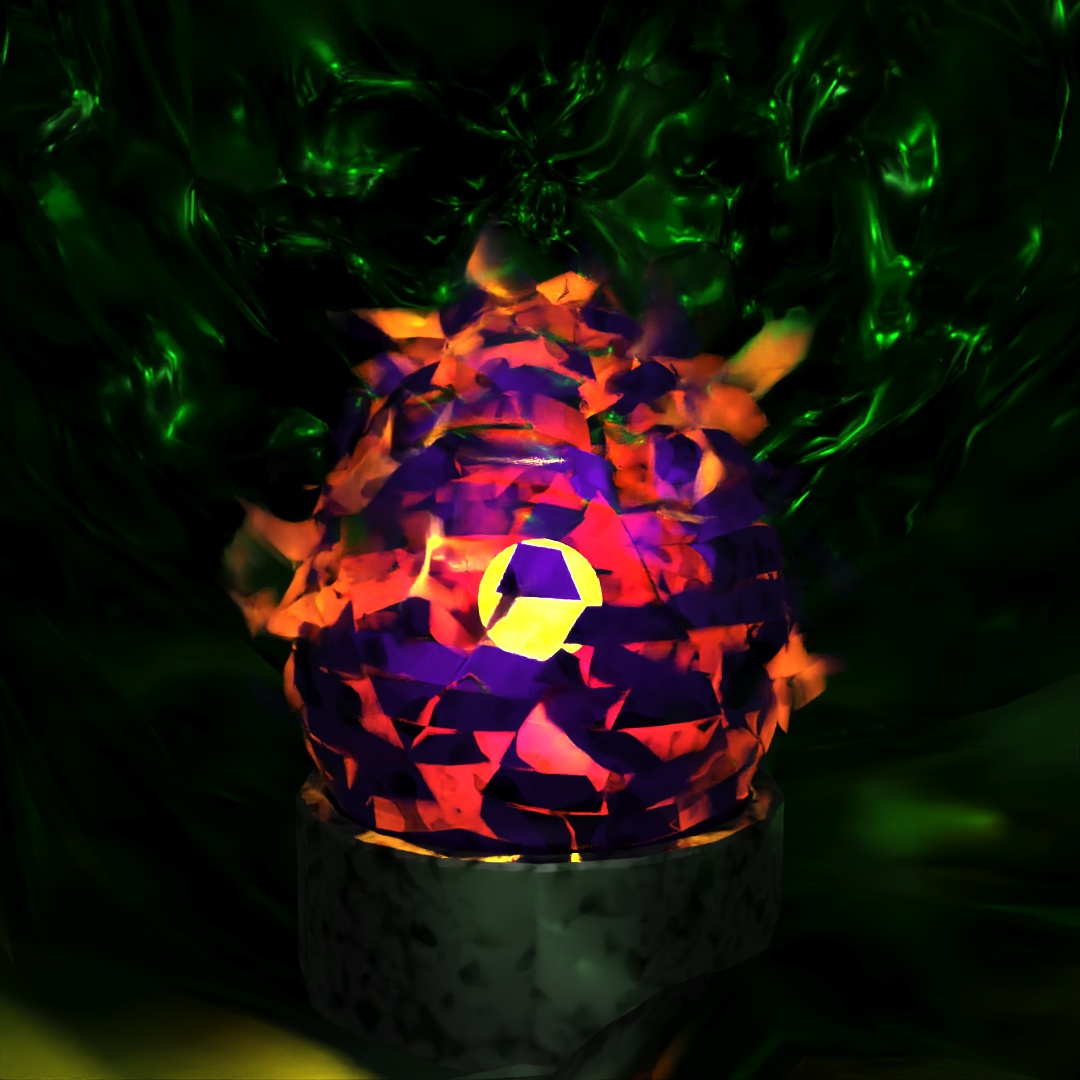

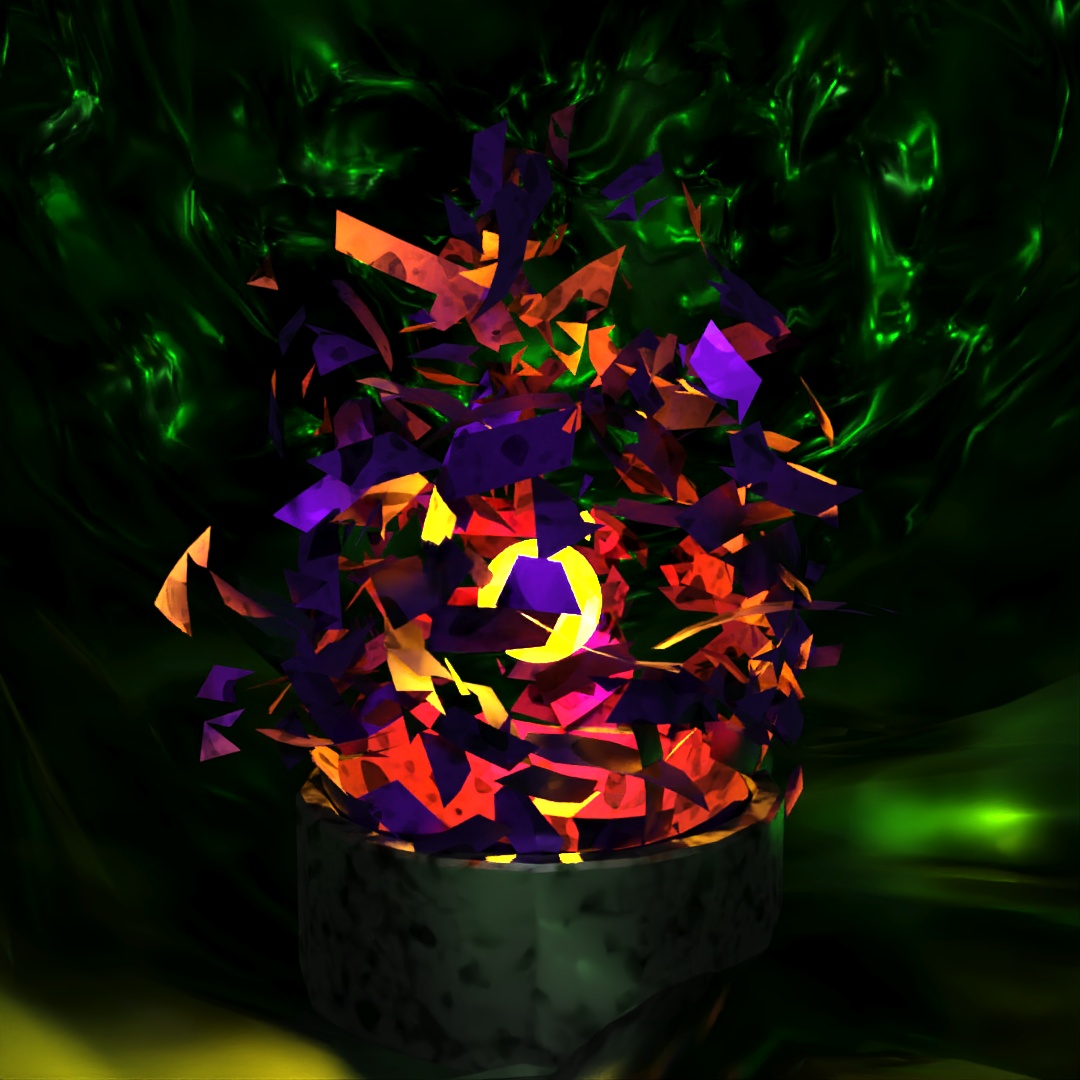
Then in Photoshop, I layered them all together and played with the Hue and Saturation settings to make 4 different versions.
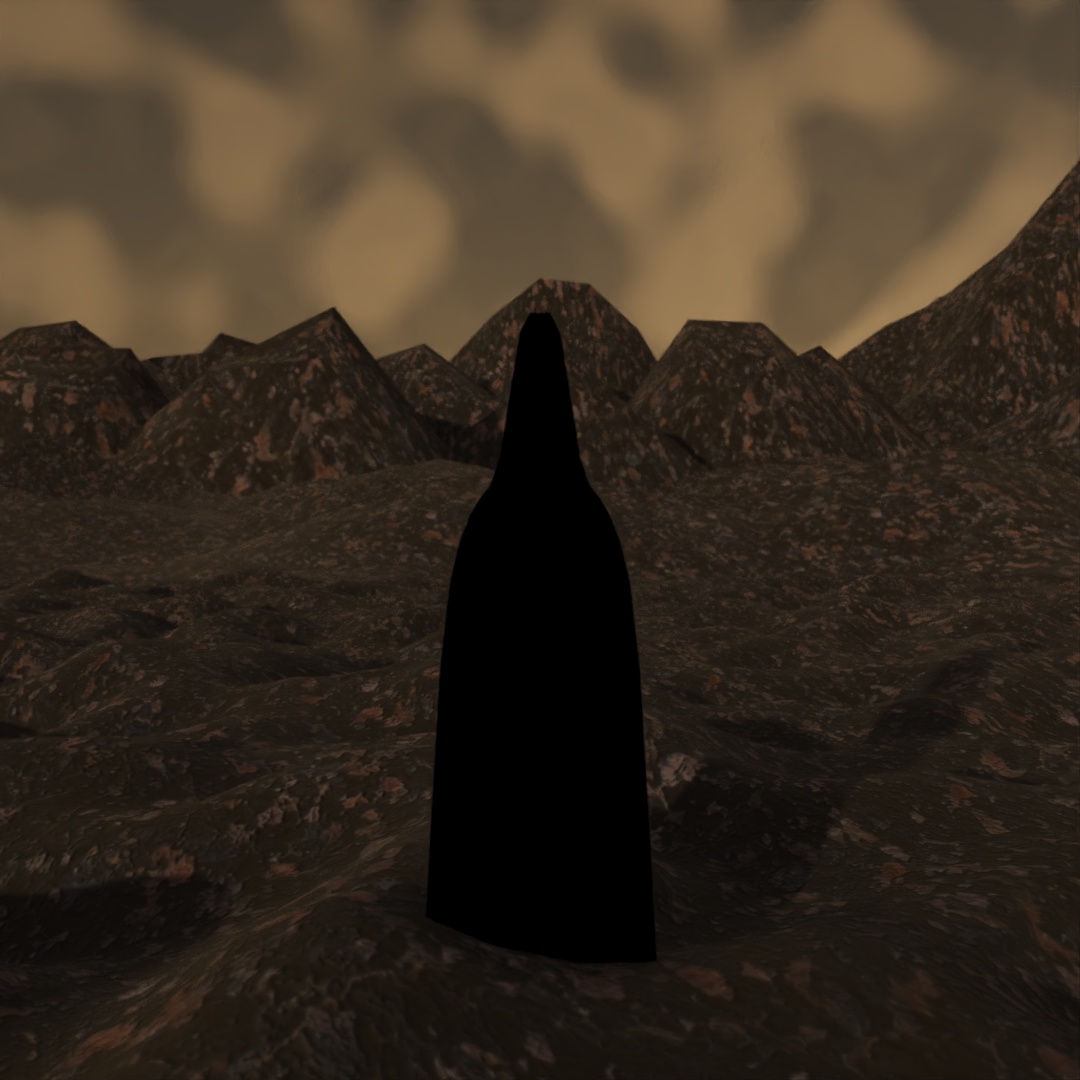
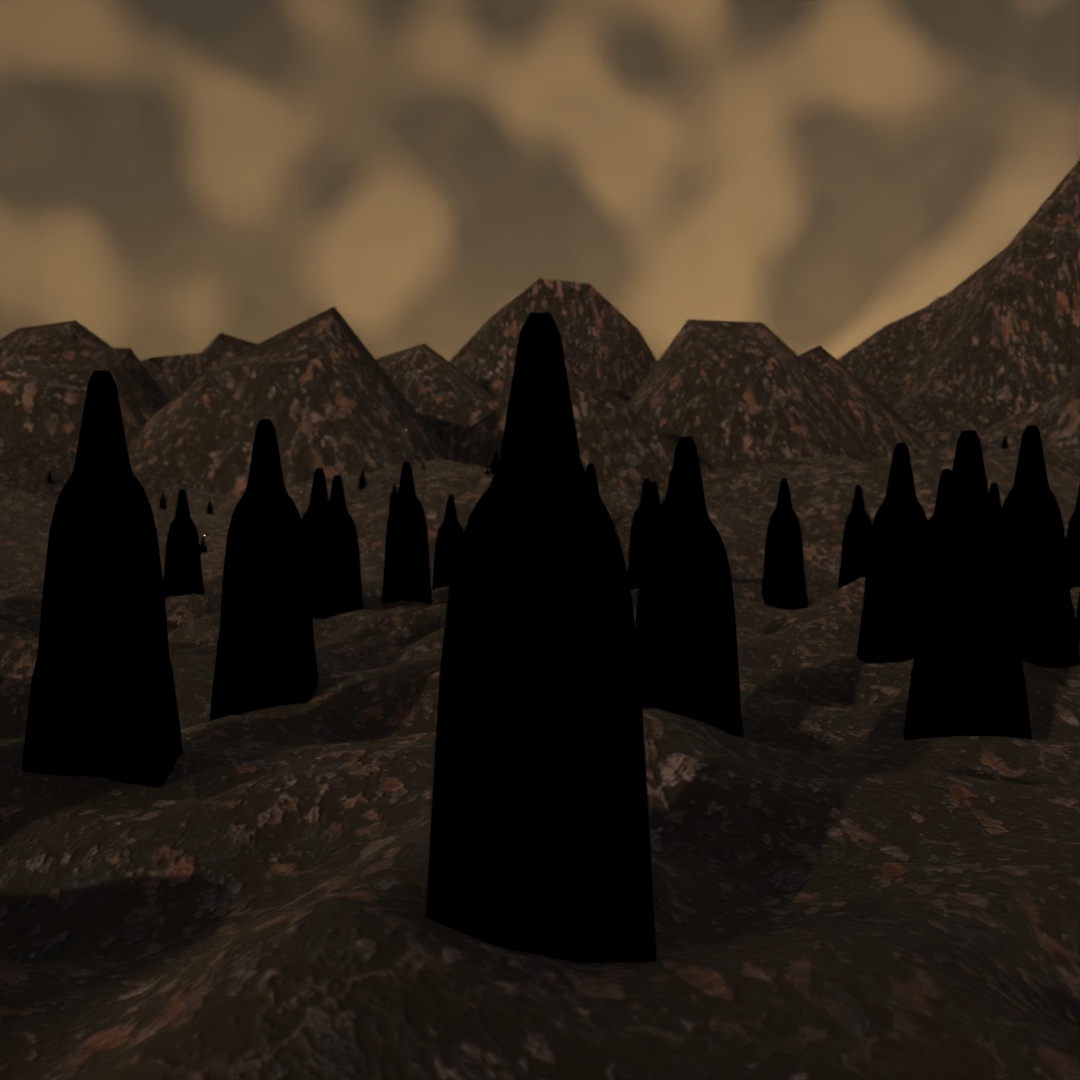
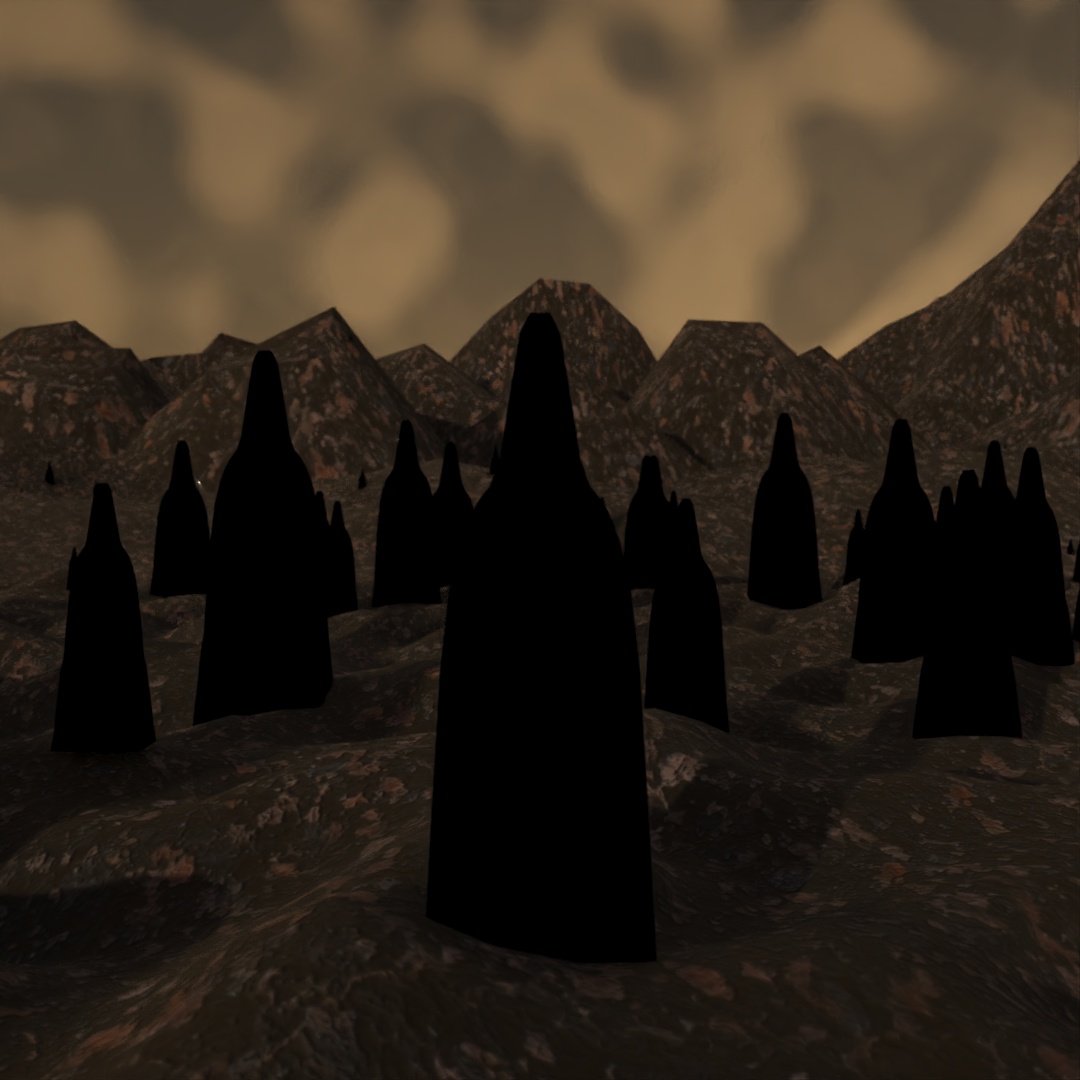
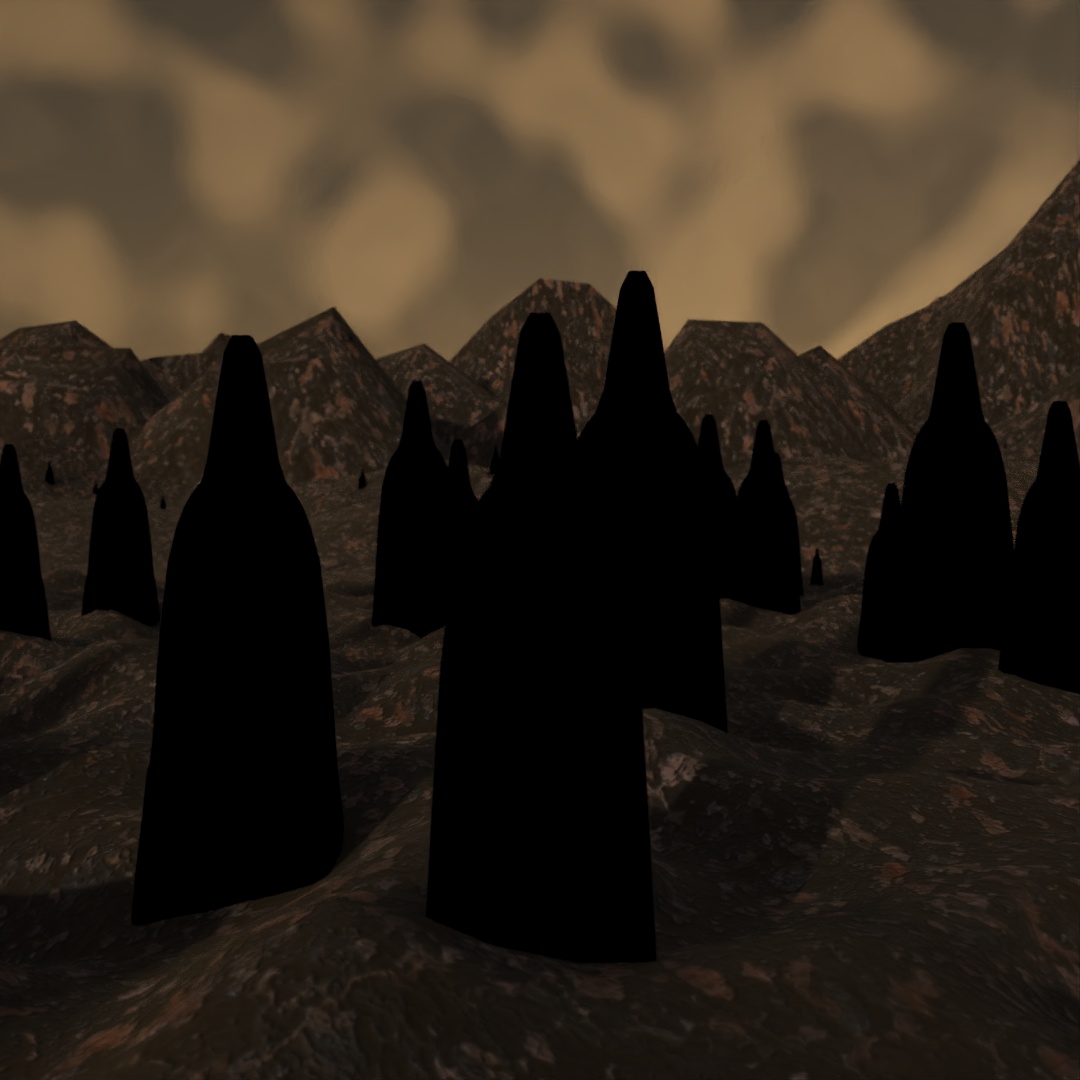
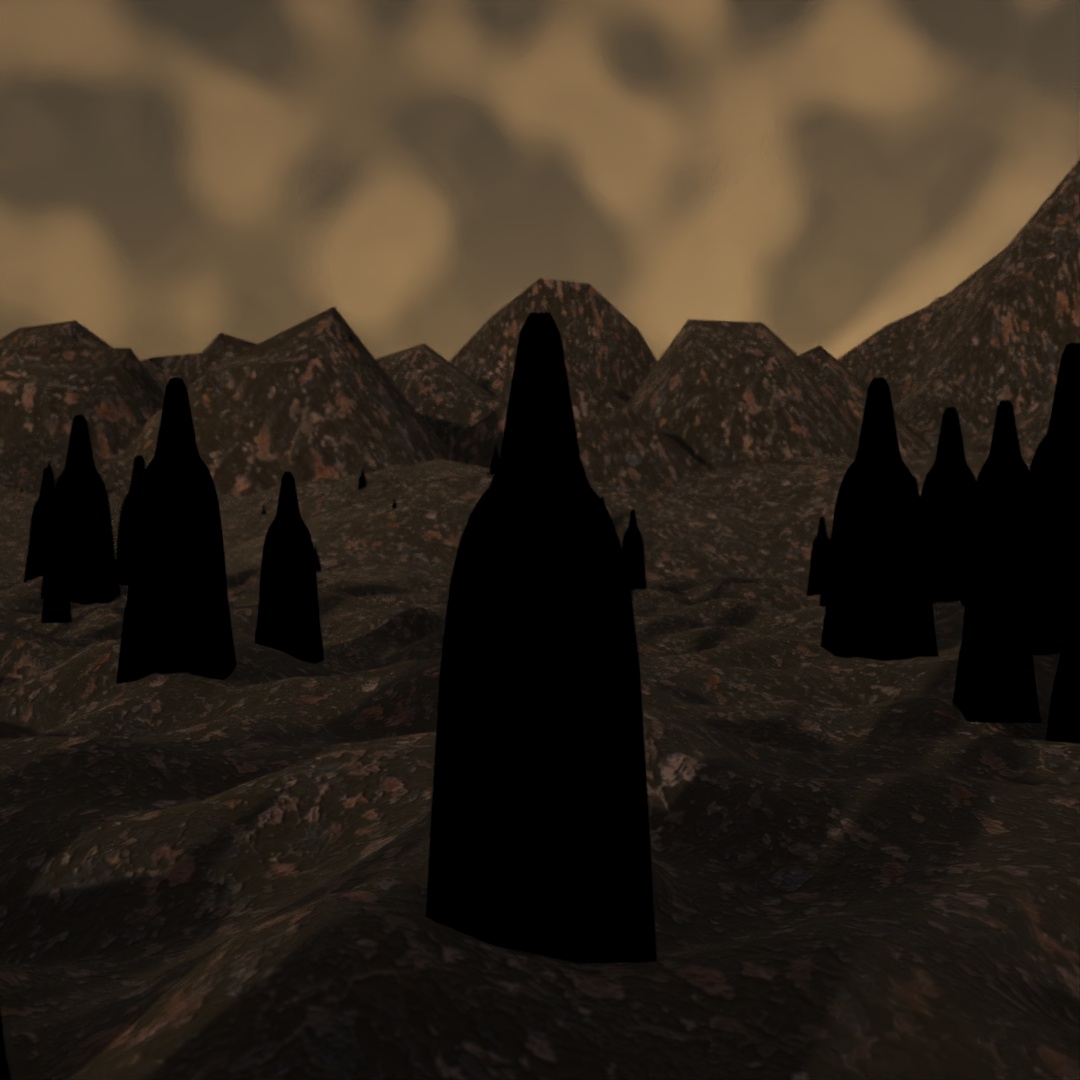
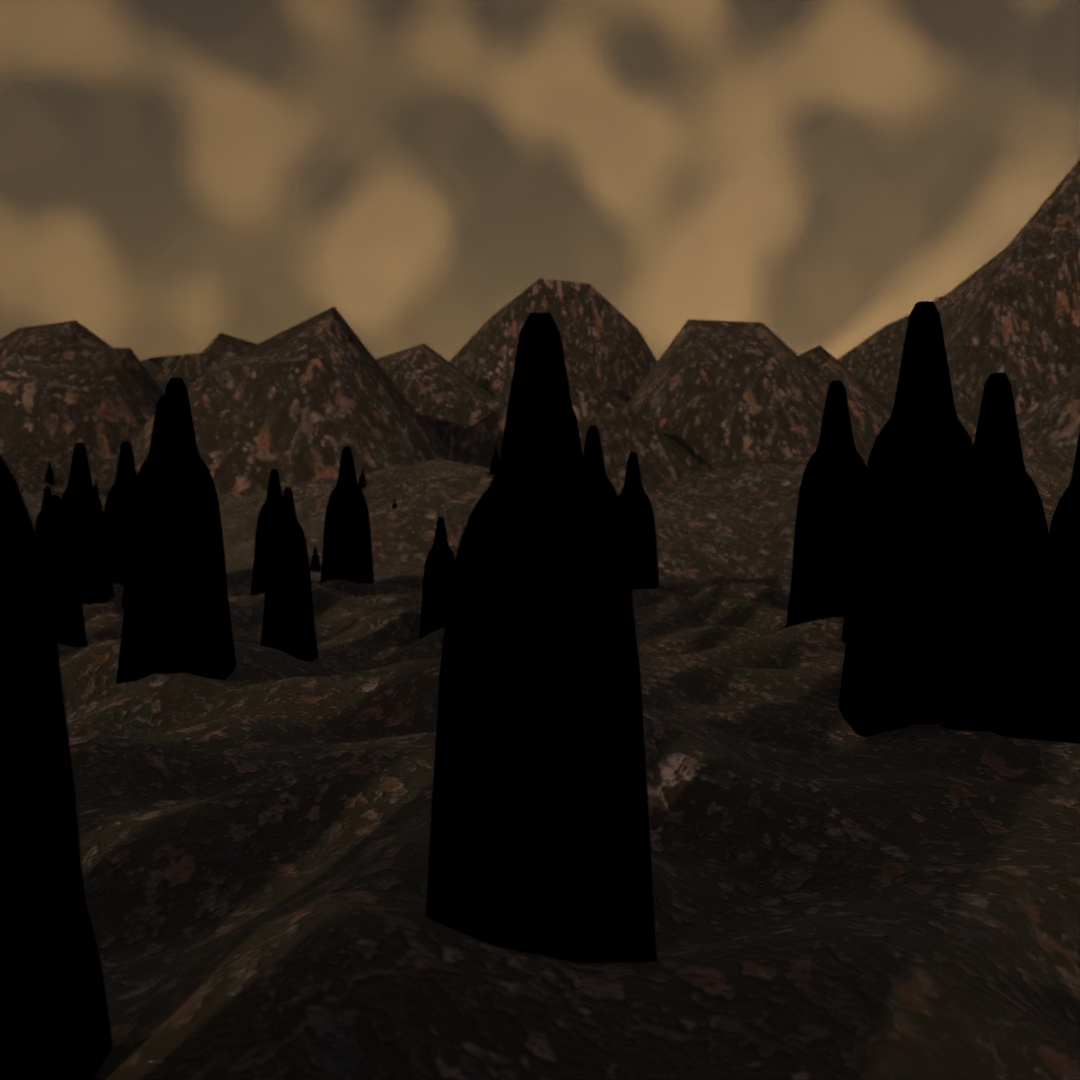
#397: Shadow Folk
I decided to make some Halloween-themed images for the seven days leading up to the holiday so this was day 1. To make this image, I used Scatter to distribute and scale the Shadow shape across the ground plane. Then I rendered a few versions, changing the seed for the Scatter tool each time. Then I layered them together in Photoshop with varying opacity to make them look ghost-like.
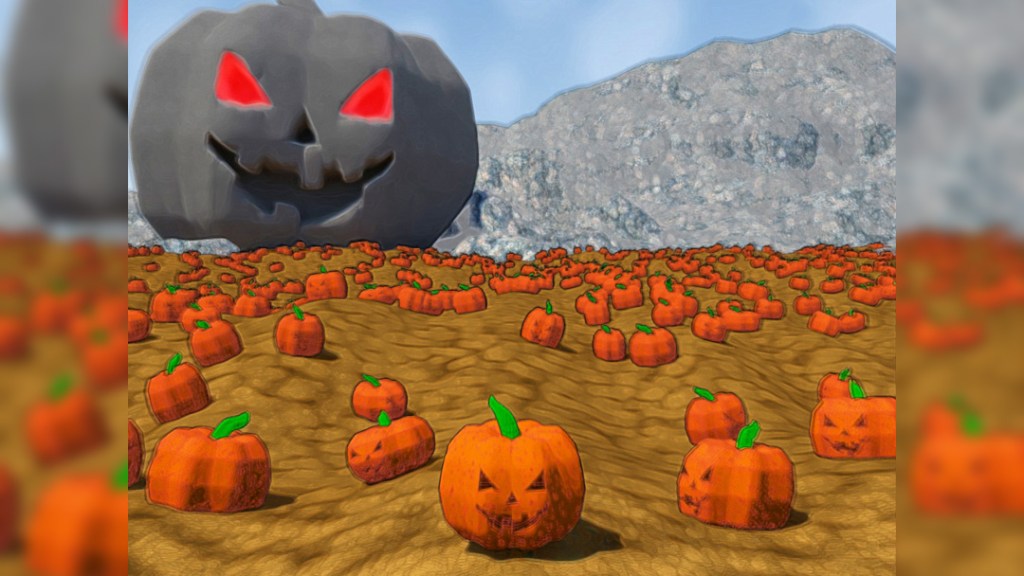
#398: The Greatest Pumpkin
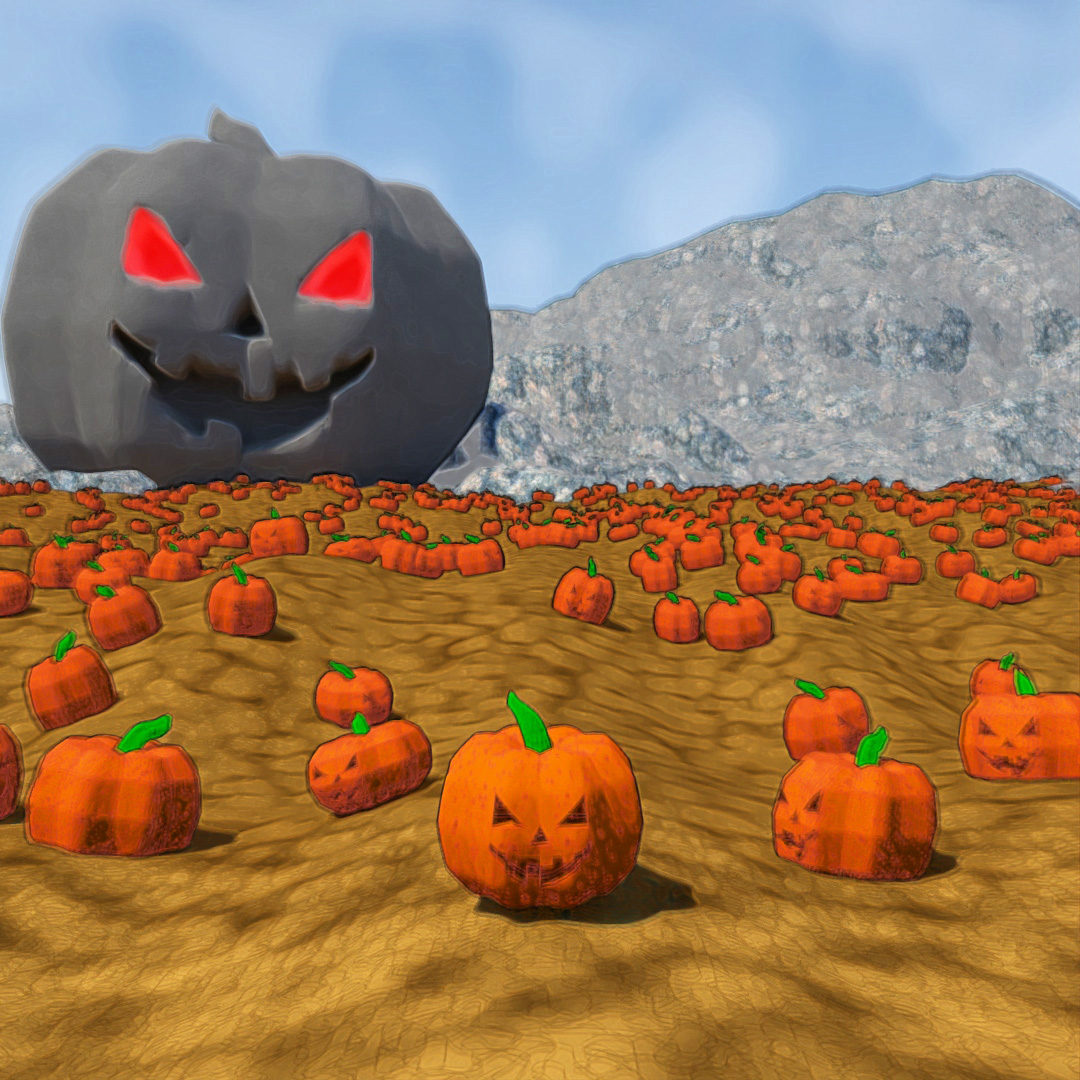
I started out with a sphere and used Edit Poly to squash the top and bottom and give it the ridged appearance by bringing in some of the outer vertices. Then I applied Tesselate and Turbosmooth to make it less blocky. The stem is a cone with Bend, Noise and Turbosmooth modifiers. I made the eyes and nose shapes out of prisms and the smile is a box with Edit Poly used to make it the right shape. Then I used Boolean to subtract the face shapes from the pumpkin shape and Edit Poly to attach the stem. Then I used the Scatter tool to duplicate, scale, rotate and distribute the jack-o-lanterns across the ground plane. The large pumpkin is the original pumpkin scaled up with Edit Poly and the OpenSubdiv modifier applied to it.

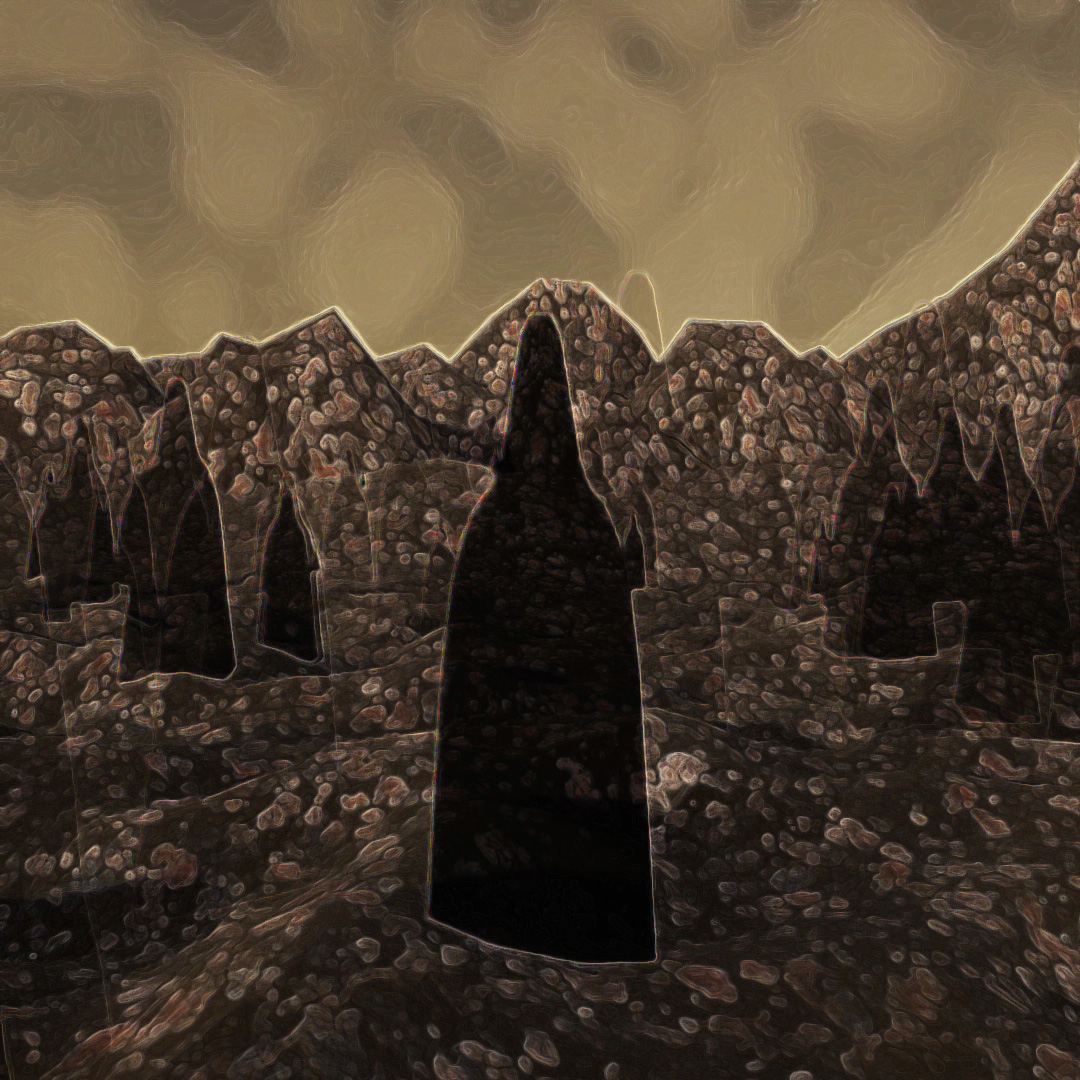
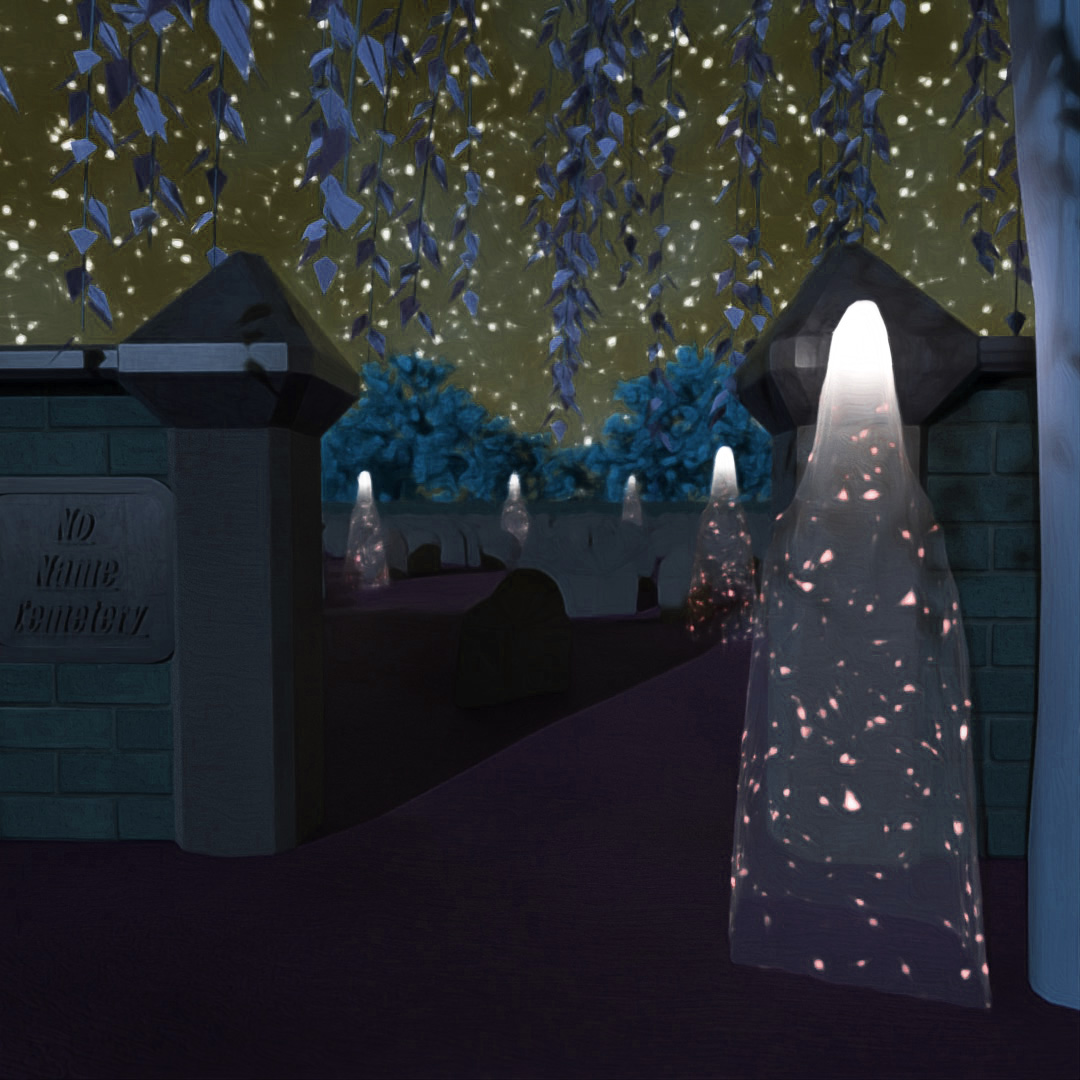
#399: Spirits

Using the same shape from the Shadow Folk post, I applied a glass material that I modified to have a Uperlin noise map for emission. I added a light inside the top of each spirit shape. I made a headstone by starting with half a cylinder, using Edit Poly to extend the flat faces downward and applying Tesselate and Noise modifiers. I used Scatter to place scaled and rotated headstones around the inside of the cemetery. I used some of the default AEC foliage to place trees around the environment. In photoshop, I increased the contrast to make the spirits glow more. I also adjusted the Hue settings to make a version that looks more like it’s in moonlight.
#400: The Forest is Watching
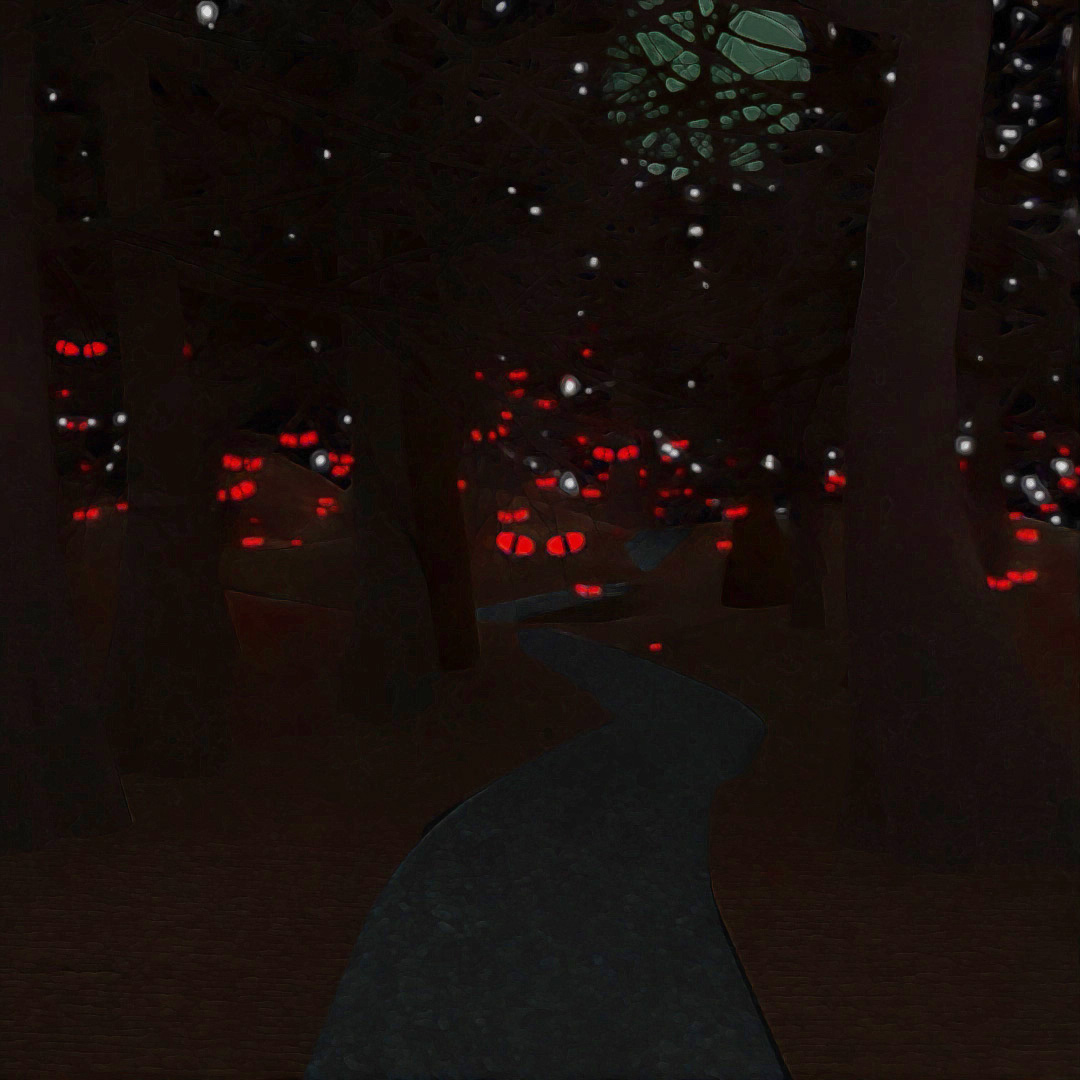
The eyes are made from spheres with slice turned on and Edit Mesh to make the edges glow and the middles dark black. The trees are the default General Tree in the AEC foliage tools. I used Scatter to place copies of the eyes around the scene and manually placed the trees in frame once I had positioned my camera. I rendered different versions with Depth of Field turned on and varying aperture values and layered them together in Photoshop.
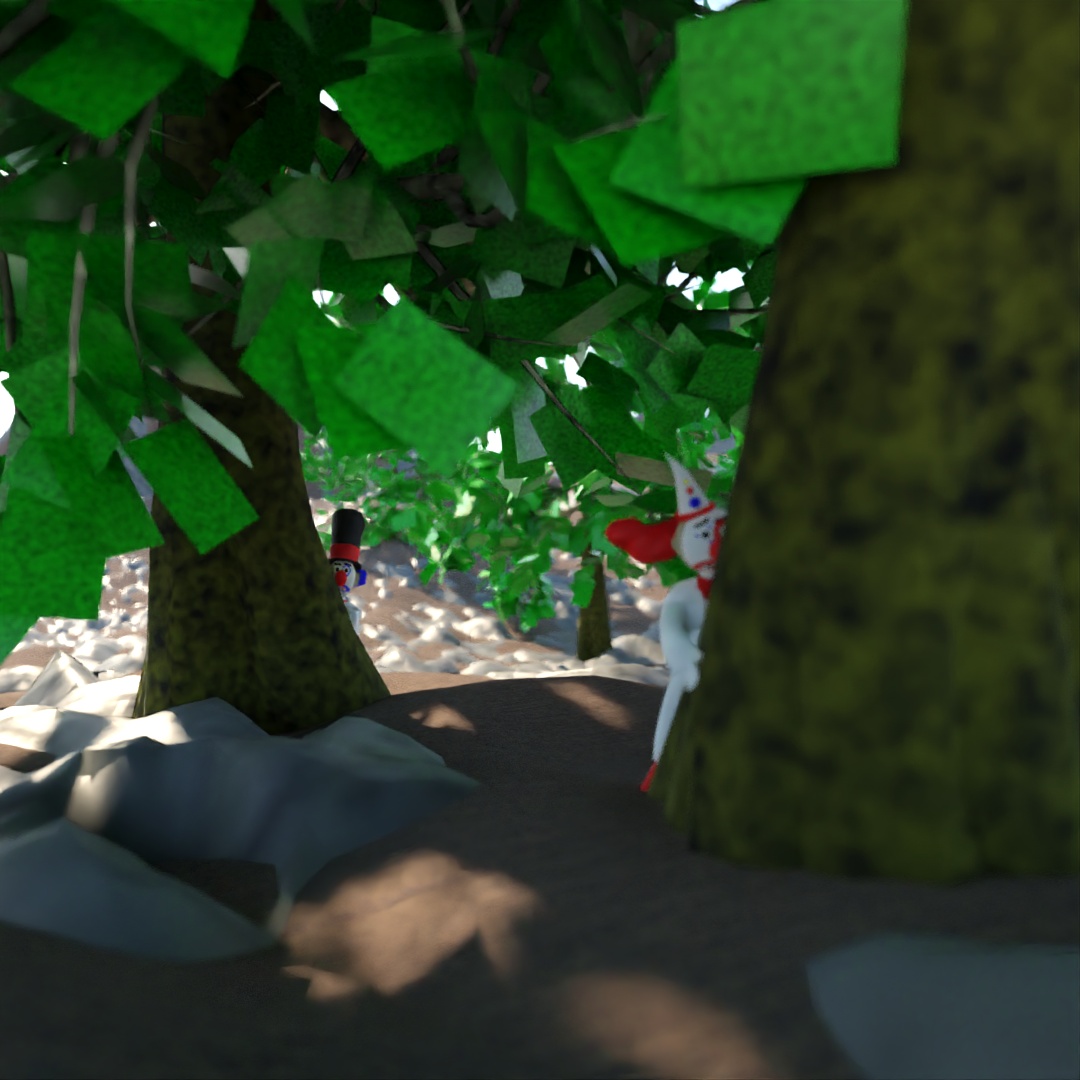
#401: Creeping Clowns

I used the AEC foliage General Oak trees and manually placed them throughout the scene. I placed my clowns behind them and altered their positions to look like they creepin’. Then I rendered one version with no Depth of Field, one version with the further clown in focus and one with the closer clown in focus. Layered all three together in Photoshop.


#402: Demon Knight

For this image I used the hell-scape environment from my “No Heroes” post last year. I modified my knight to have horns, a larger pointier helmet (not very apparent in this view) and a sword that looks more ominous. I also modified the materials to be darker and rougher.
#403: Vampire Blob
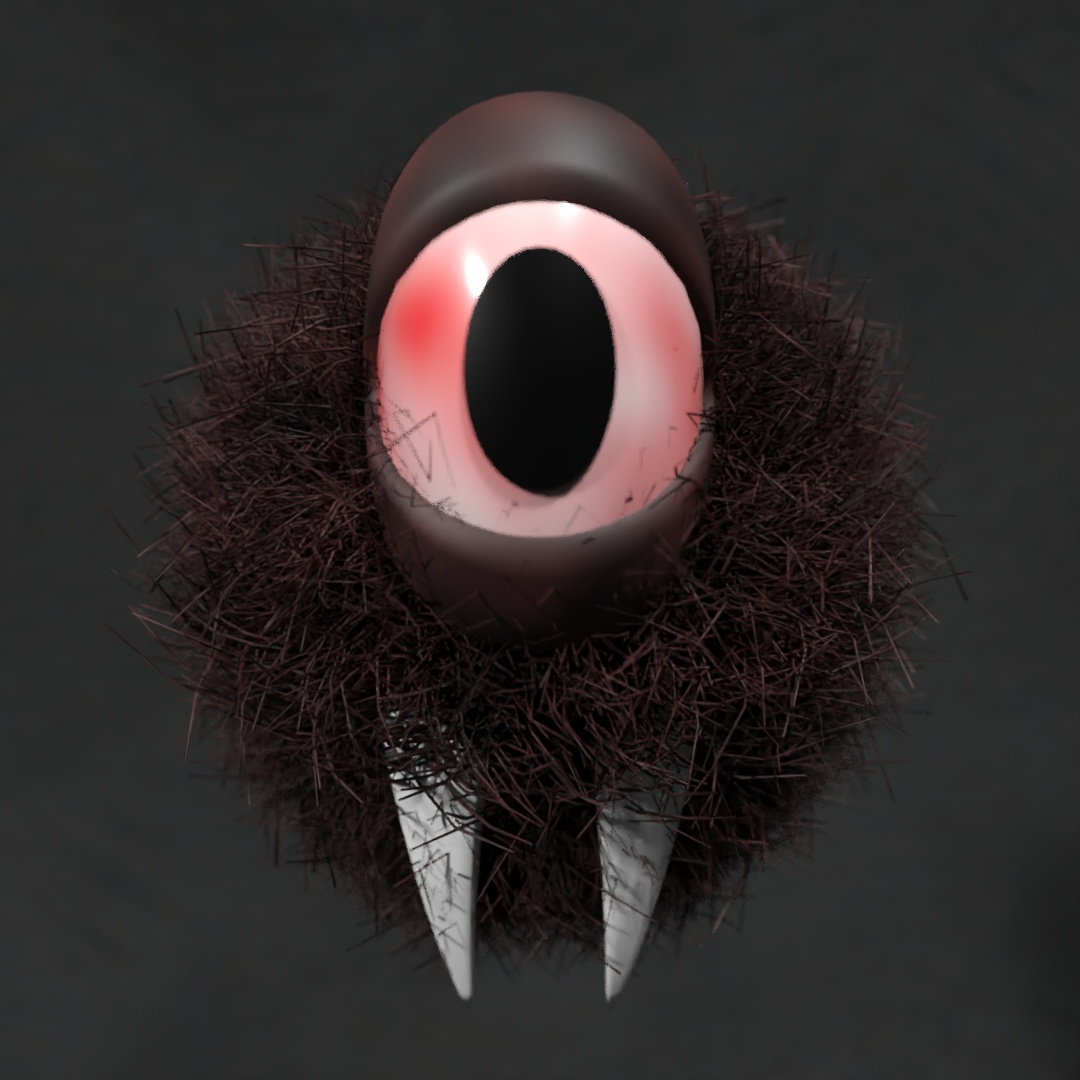
I started with a sphere and used Edit Poly to give it a smile shaped cut and applied the Hair and Fur modifier with some modified settings to make the hair chaotic. The teeth are upsidedown pyramids with Bend and Turbosmooth modifiers. The eye is made from 3 spheres; one whole sphere (eye white), one with hemisphere at .875 (pupil) and one larger sphere with slice on (eyelids). Then I applied a uniform Stretch modifier to make it more ellipsoid.
#404: Sheet [Metal] Ghosts

These ghosts are made using the Cloth modifier to simulate planes falling onto spheres. Then I used Edit Poly to stretch the meshes vertically. I made the eyes by placing capsules in the front of the spheres and then using Boolean to subtract them from the meshes. The metal ghost was made using the same process and all of the same settings but the original plane only had 3 length and width segments.
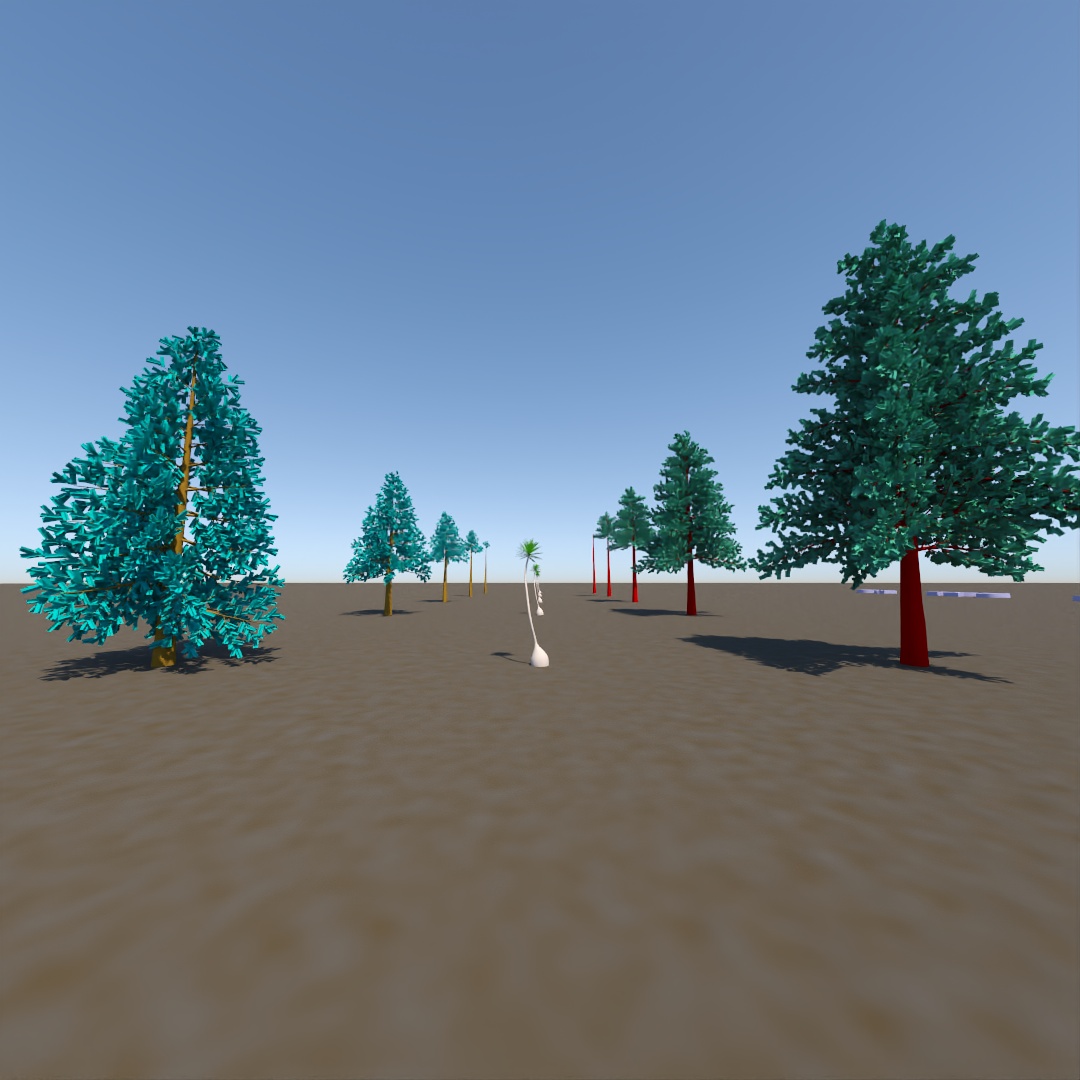
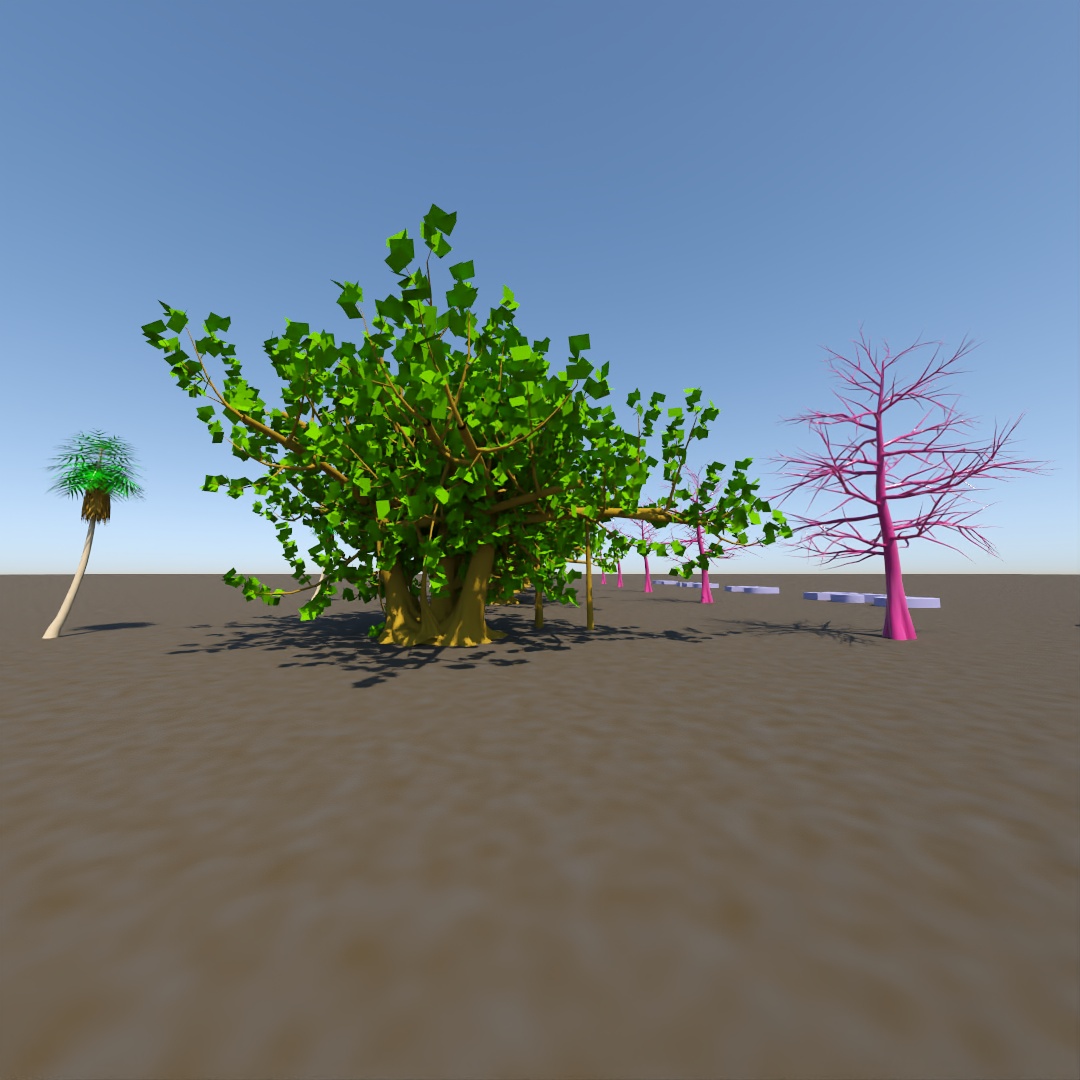
#405: Default Trees
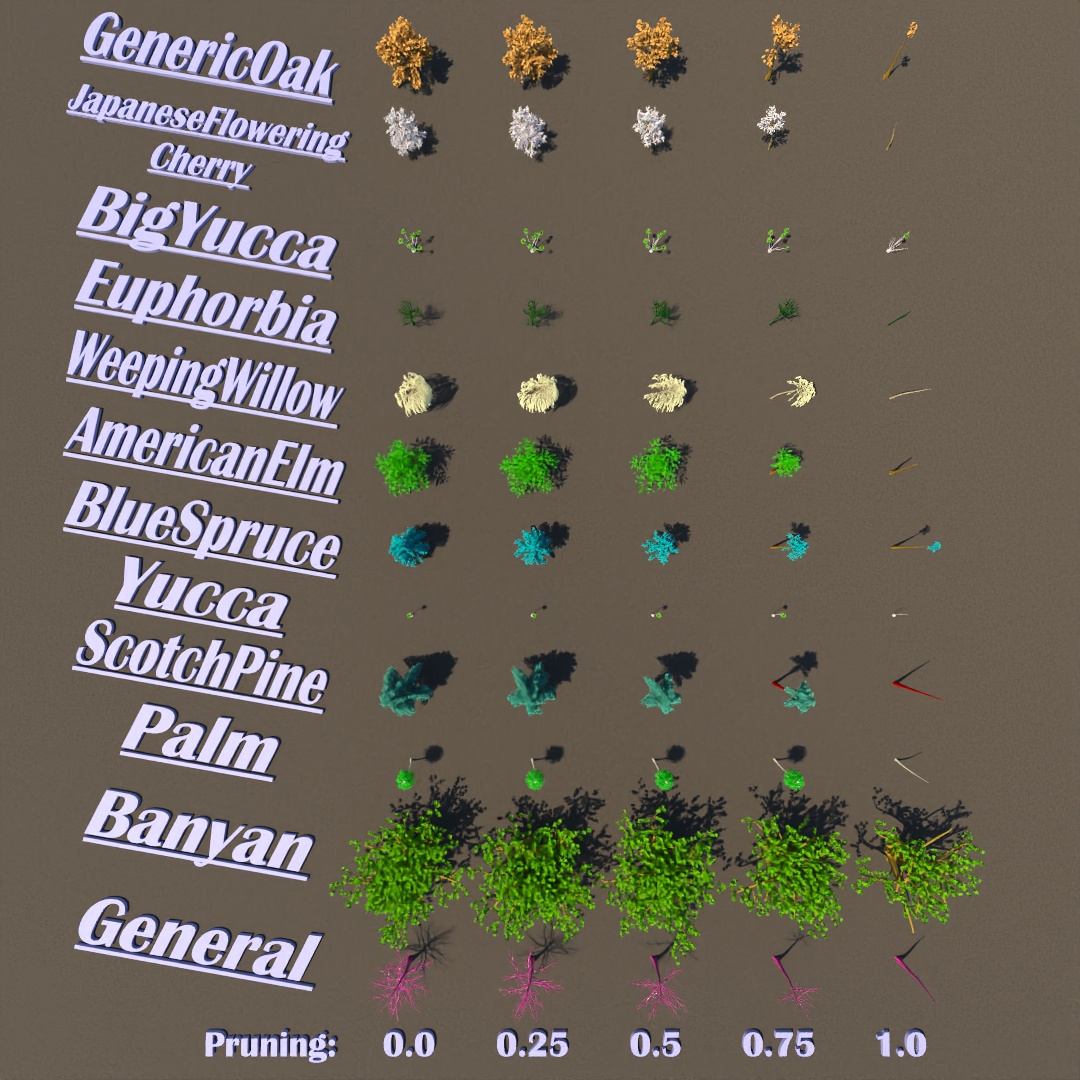
Since I’ve started using the AEC foliage tools more recently, I thought I should make a reference image of what the Pruning variable does to each different kind of tree.

Leave a comment