Everydays Project #350-363
#350: Gradient Glow Box
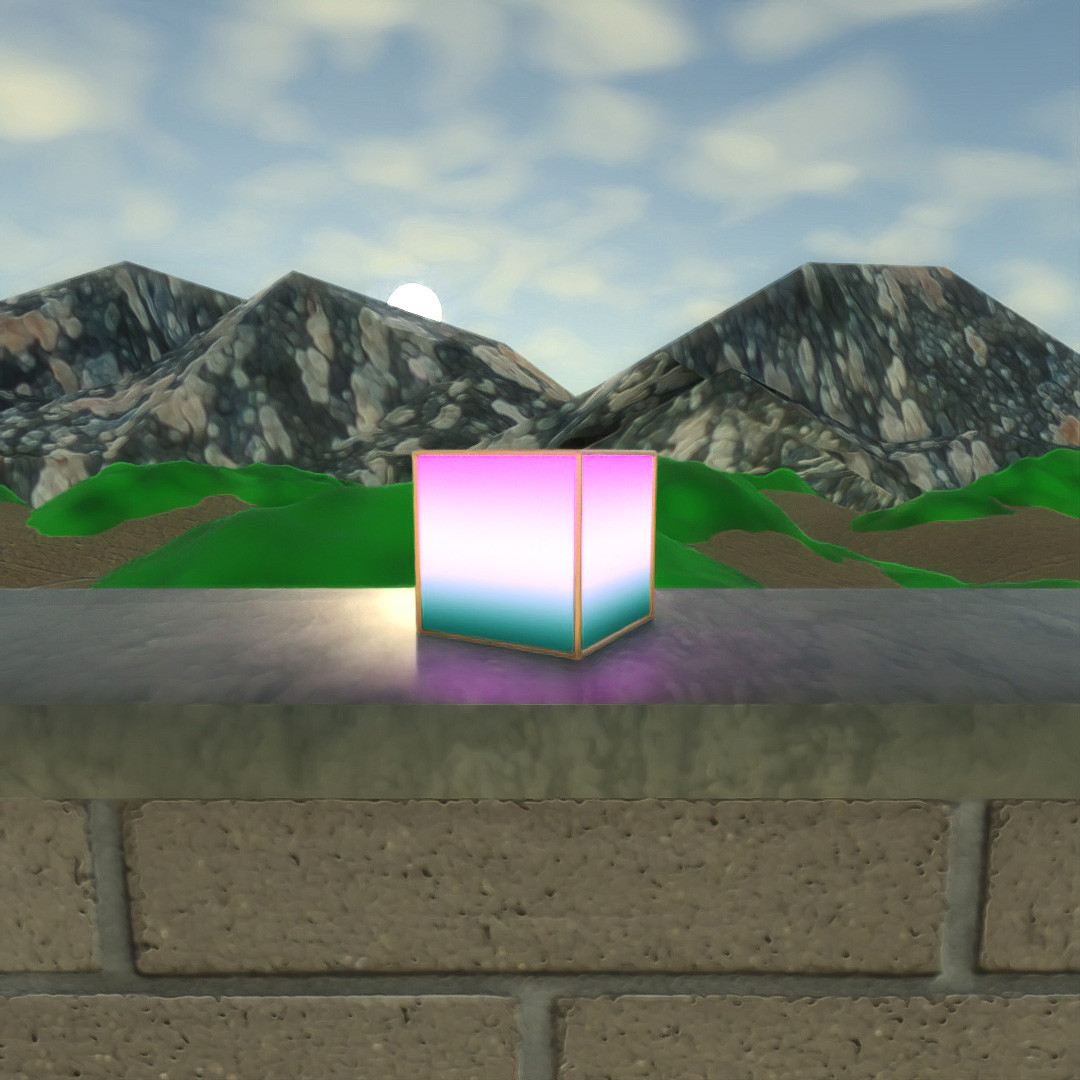
The primary purpose of this was to play around with the settings of the Gradient material map. I also applied a UVW Map to the glowing box to orient the gradient in a vertical direction. UVW Map was also necessary to make the concrete and brick look like the correct scale.
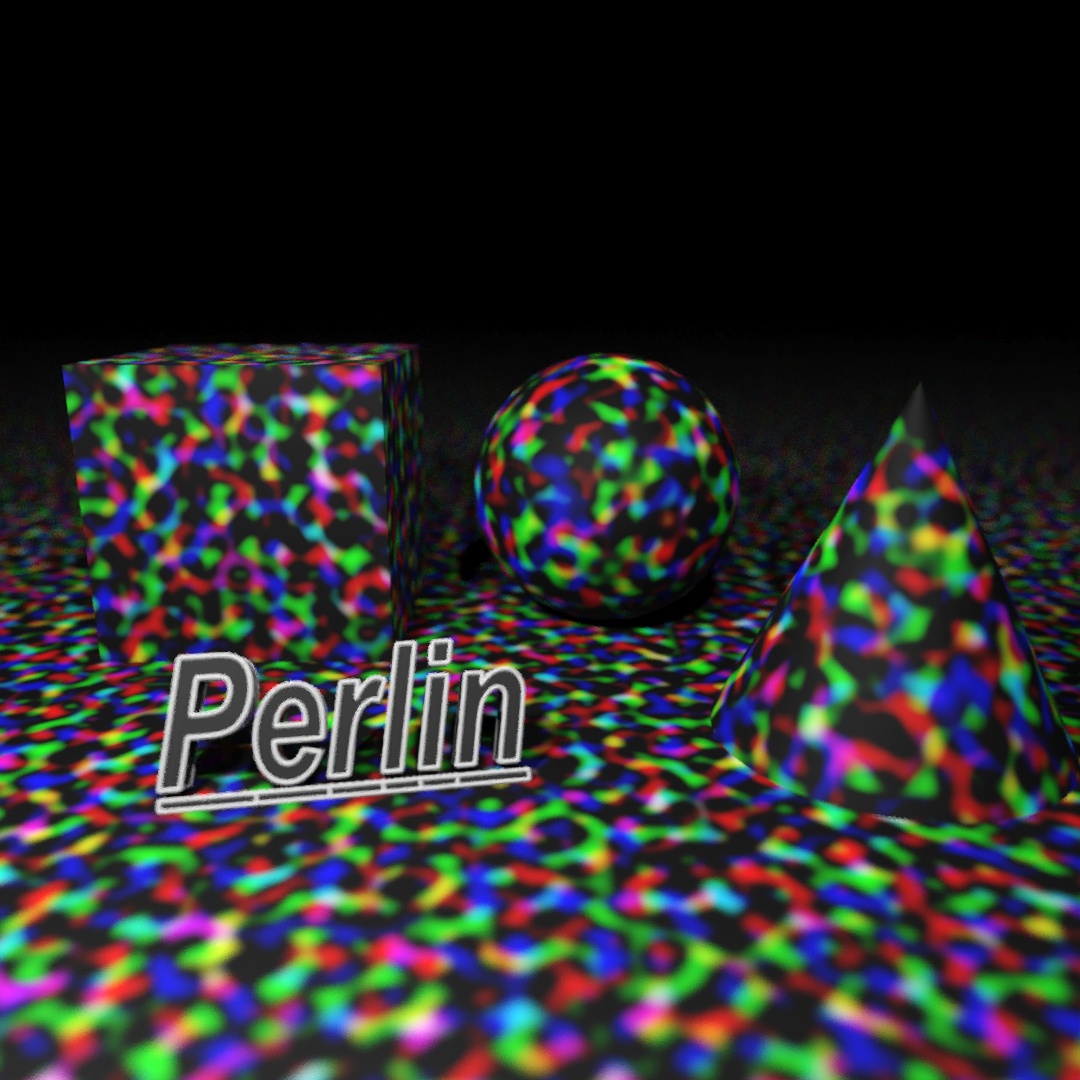
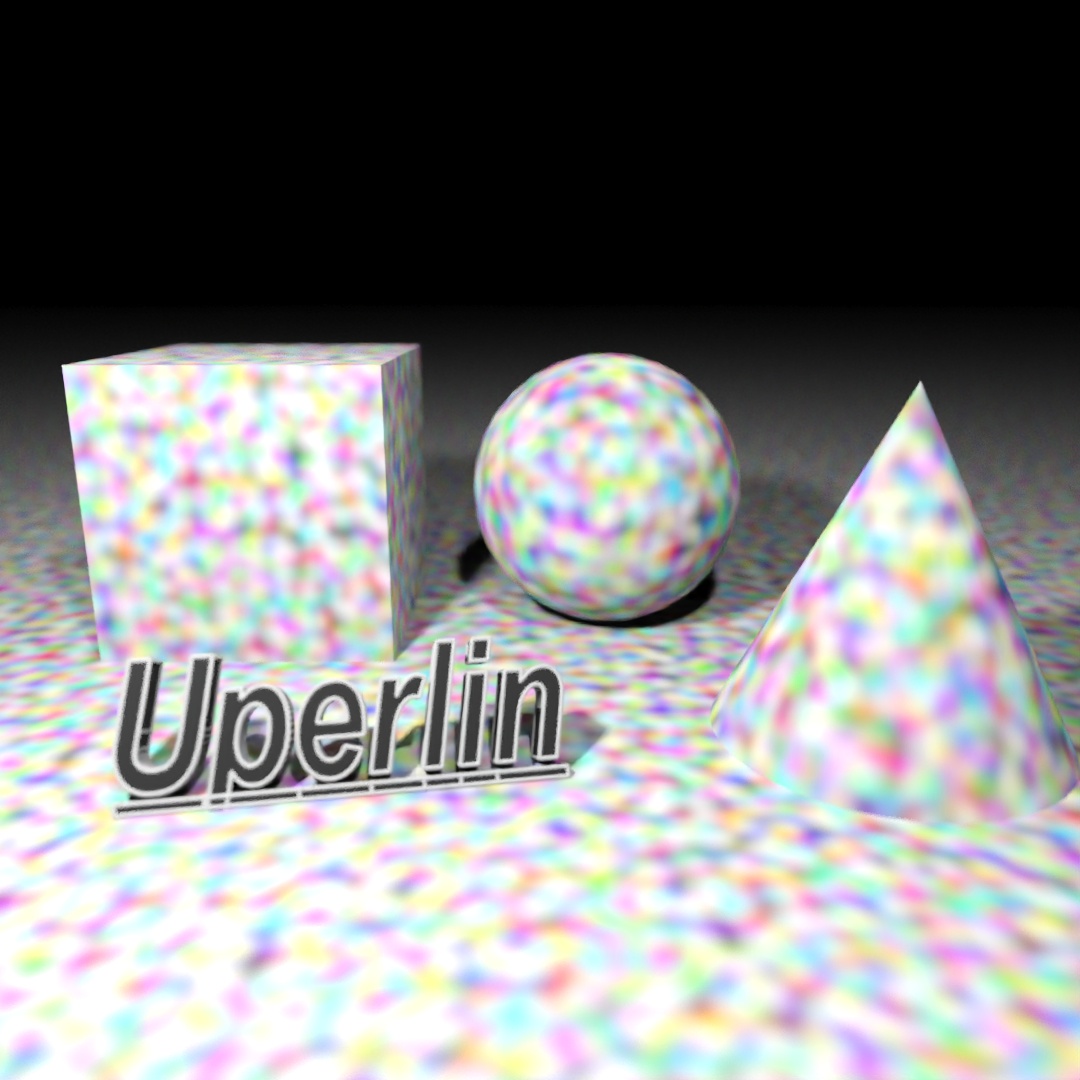
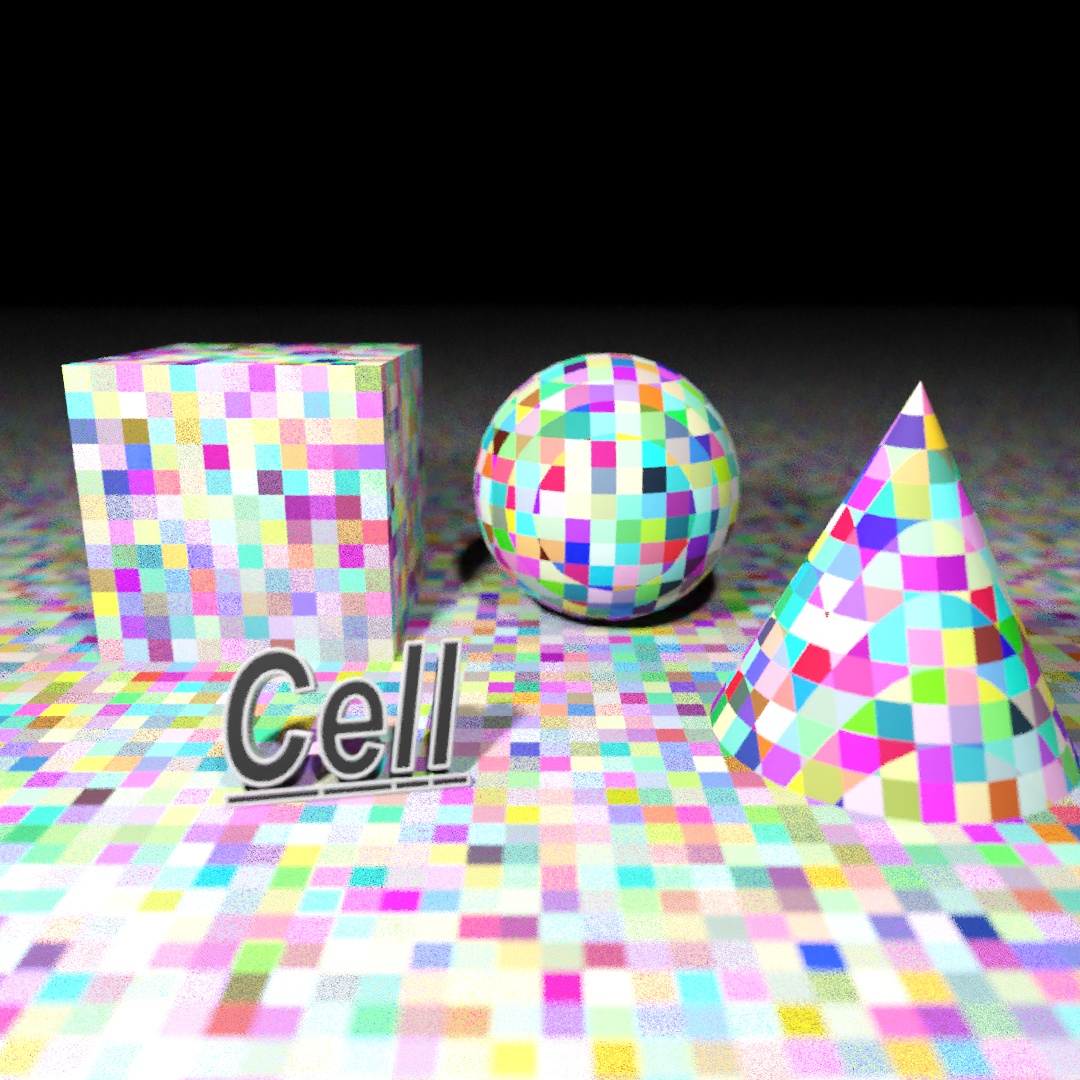
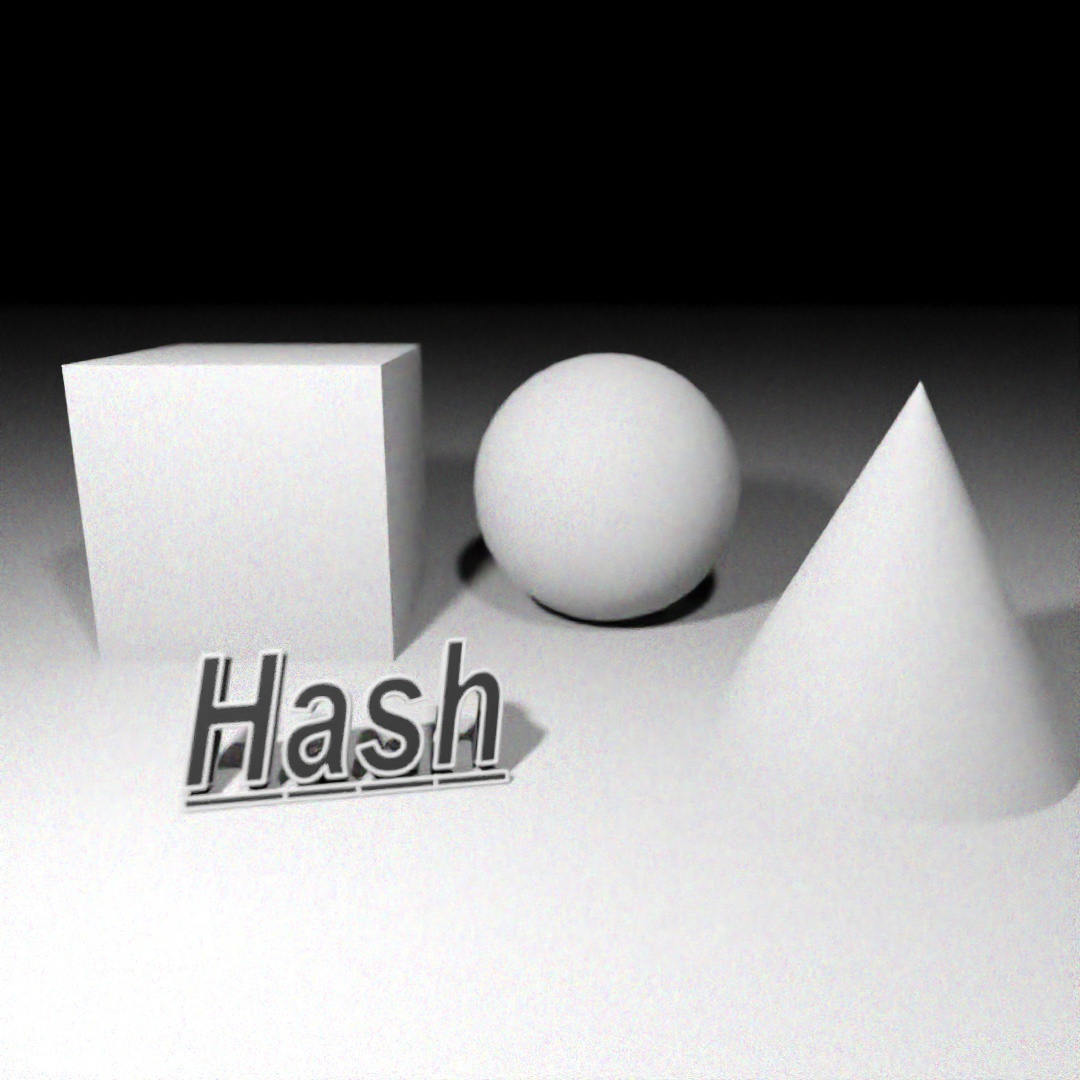
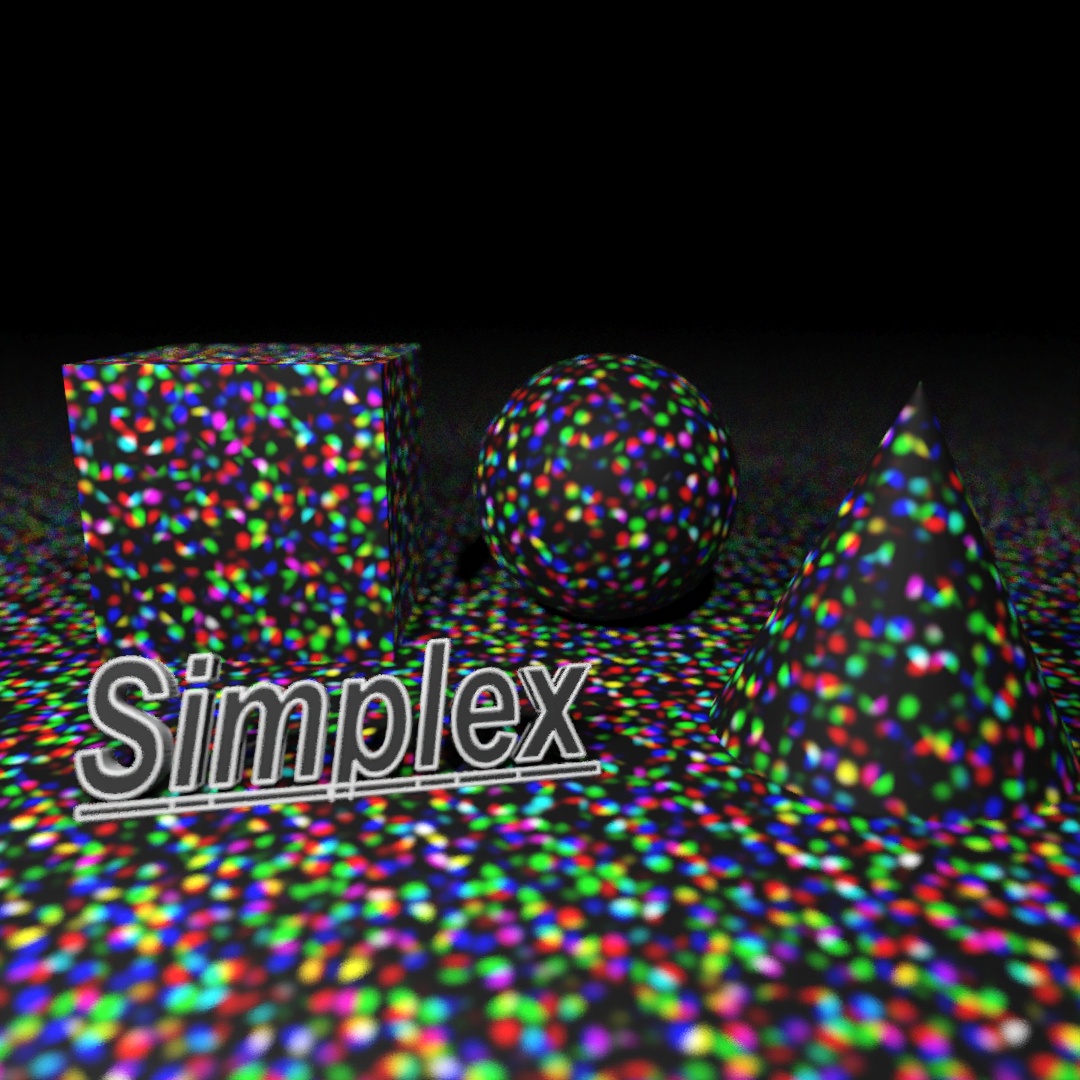
#351: The Colors of Noise
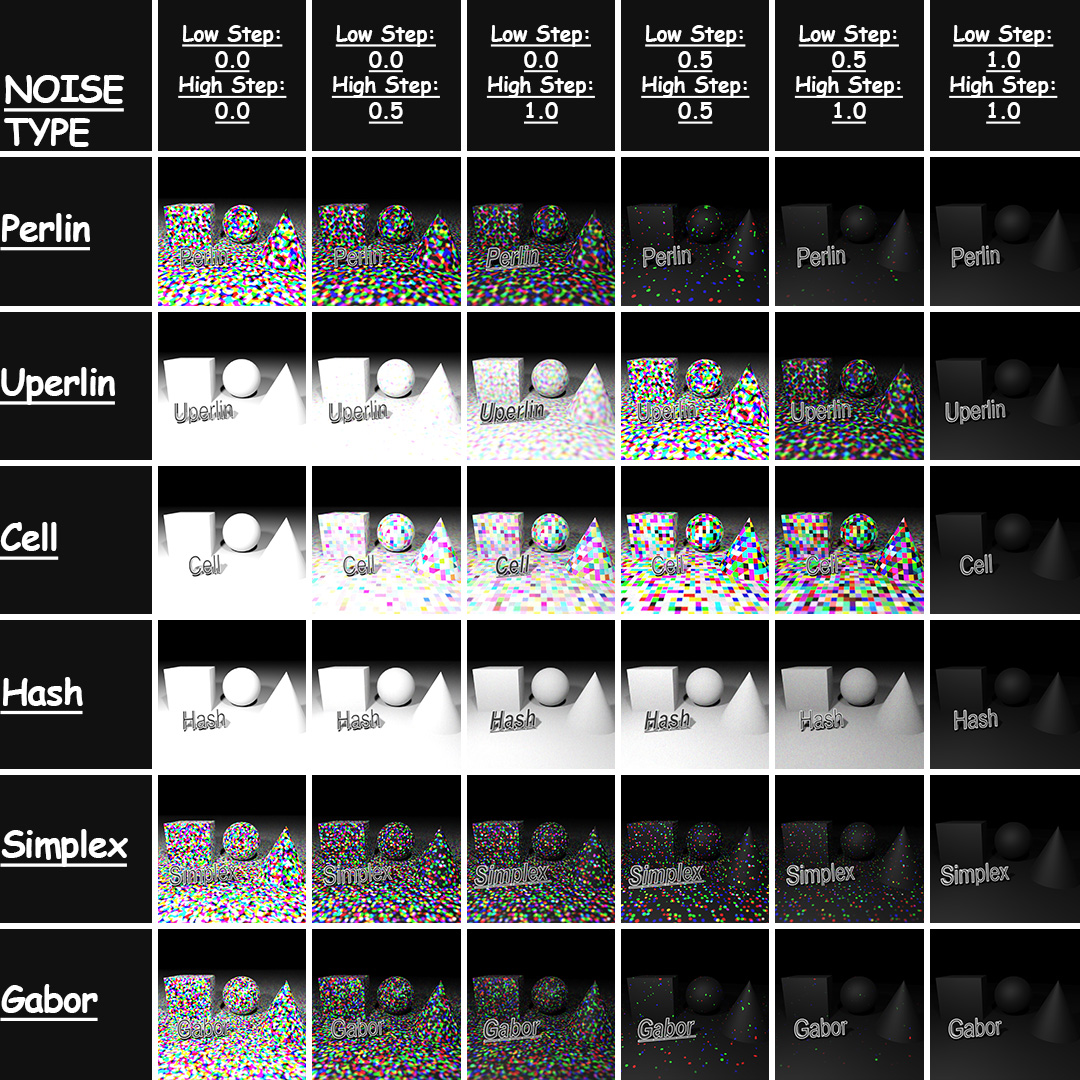
With a plane, box, sphere and cone, I applied a 3D Noise map to a matte paint material and changed 3 different parameters (noise type, low step and high step) to create this chart. I had no idea at the beginning of this project that the final result would have such a cool gradient look to it.

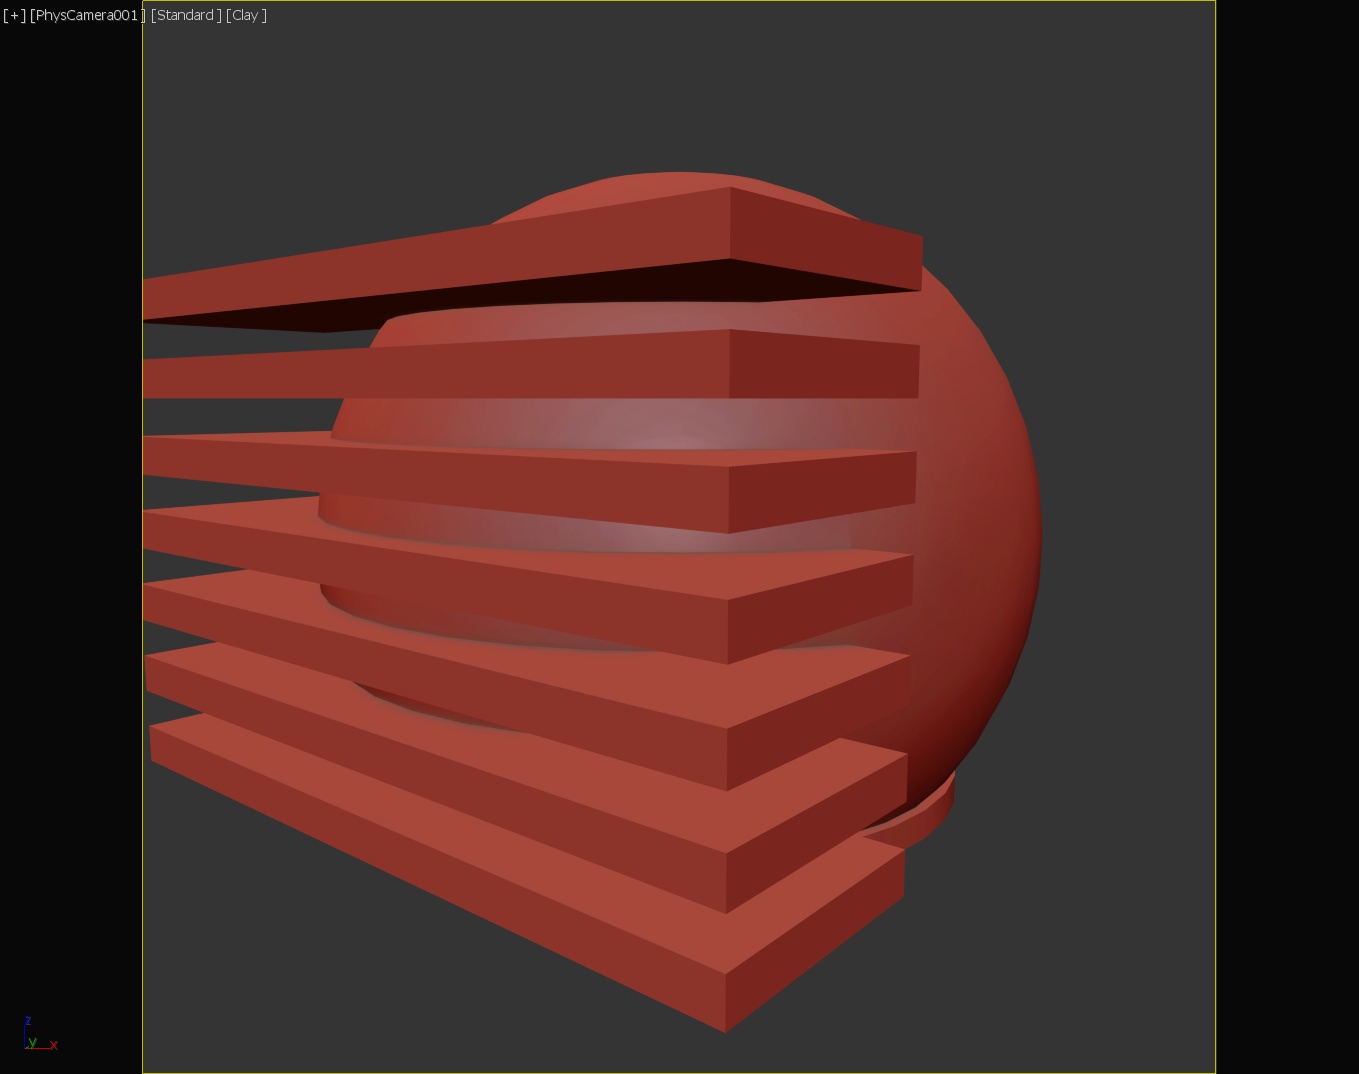
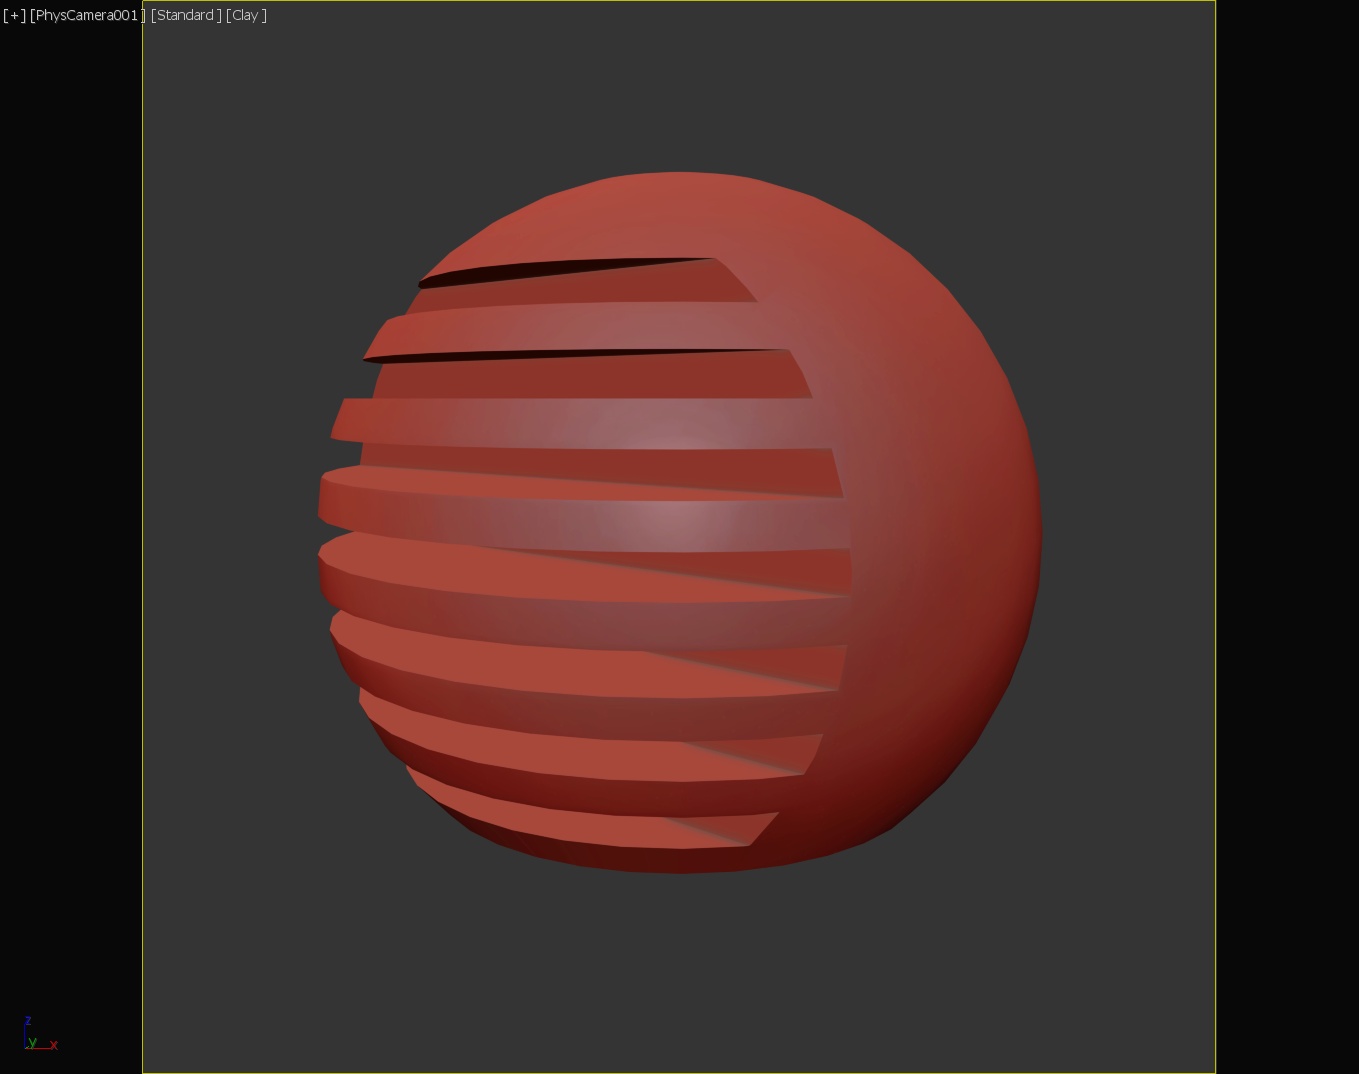
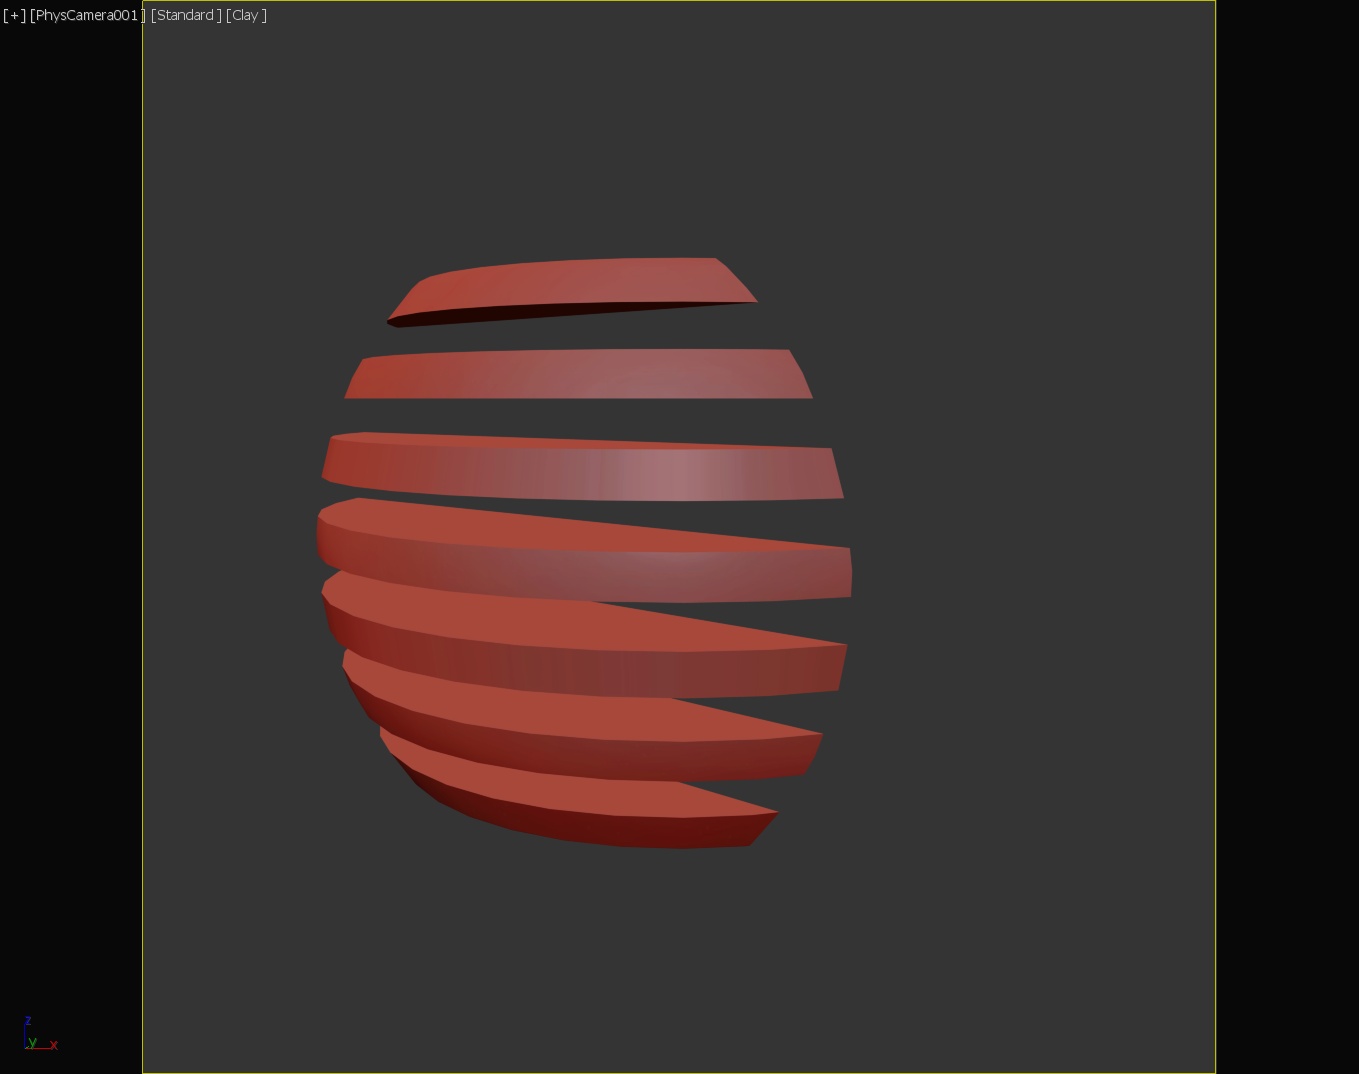
#352: CHRGNG
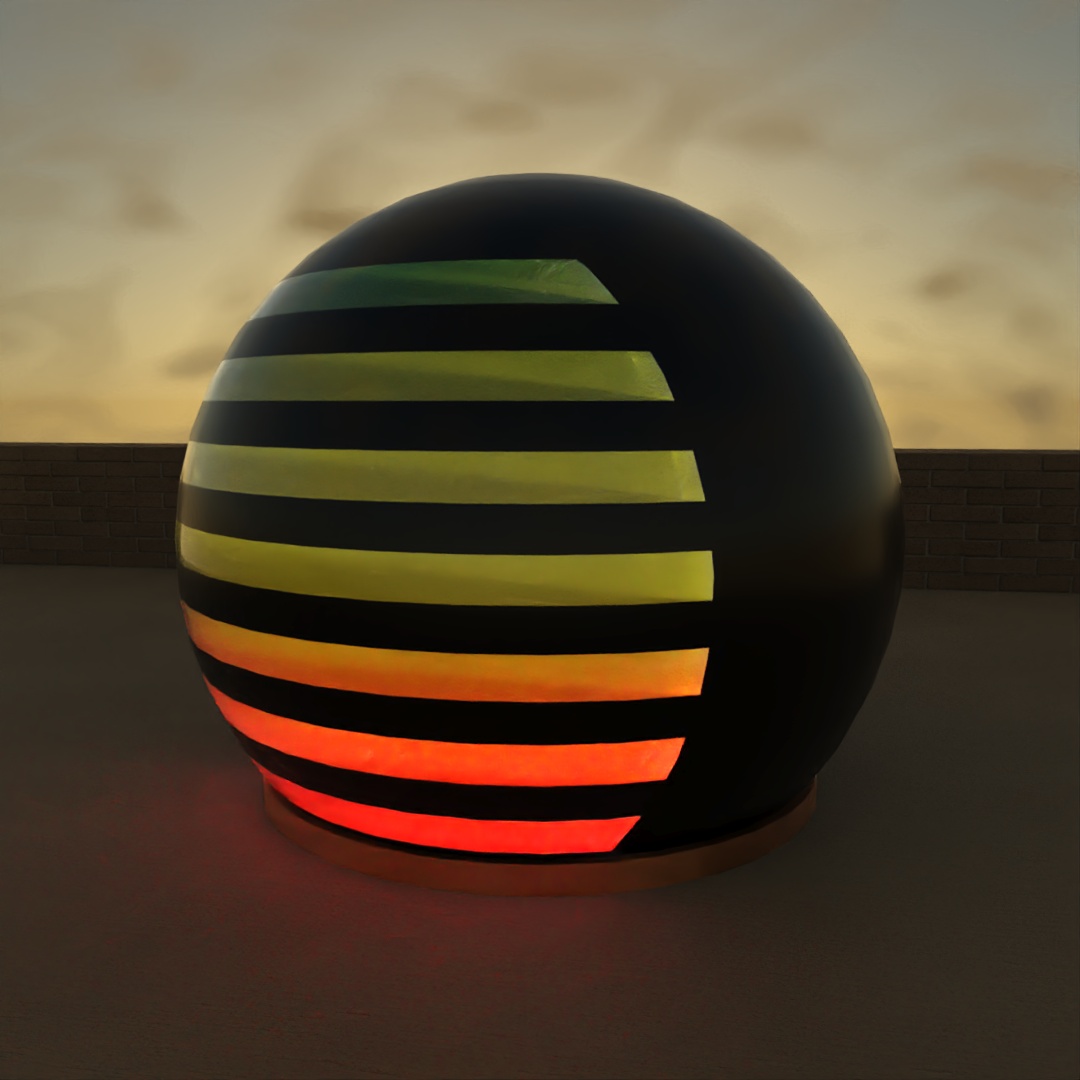
Another exercise in using the gradient map. To model the shape, I placed several long boxes intersecting the side of the large sphere and used Boolean once to subtract the boxes from the sphere and a second time capturing the intersect of the boxes and the sphere. The sphere has a black glossy plastic material applied to it. For the charging indicator, I applied a color gradient map with three colors (red, yellow, green) to a frosted glass material and used UVW Map to orient the gradient vertically.
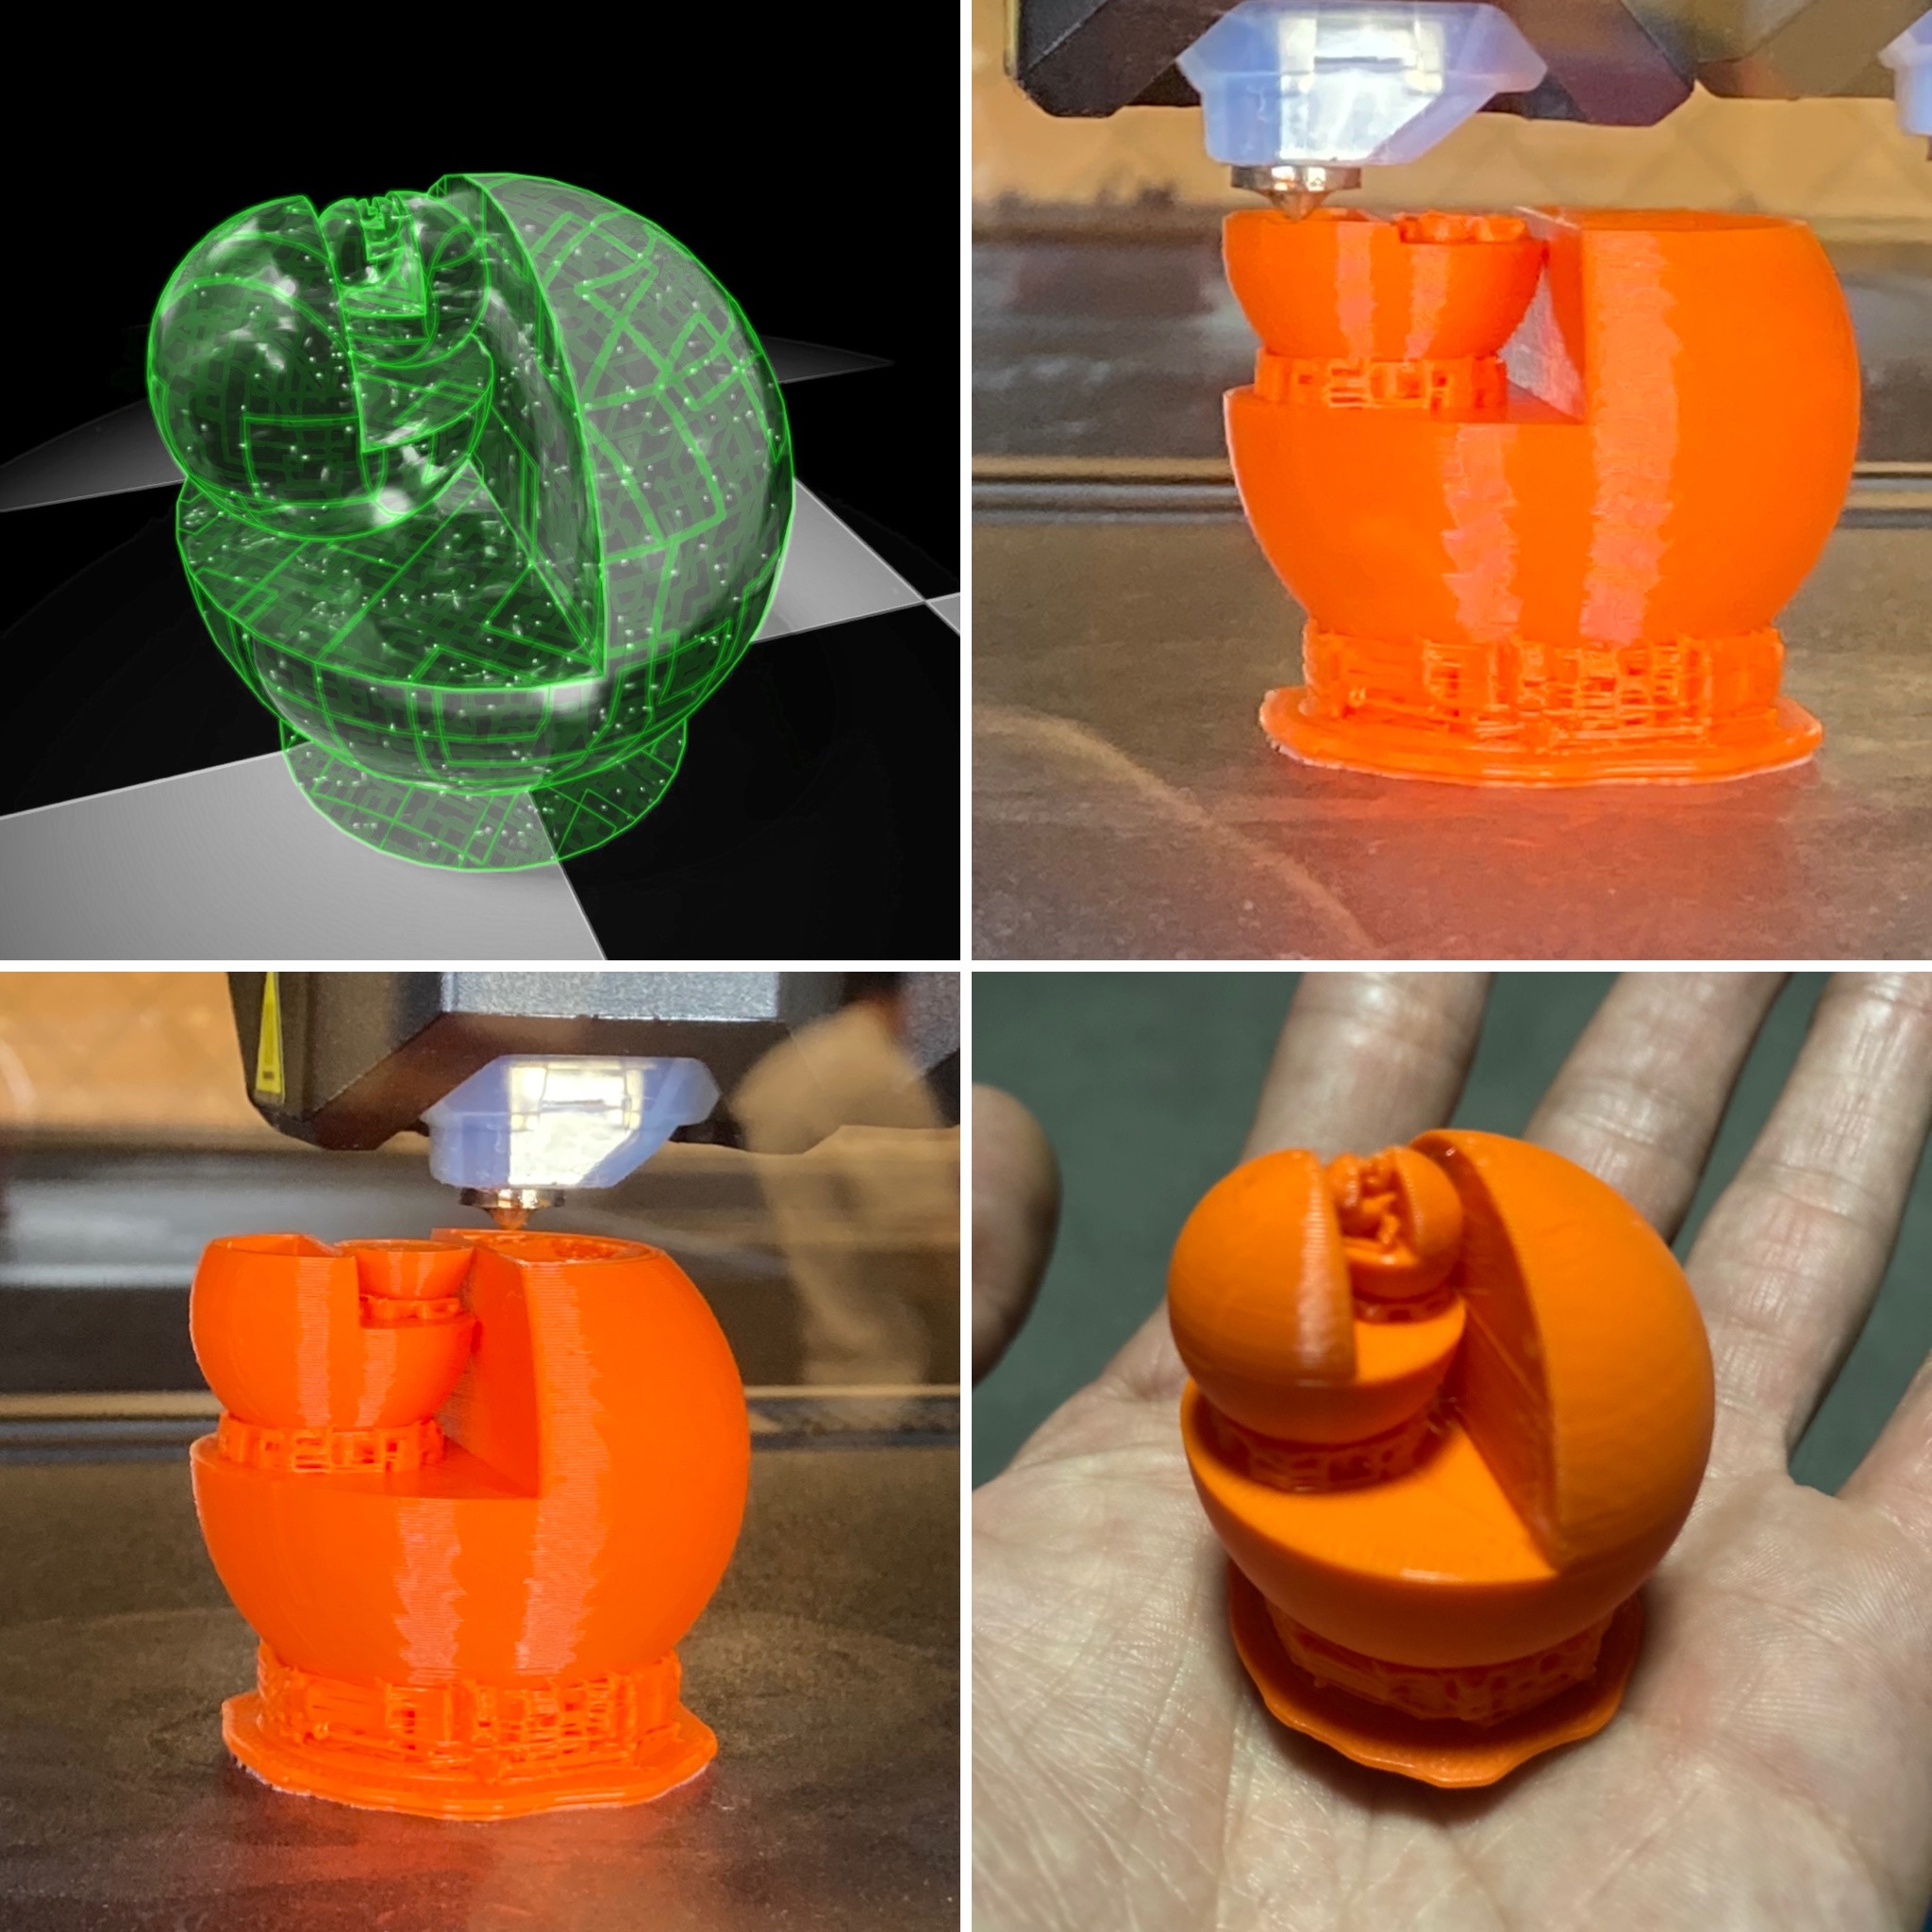
#353: Sliced Spheres
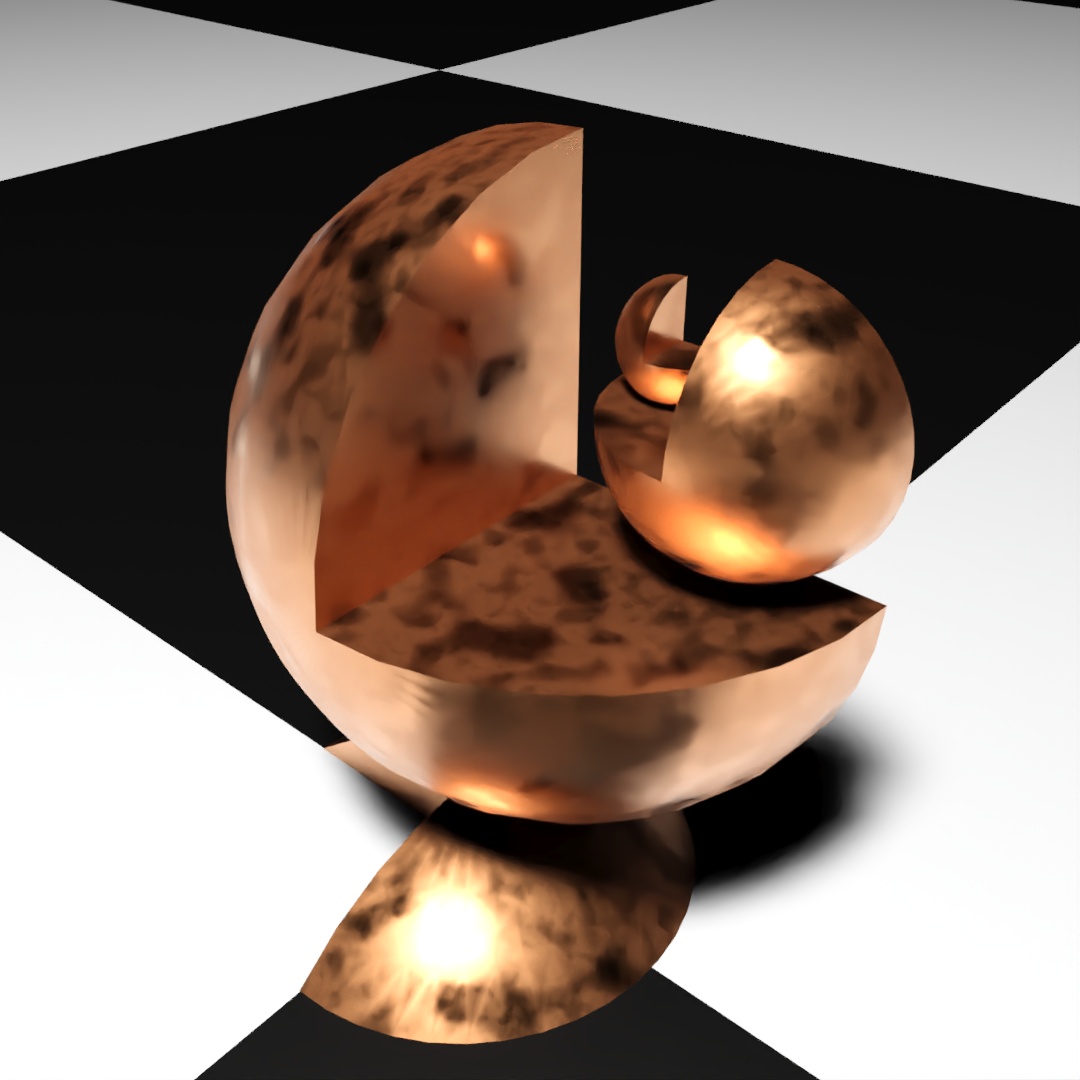
I’m taking a 3D printing class this semester and was trying to think of something fractal-like to print. This was just a fast attempt to model a sphere-based fractal. Each sphere has 0.5 for Hemisphere and is sliced from 270° to 360°. I slightly overlapped the different sections and used Boolean to union them into one shape. I actually ended up printing an altered version of this at the end of the week.
#354: aLL ThAt GlitTeRs…
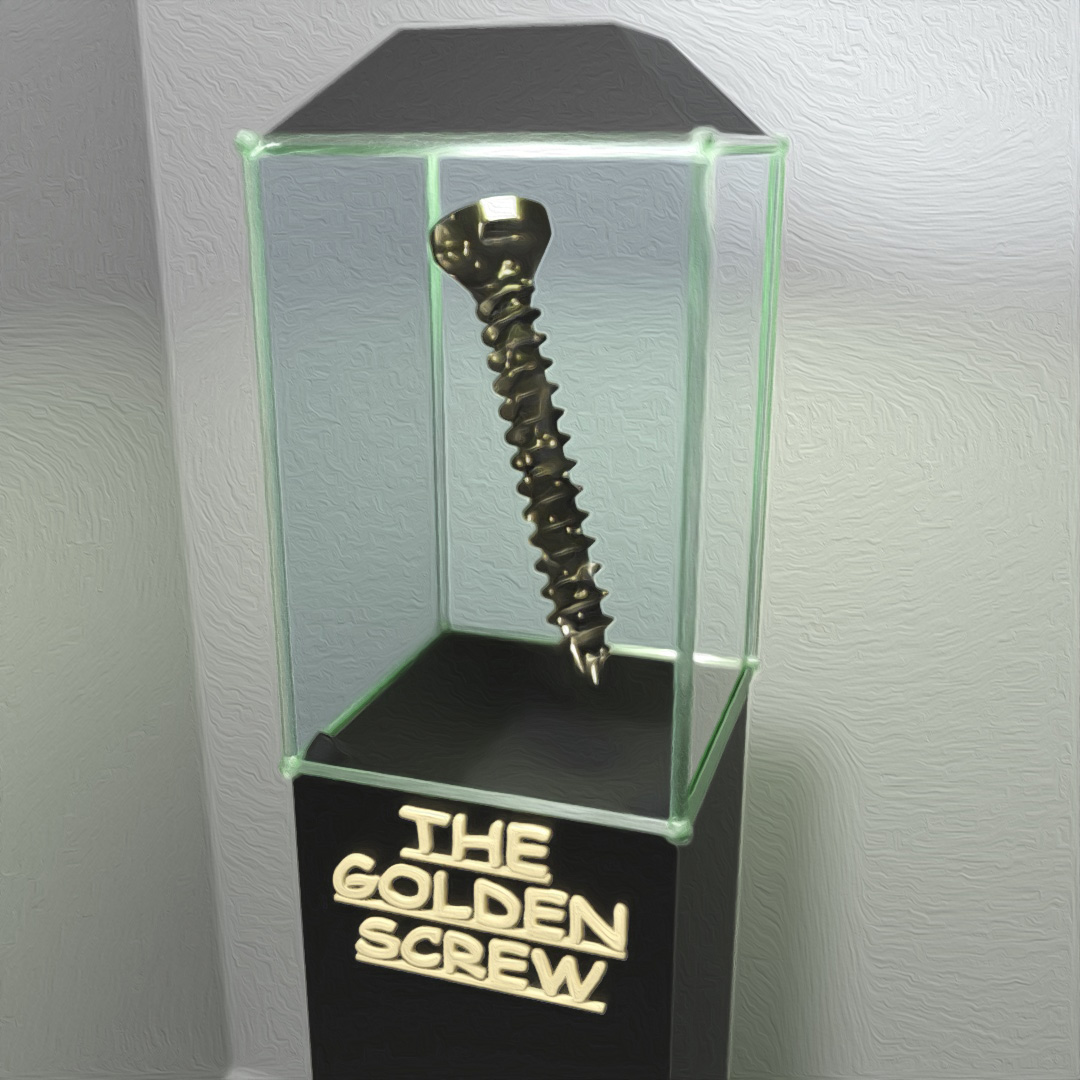
I was in some kind of mood so I downloaded a 3D model of a stainless steel flat head screw from the McMaster-Carr catalog website and put it into a case like it belongs in a museum. The screw has a polished gold material that I added an emission noise map to in order to make it have the sparkling look.
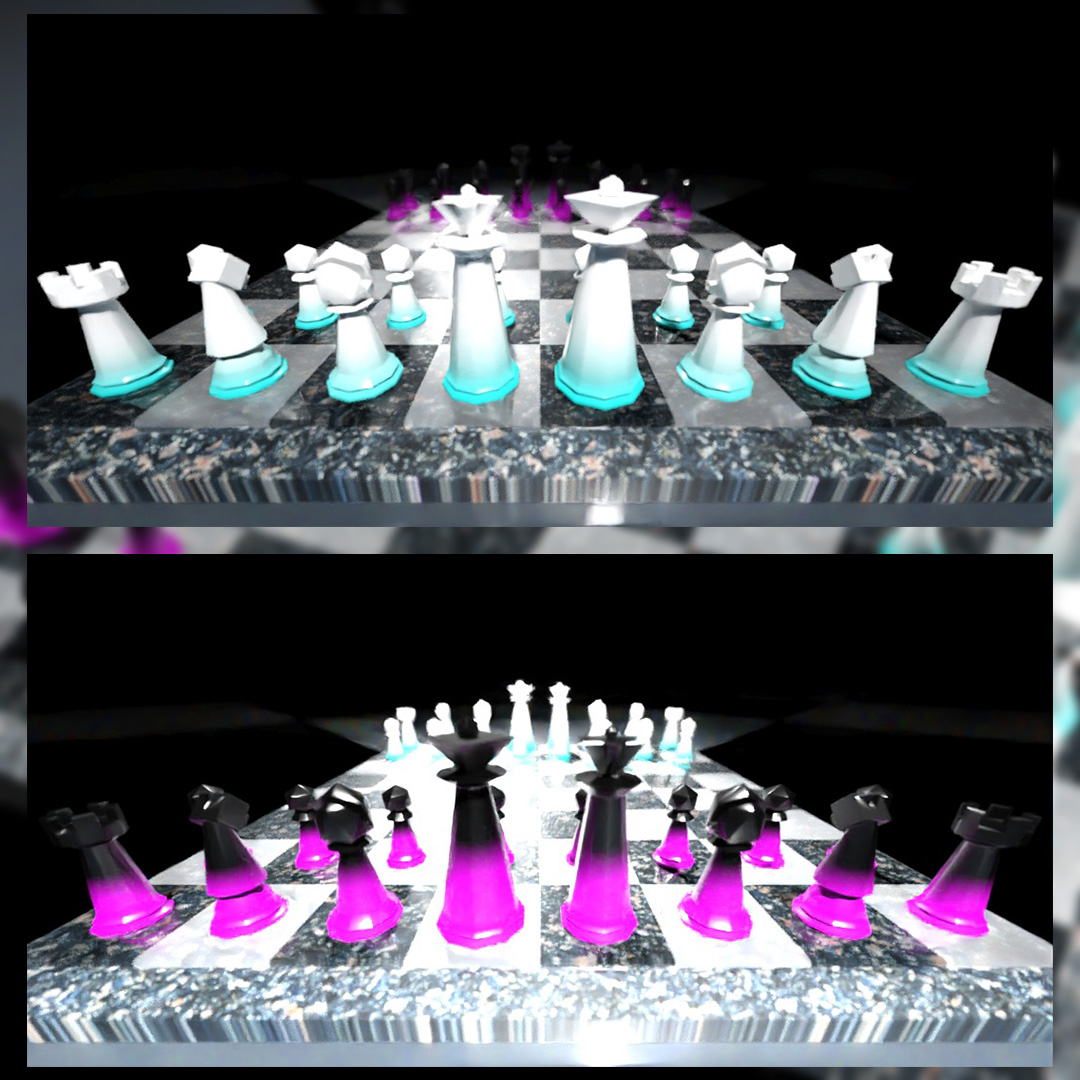
#355: LowPoly Chess
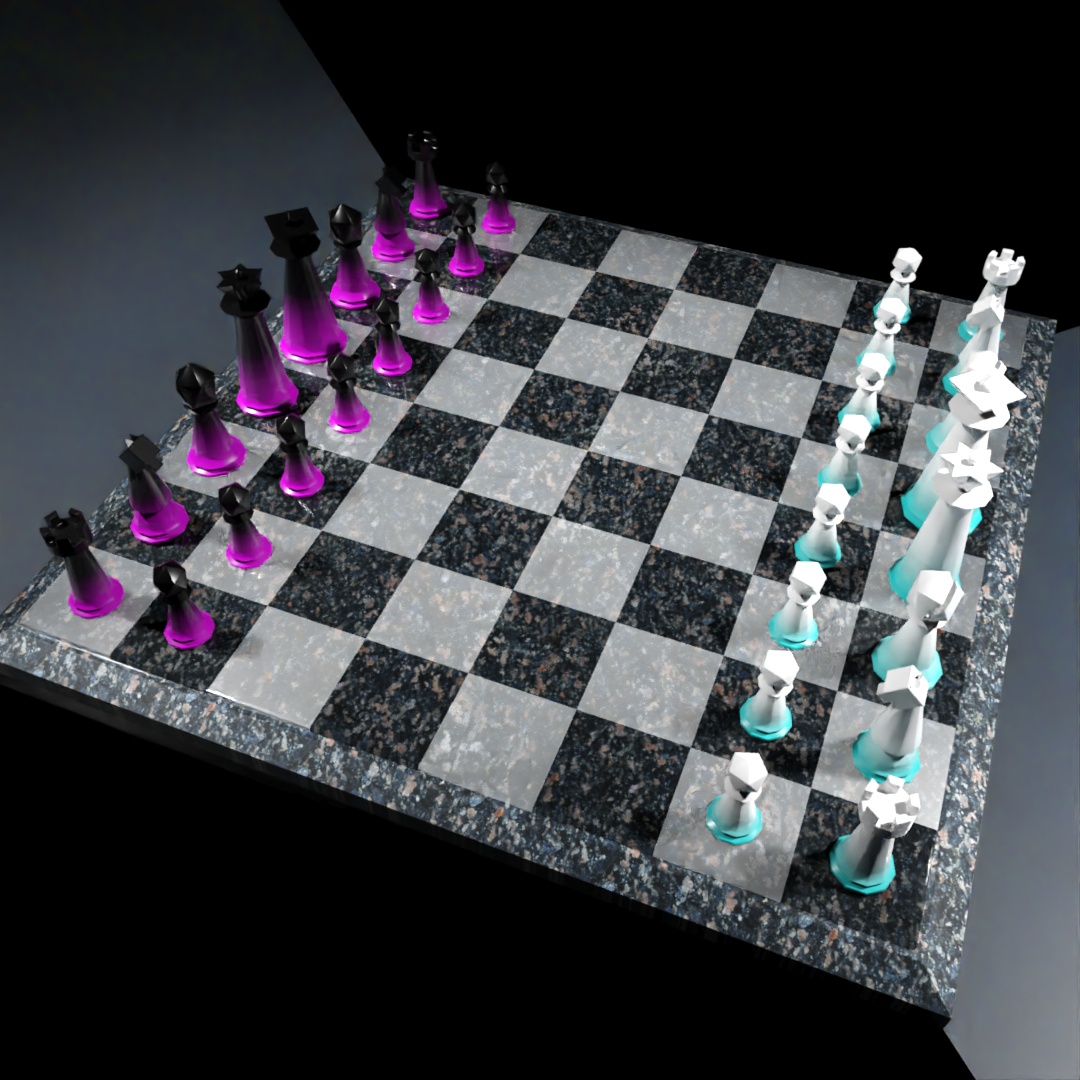
After listening to Lex Fridman’s podcasts with Magnus Calsen and The Botez Sisters, I got inspired to model a chess set according to the FIDE handbook equipment standards. Used the gradient map again for the materials of the pieces.
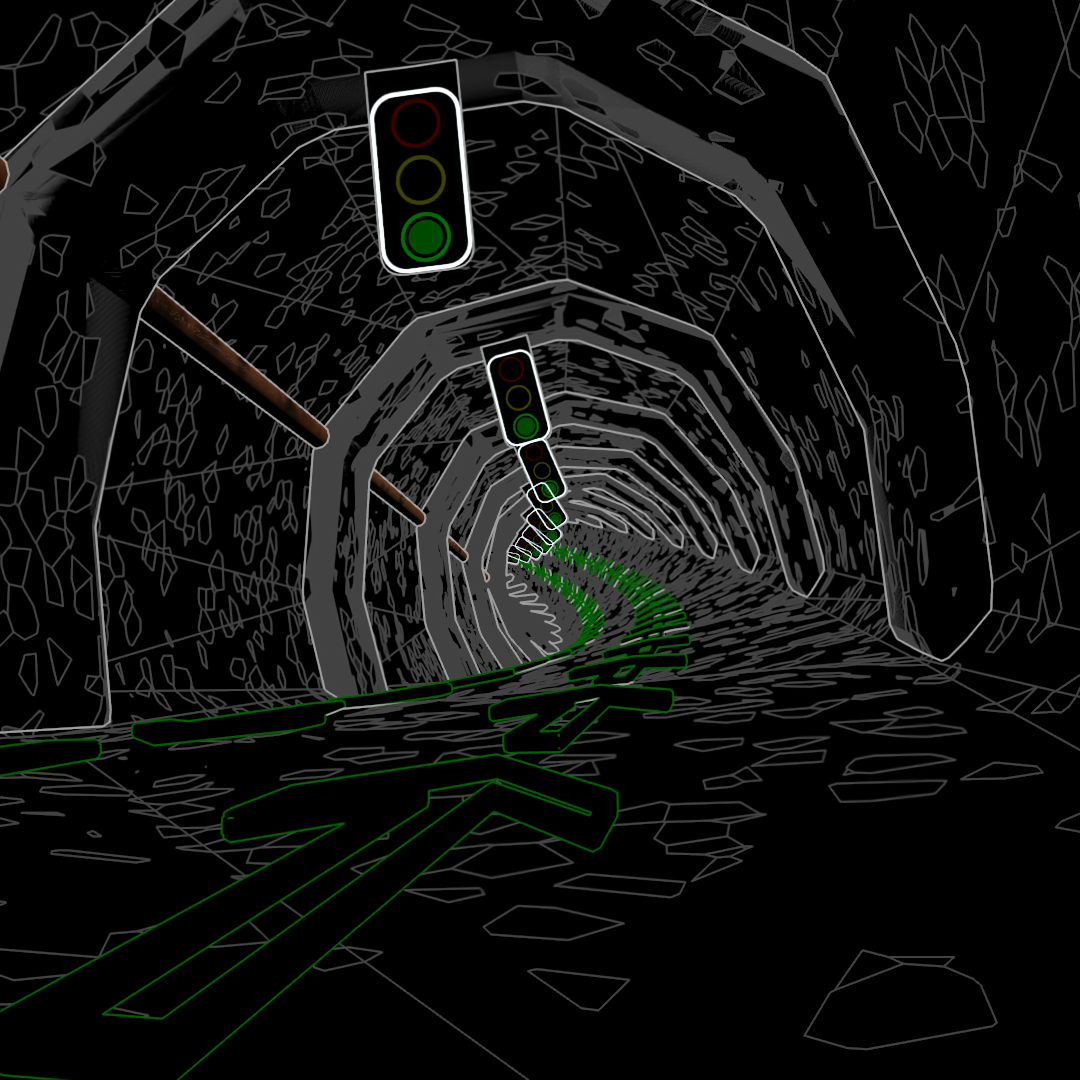
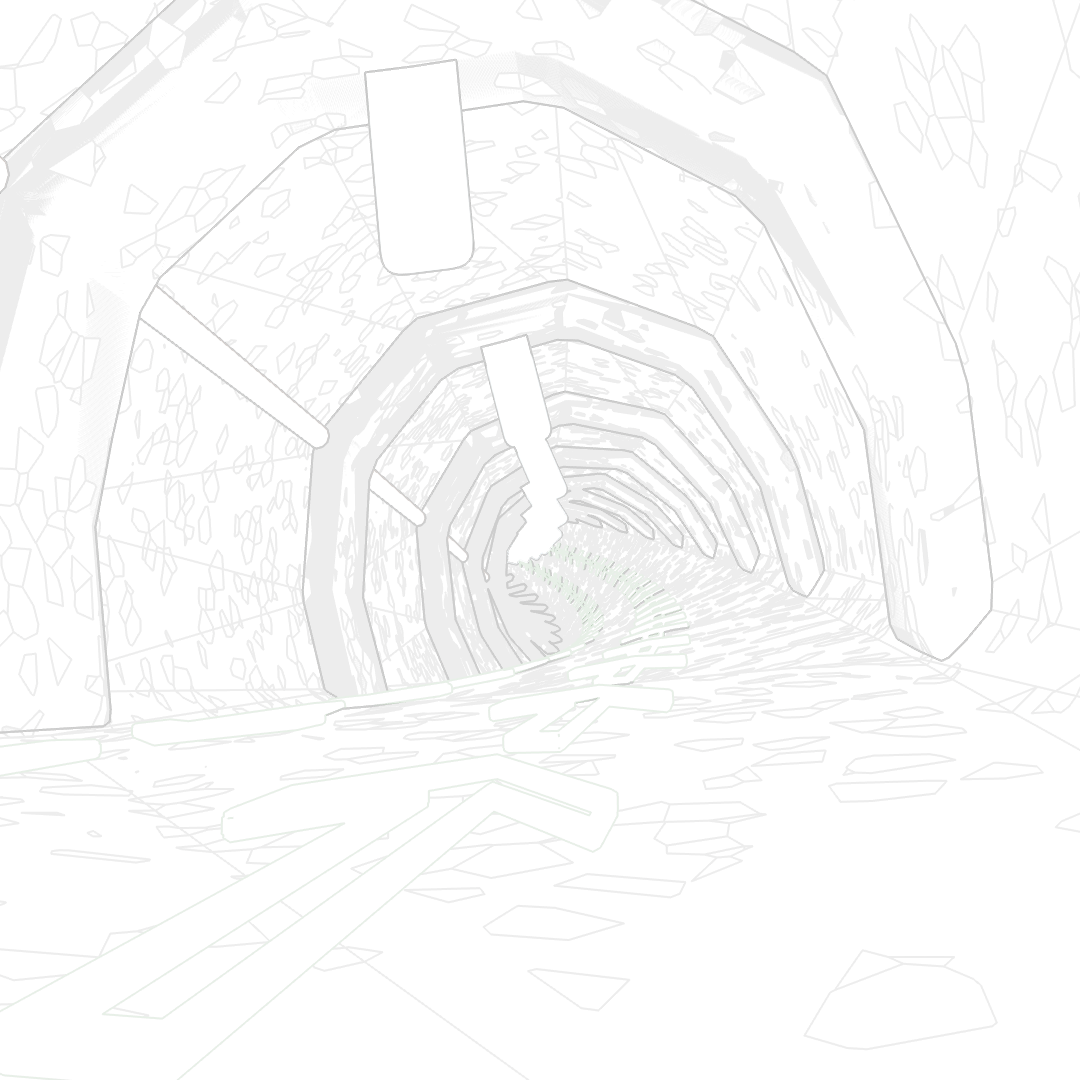
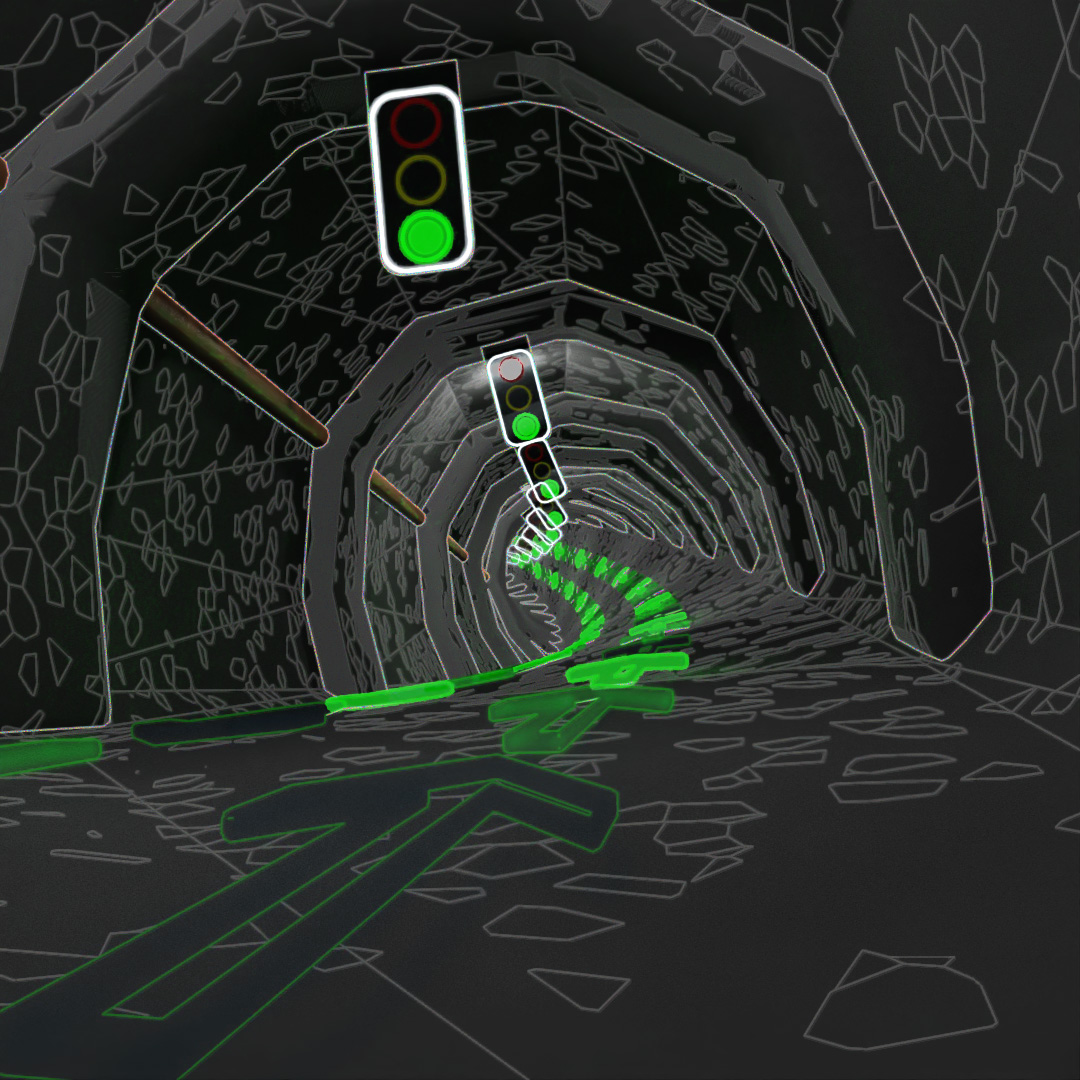
#356: This Way
This video is made of only 6 frames. The green lights go off and on every other frame and the arrows cycle in a 3-frame loop. Then I layered on Toon Shader overlays at intervals of 6, 12 and 18 frames.
#357: Blinkity Blink
Used TextPlus to put some symbols inside of chamfered boxes and animated them turning and changing the emission of the materials to make them blink. Some effects in Adobe Premier to make it look distorted.
#358: Fractalish
Retried the sphere fractal idea except I didn’t use the hemisphere option this time. Boolean union’d them all together to make one single shape. In class, I got to use a MakerBot Method X to print it out. Probably a massive under-utilization for such an amazing printer, but its my first week actually printing and I randomly got assigned the nicest printer! Cool thing about the fractal nature is it shows how detailed the 3D Printer can get.
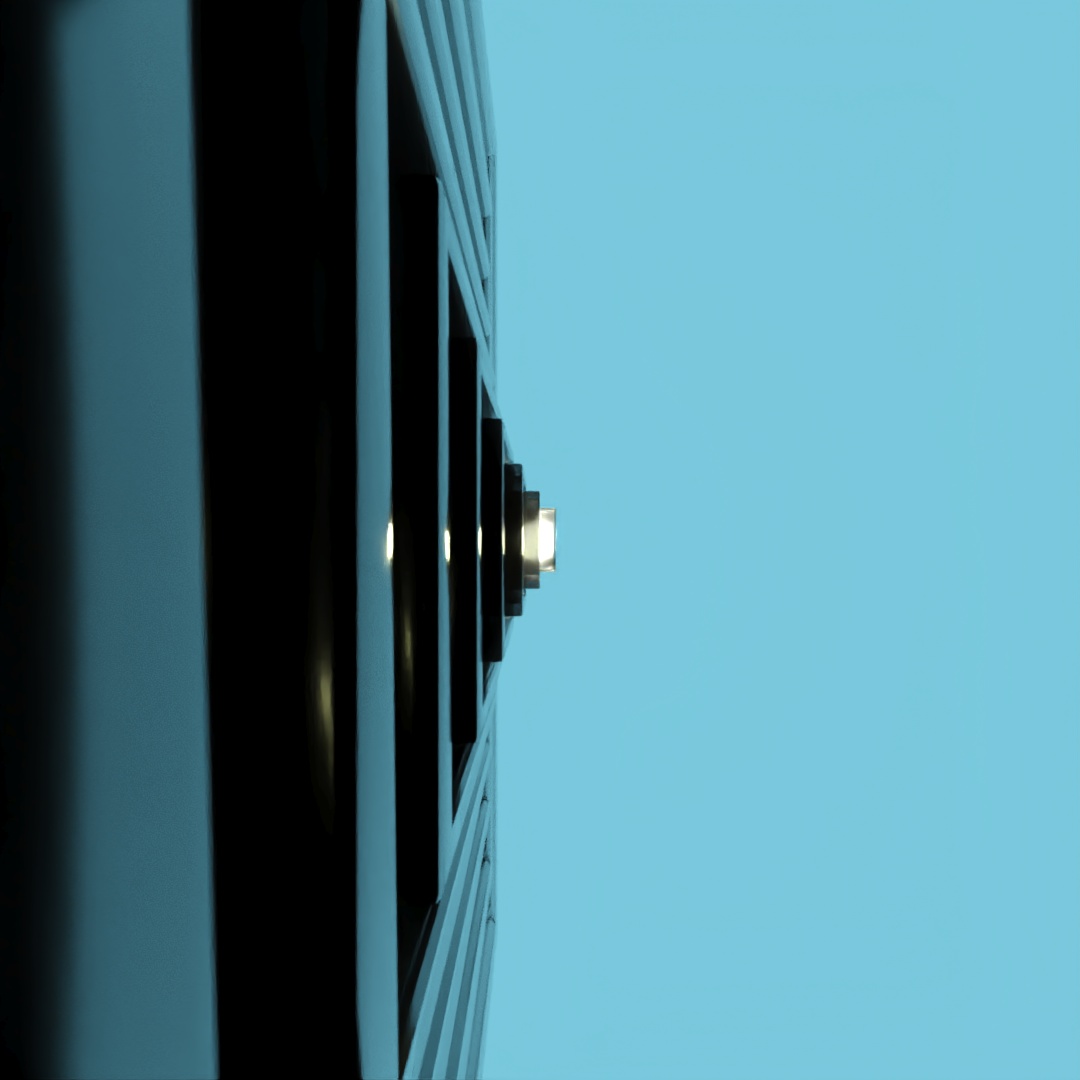
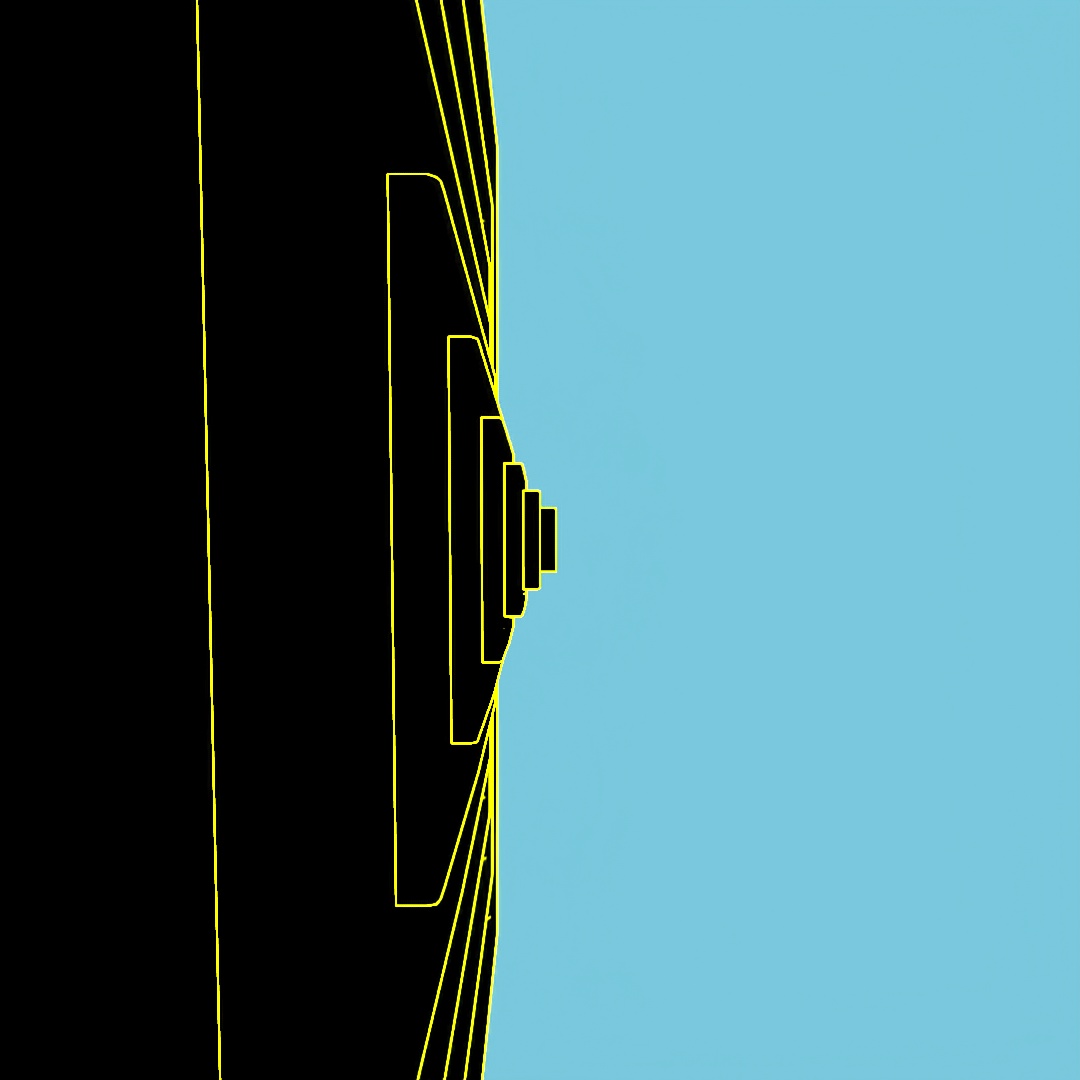
#359: ²
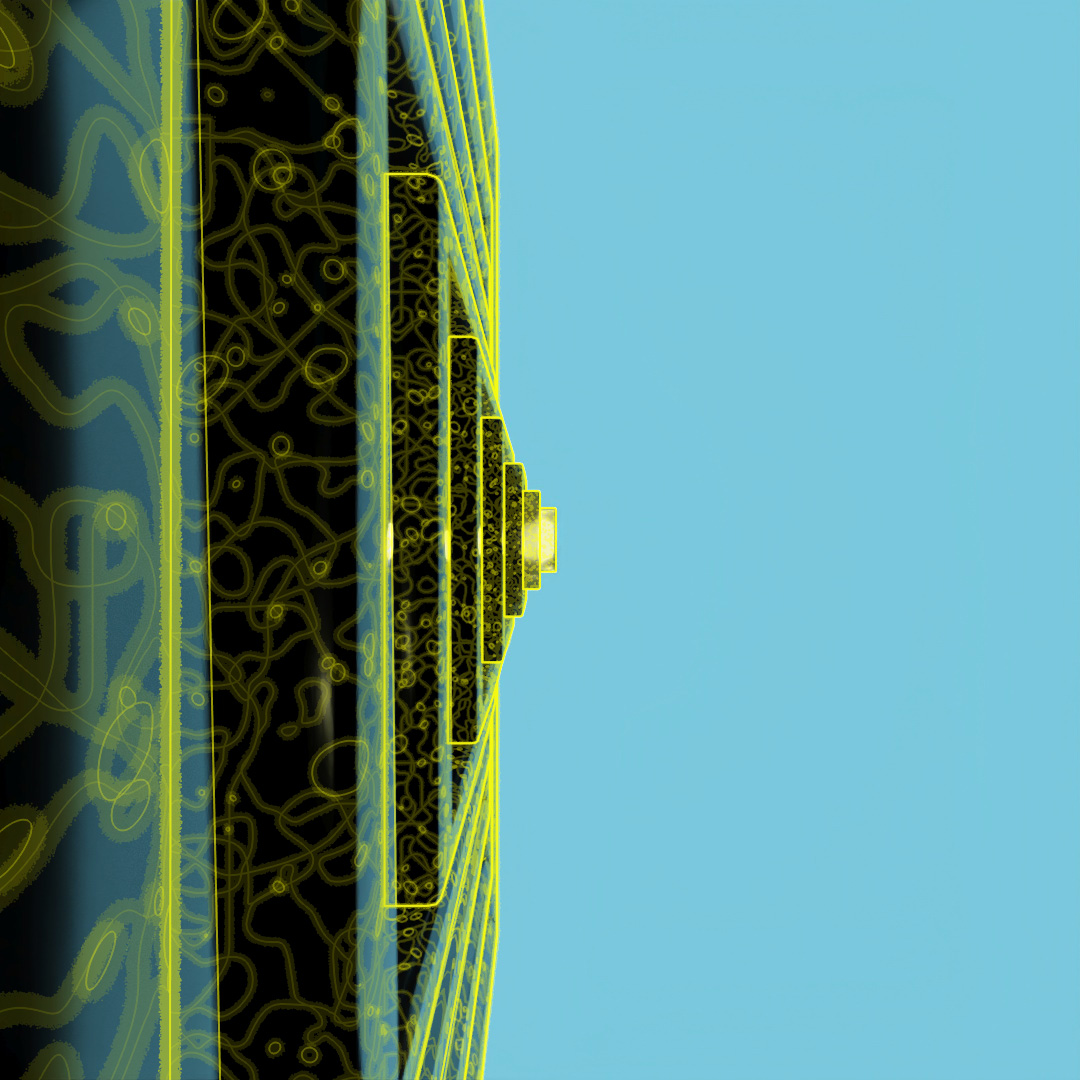
Started off with a box, used a shell modifier, slice modifier and chamfer to make an open-box shape. Then used Array to create a nesting-doll situation with boxes being scaled up and slightly shifted to the right. Rendered a few different versions of materials, starting with a glossy black glass material and a light in the center, then using toon-shader to give it the glowing lines and then layered them all together in photoshop.
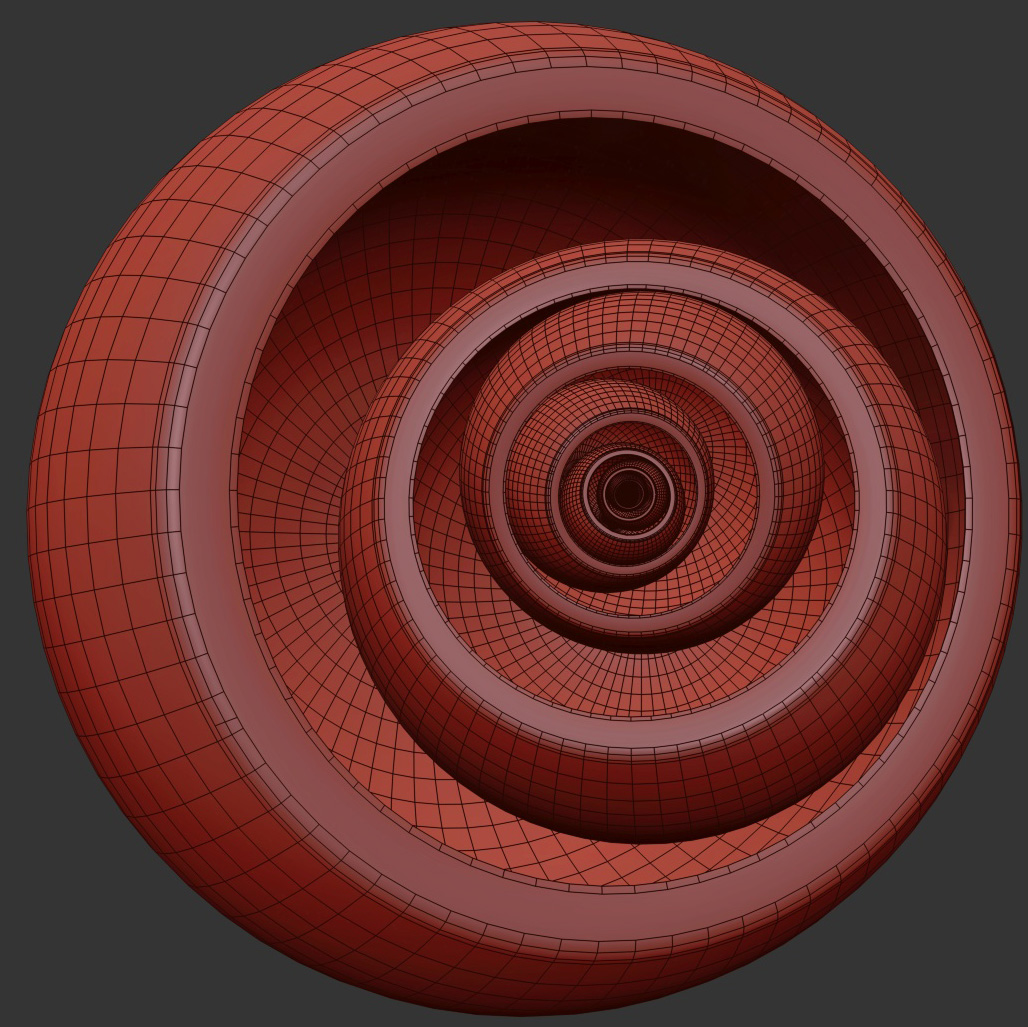
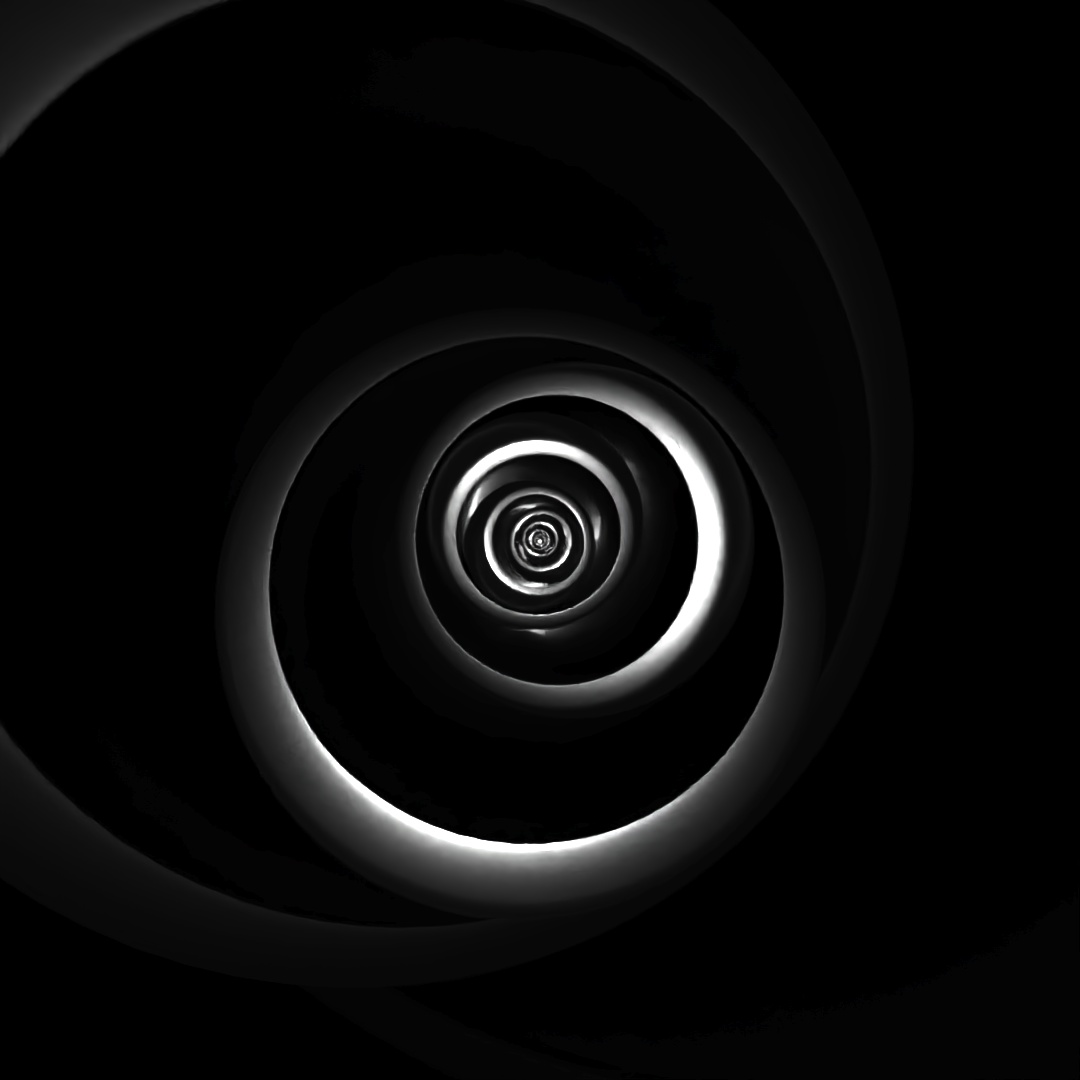
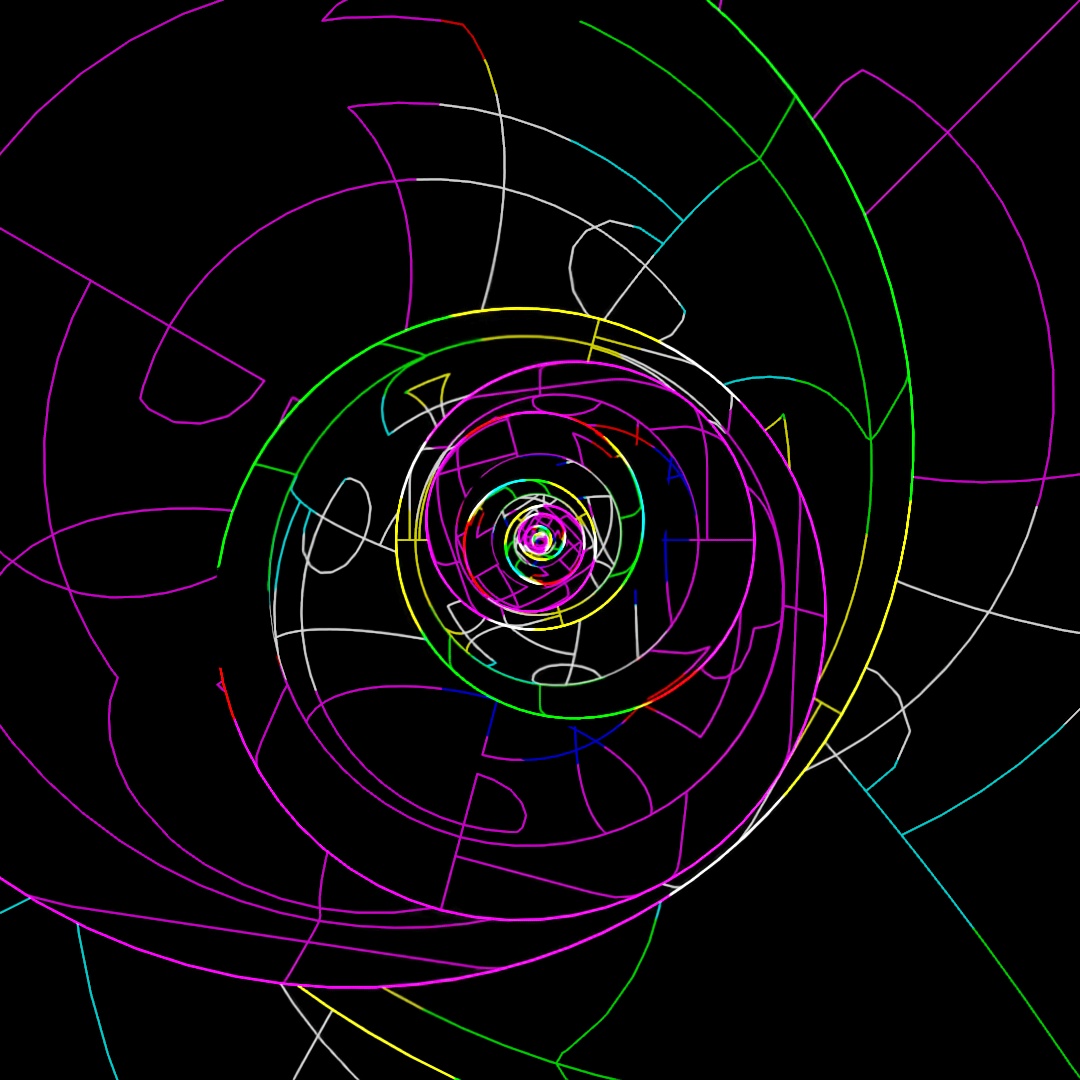
#360: Rotate, Scale
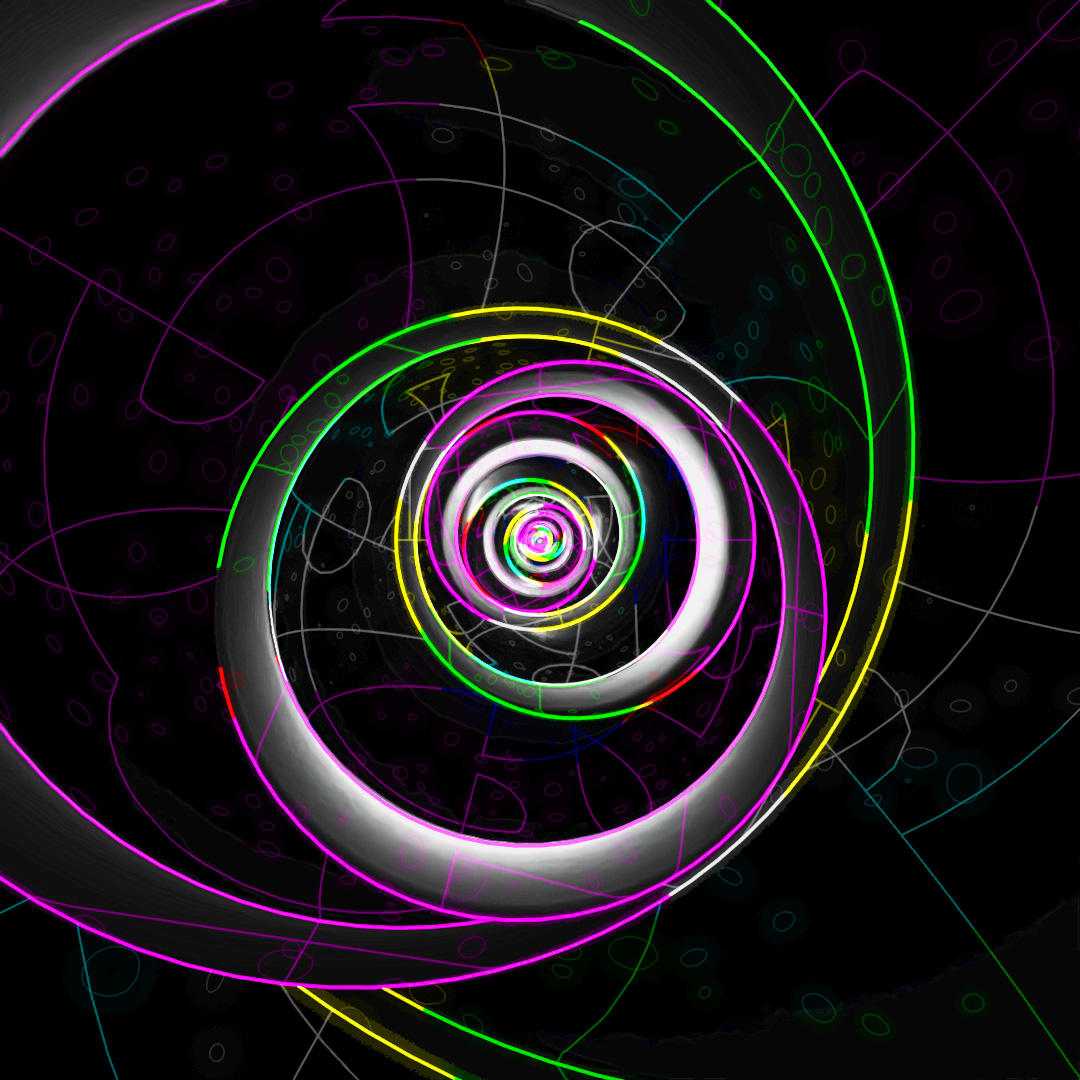
Similar to the previous post, I started off with a sphere and applied the shell, slice and chamfer modifiers. Then I tilted the sphere slightly off-center and used array to scale the sphere up and rotate each copy around the axis. Started with a base of glossy black plastic and again used Toon Shader to layer on the glowing lines.
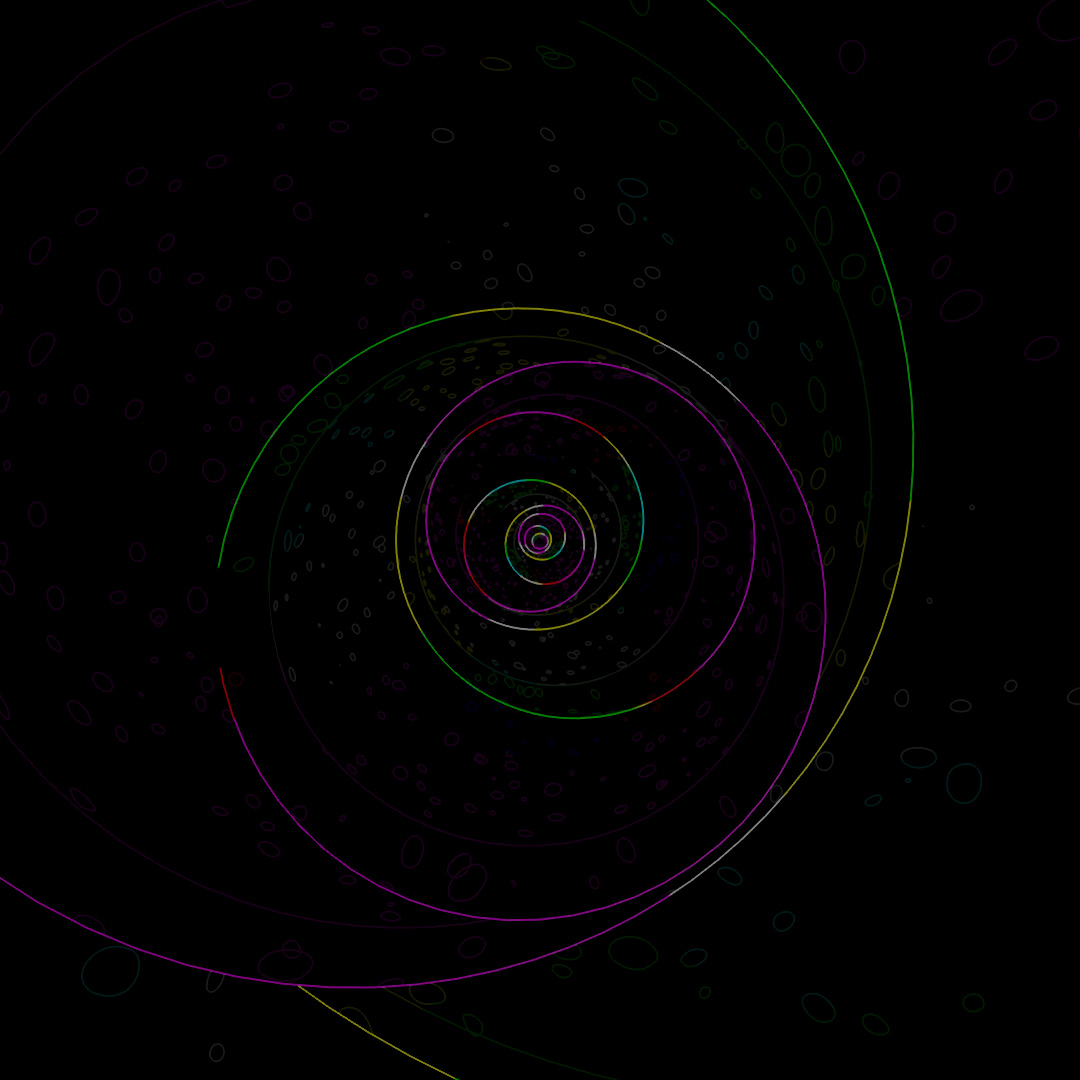
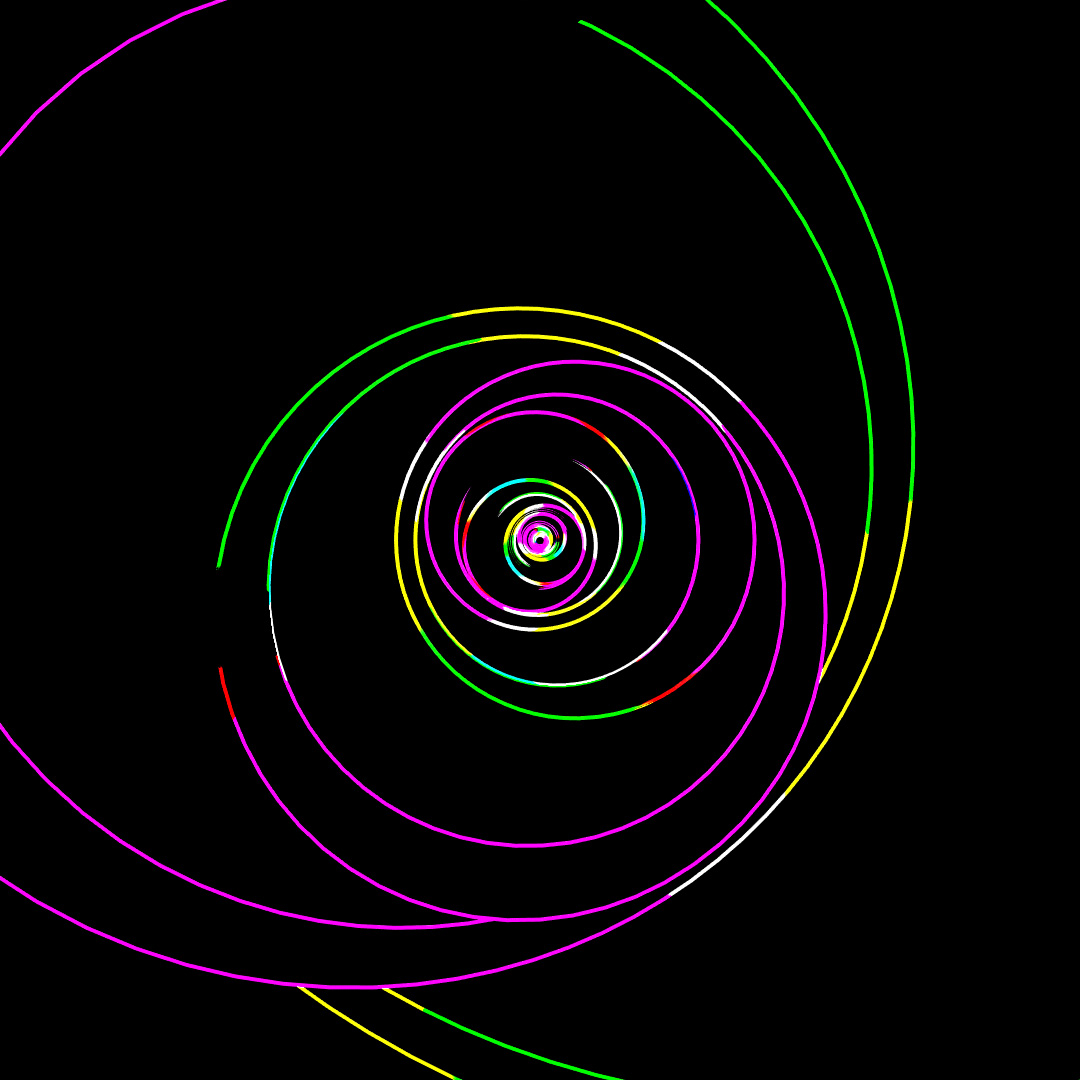

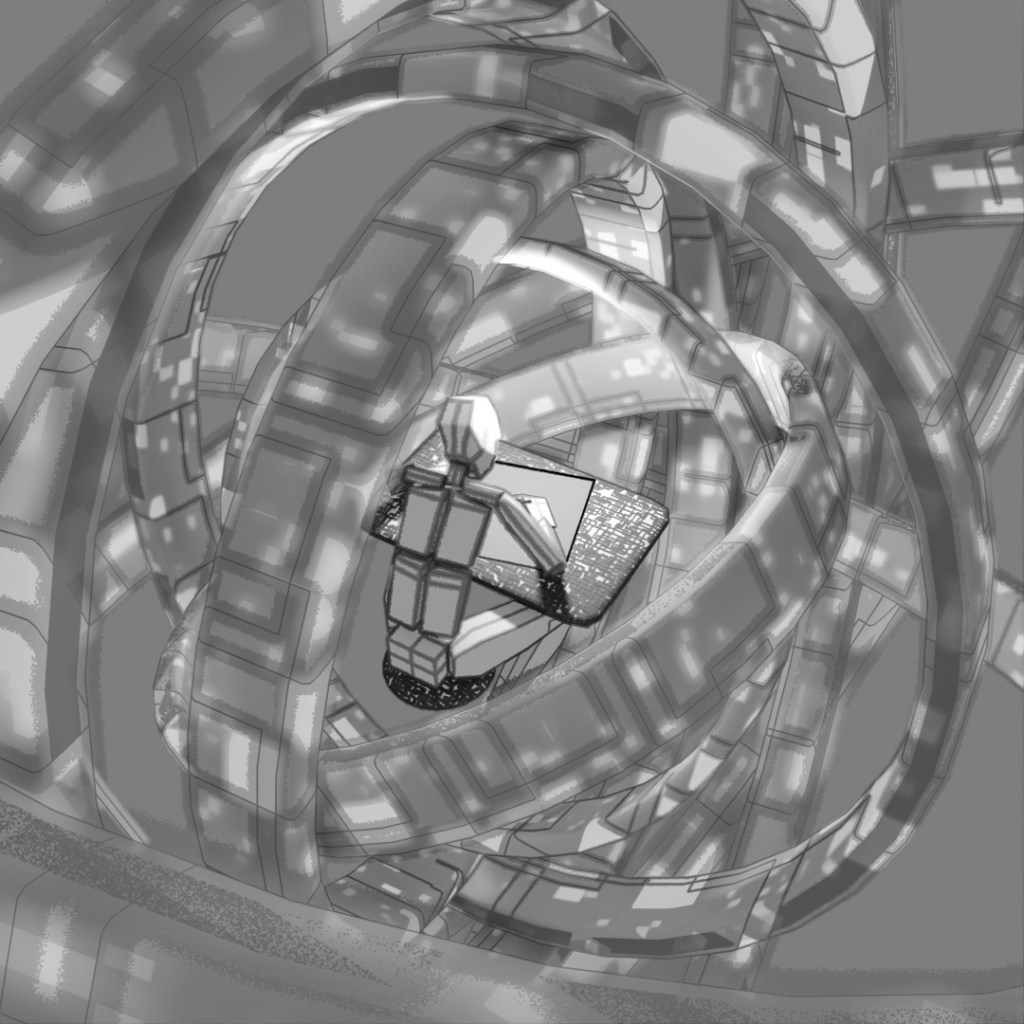
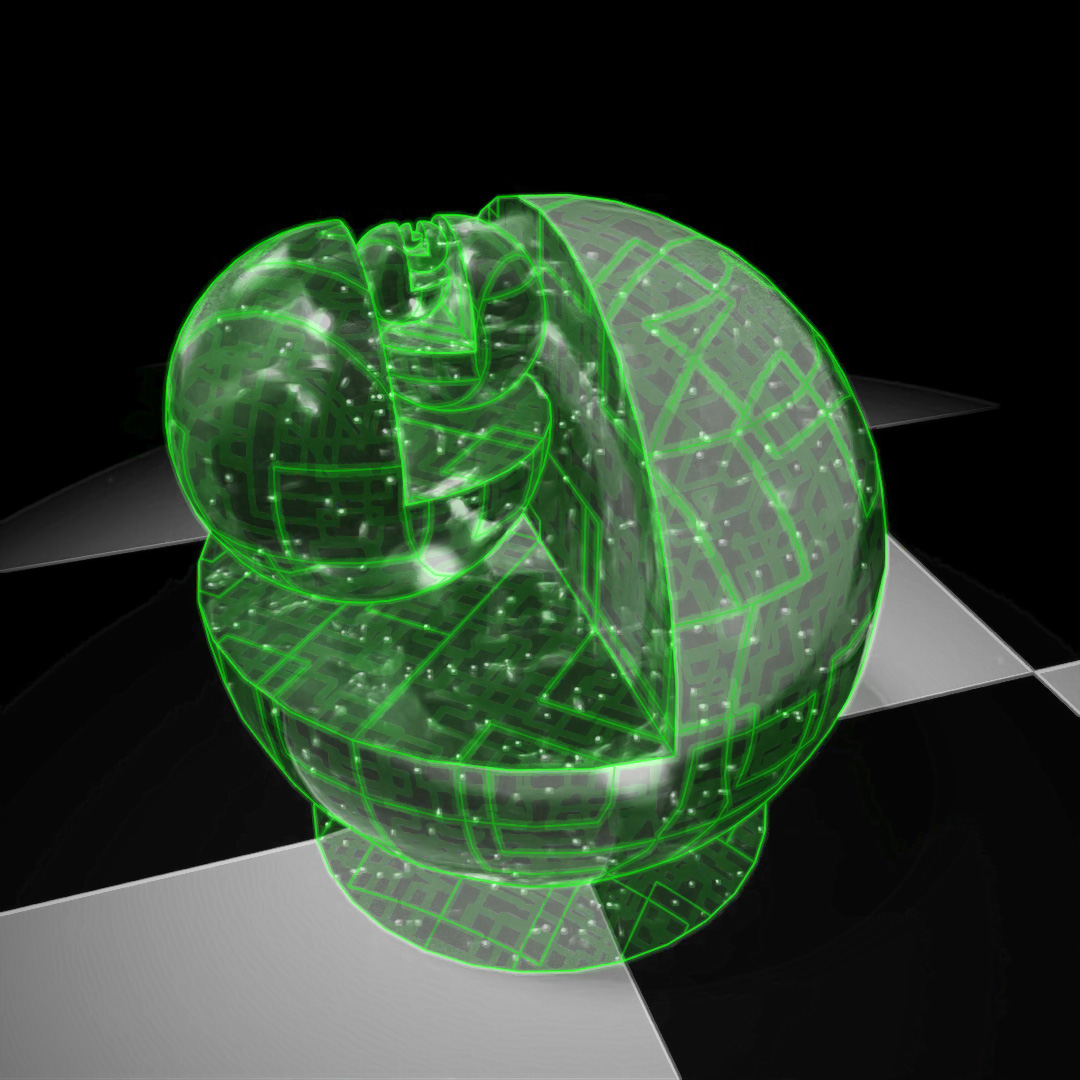
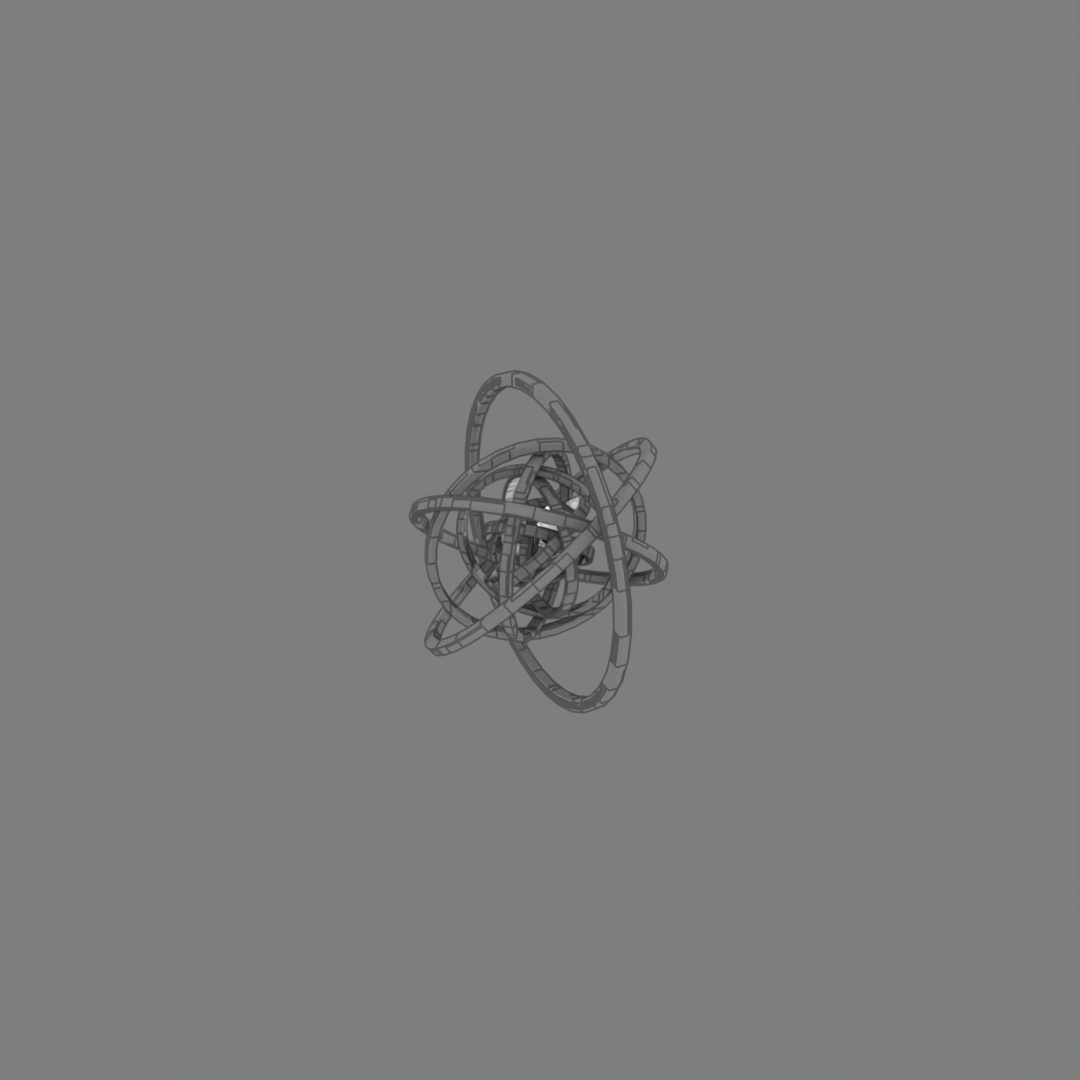
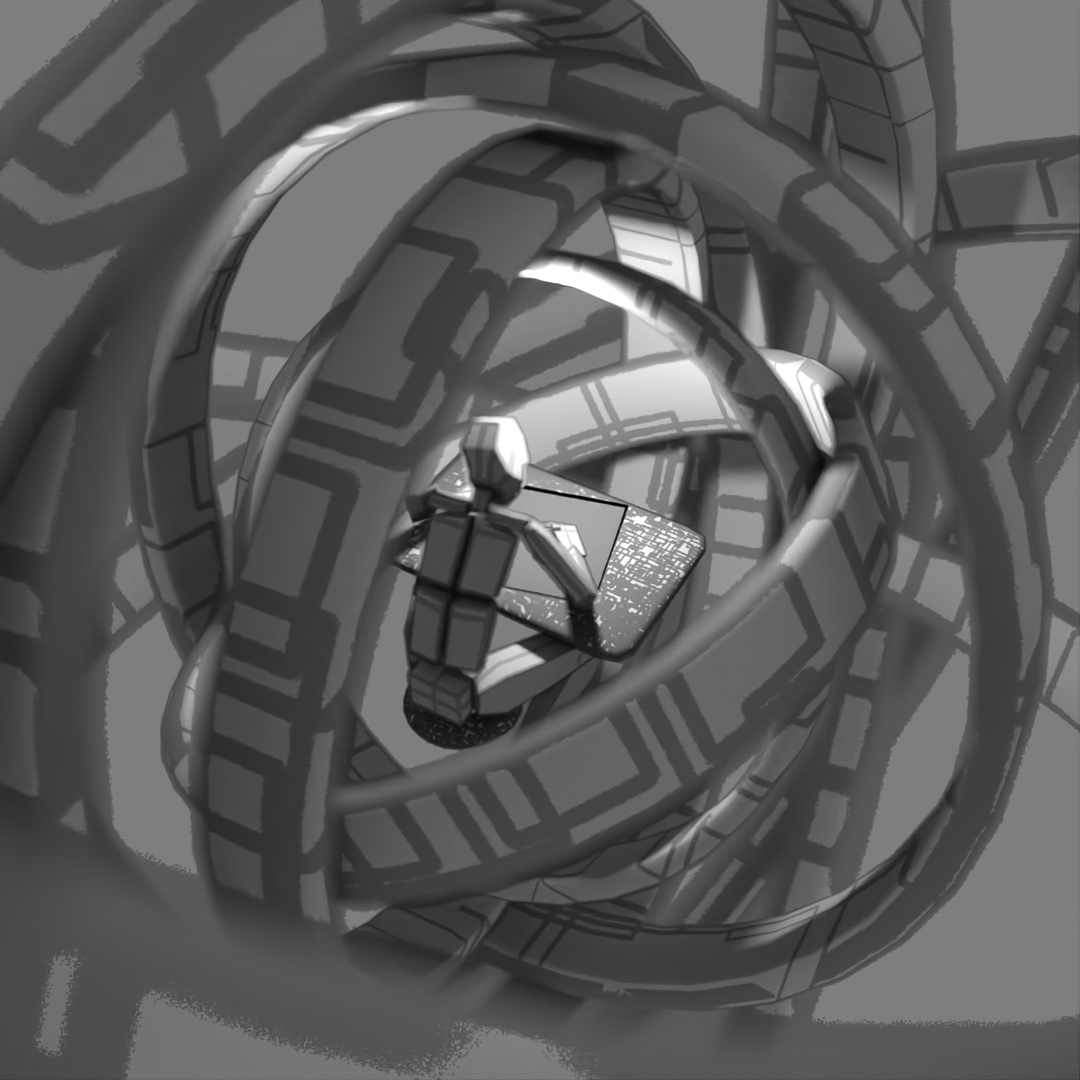
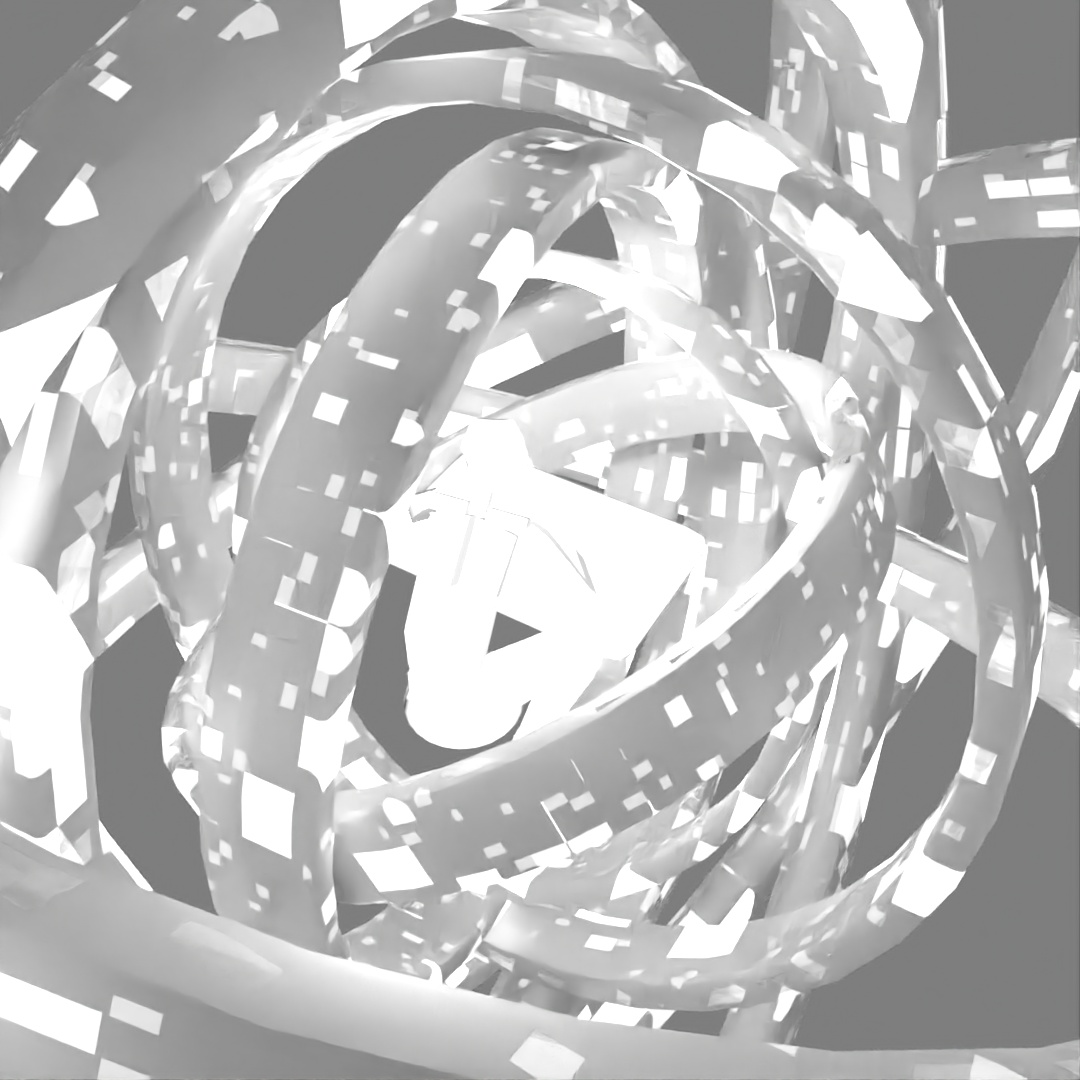
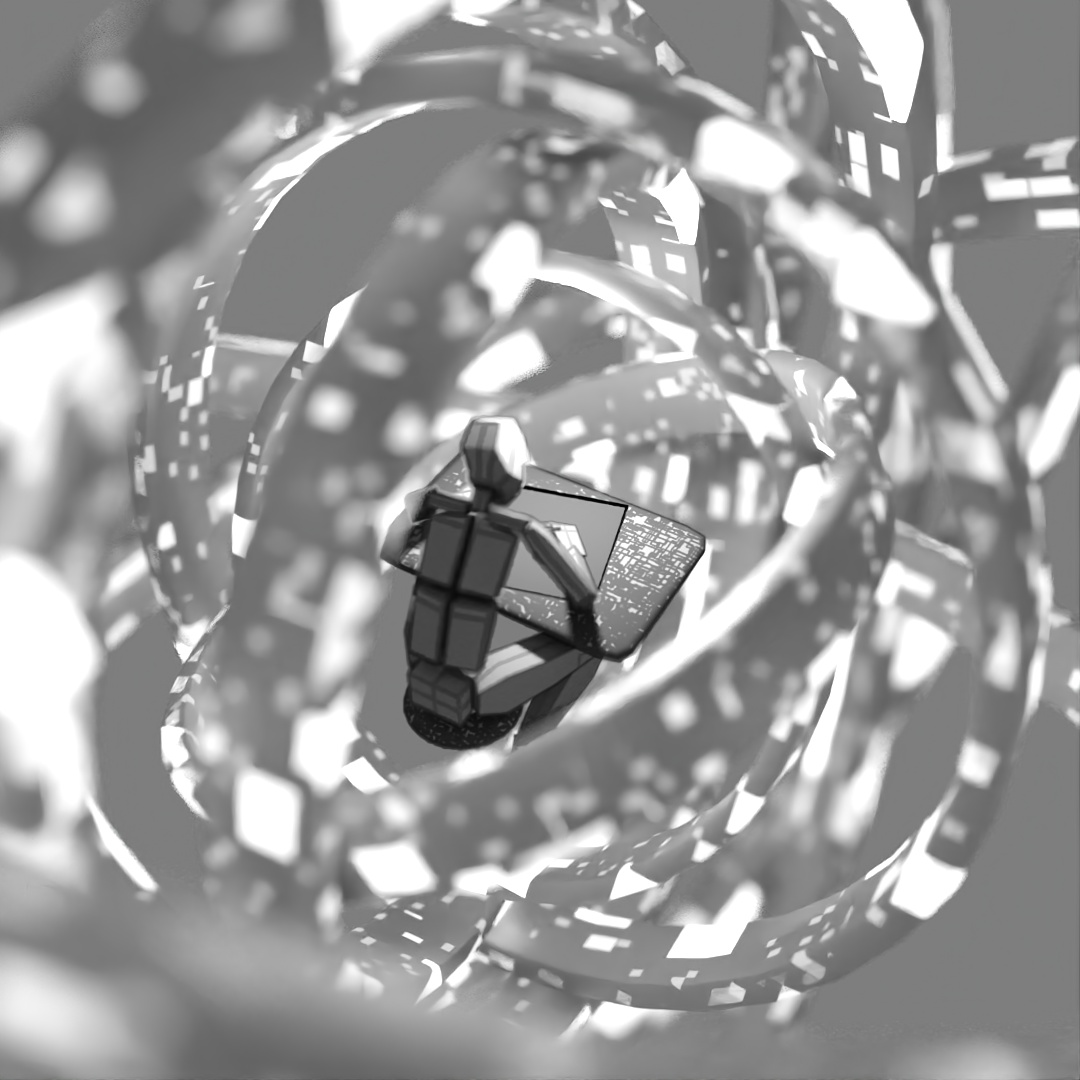
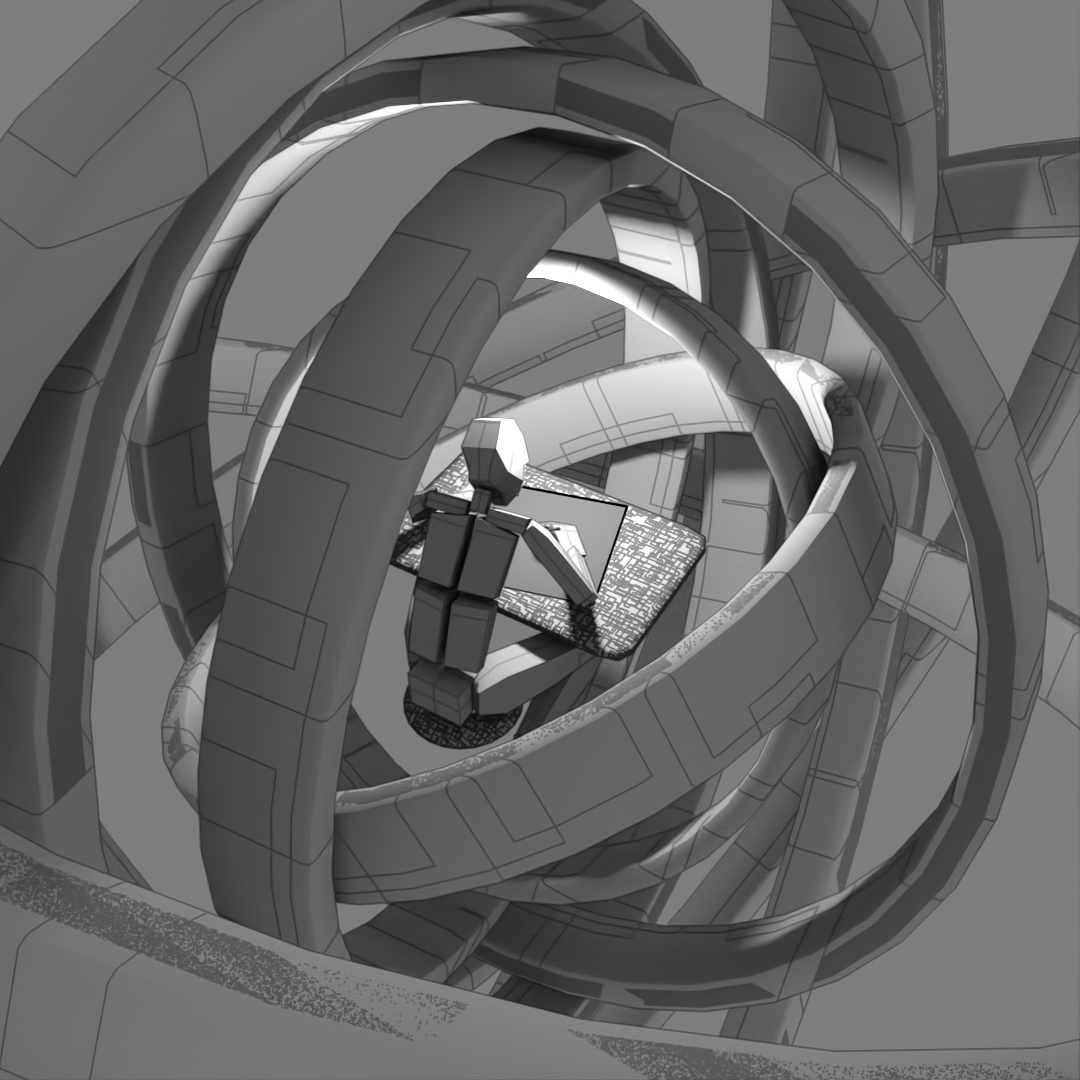
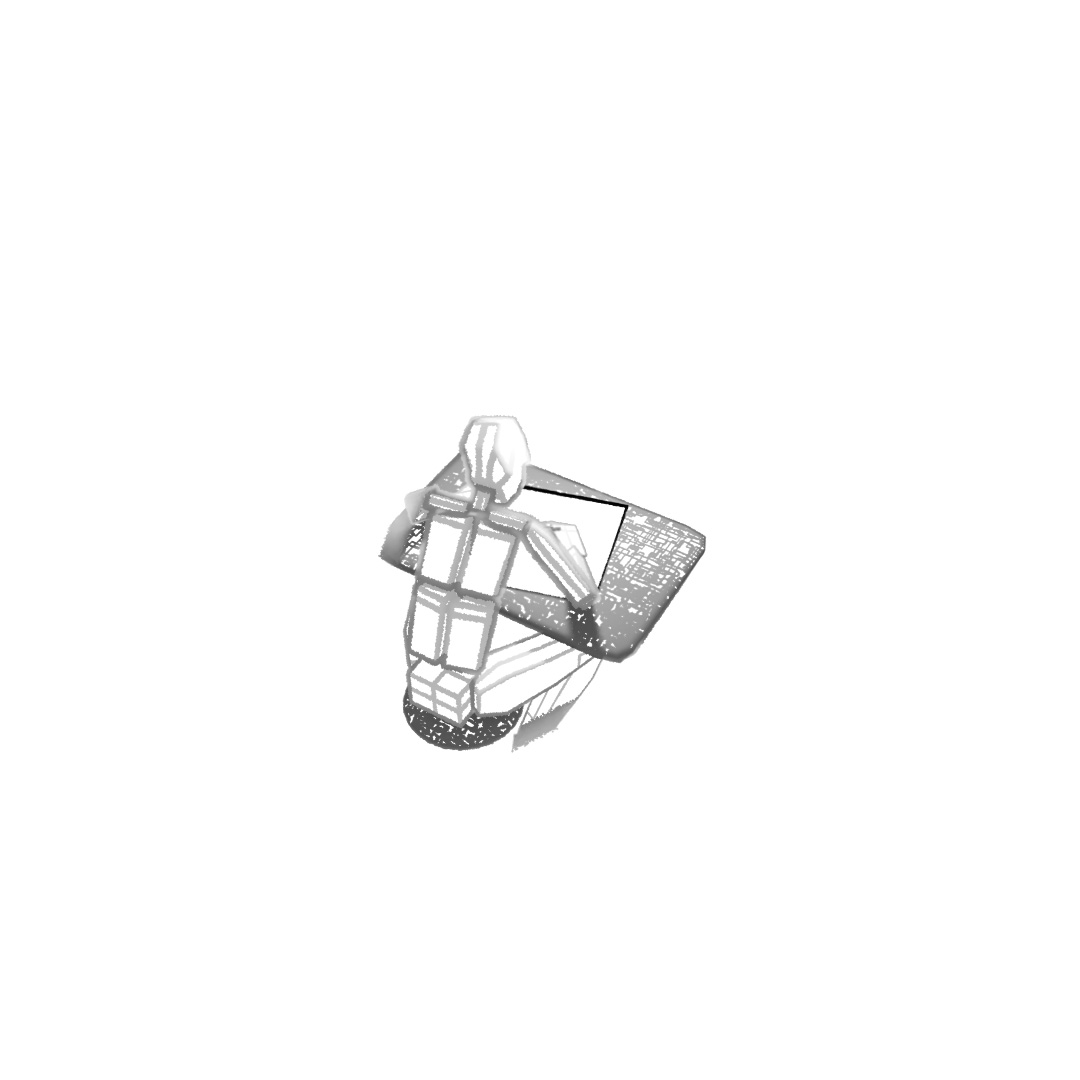
#361: Sphere of Influence
Wanted to make a looping animation where the biped character is sketching the sphere contraption around him. The rings spinning around him are the same ring scaled up in the X and Y directions and then rotated different directions around the axis. Rendered the last frame to use as the sketch in the beginning of the clip. For the still-frame version, I again started with a base image and made versions with Depth of Field on and different apertures and also applied a noise map emission to the rings.

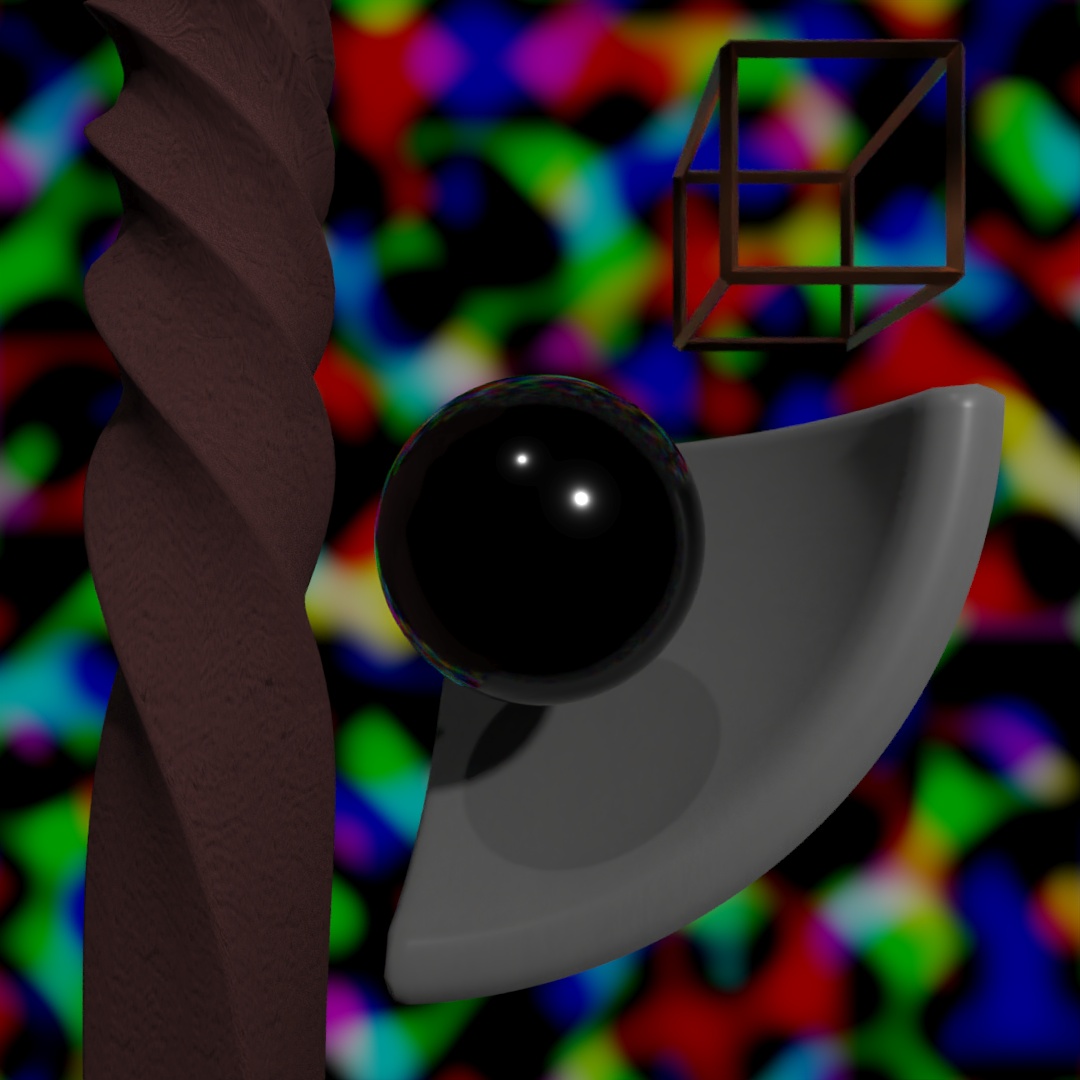
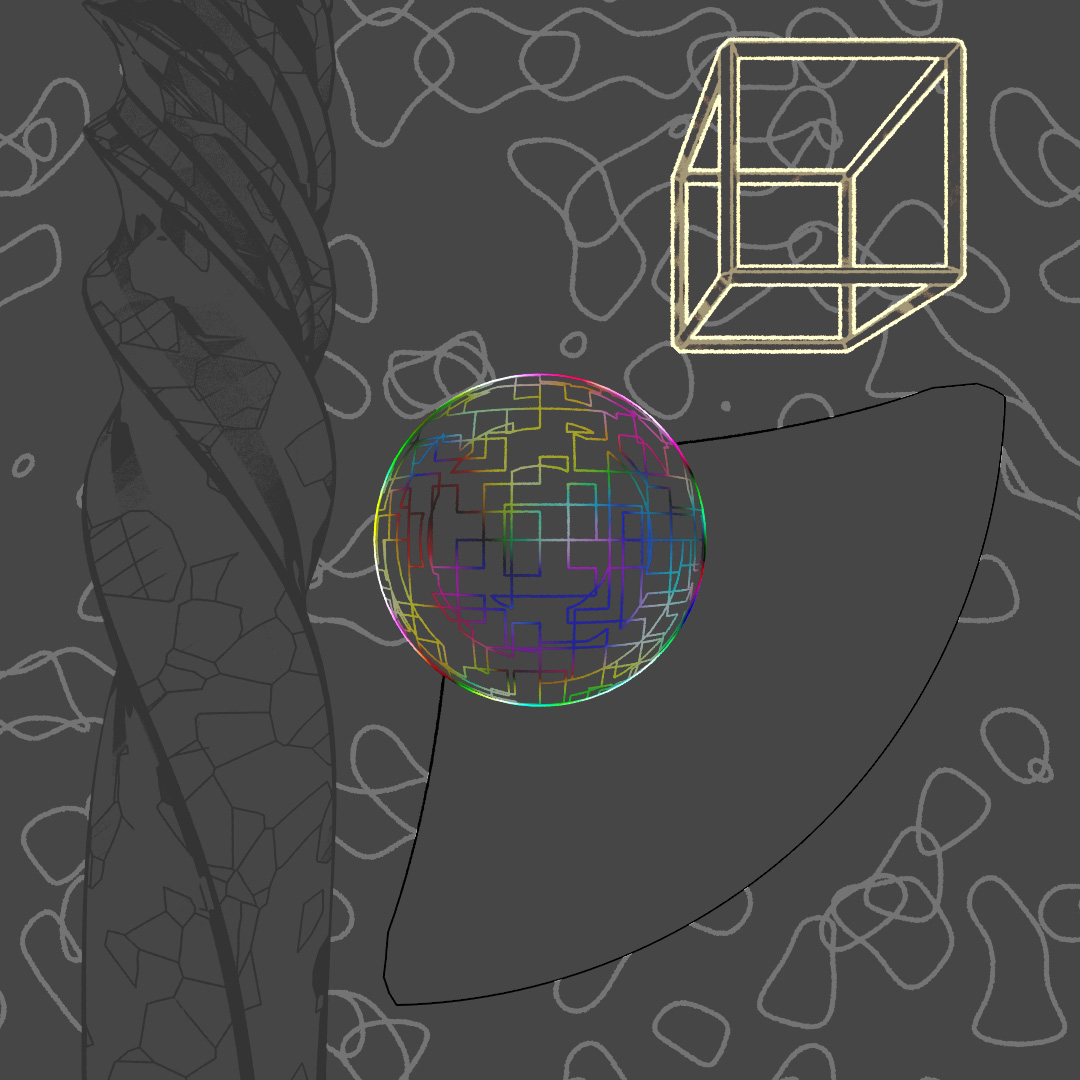
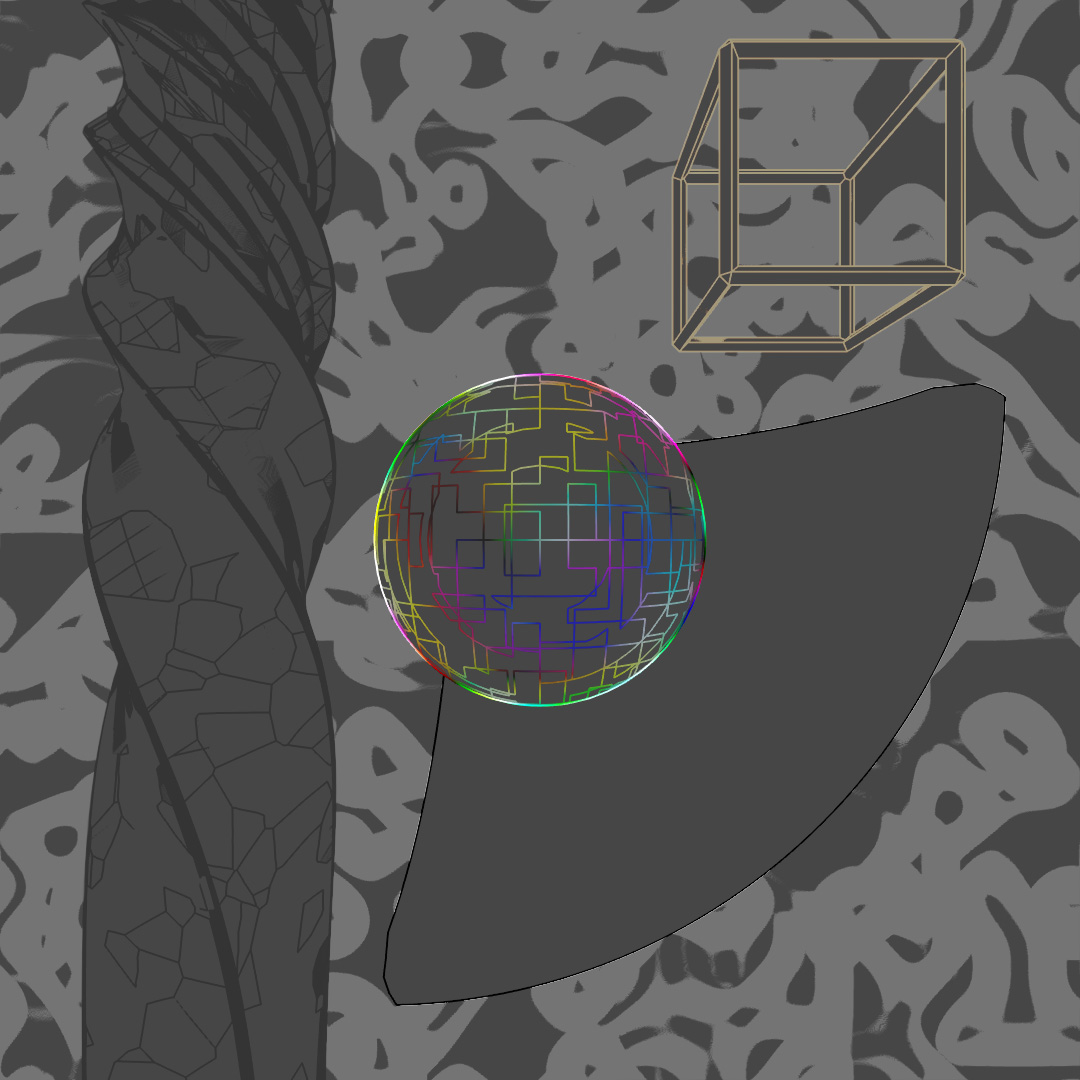
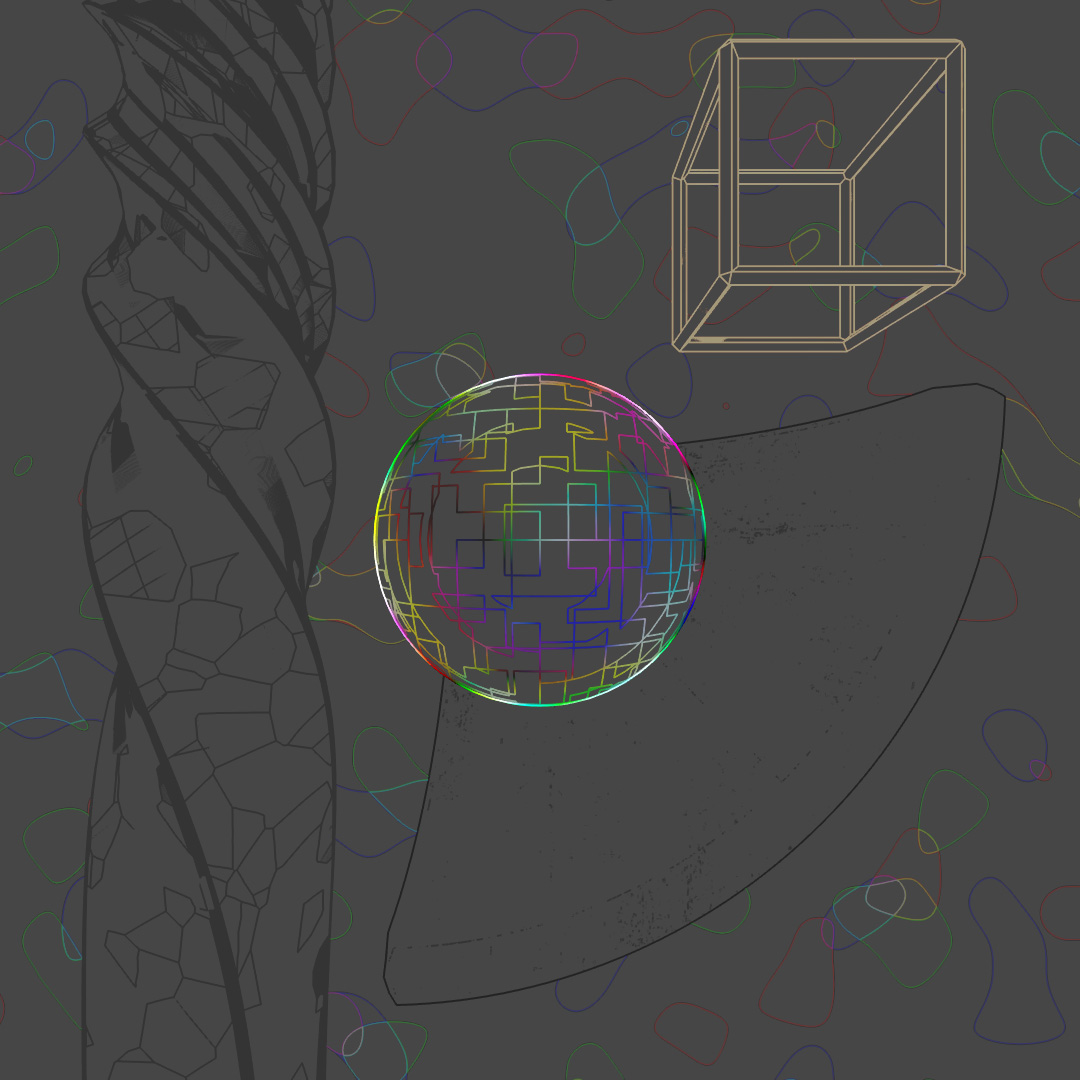
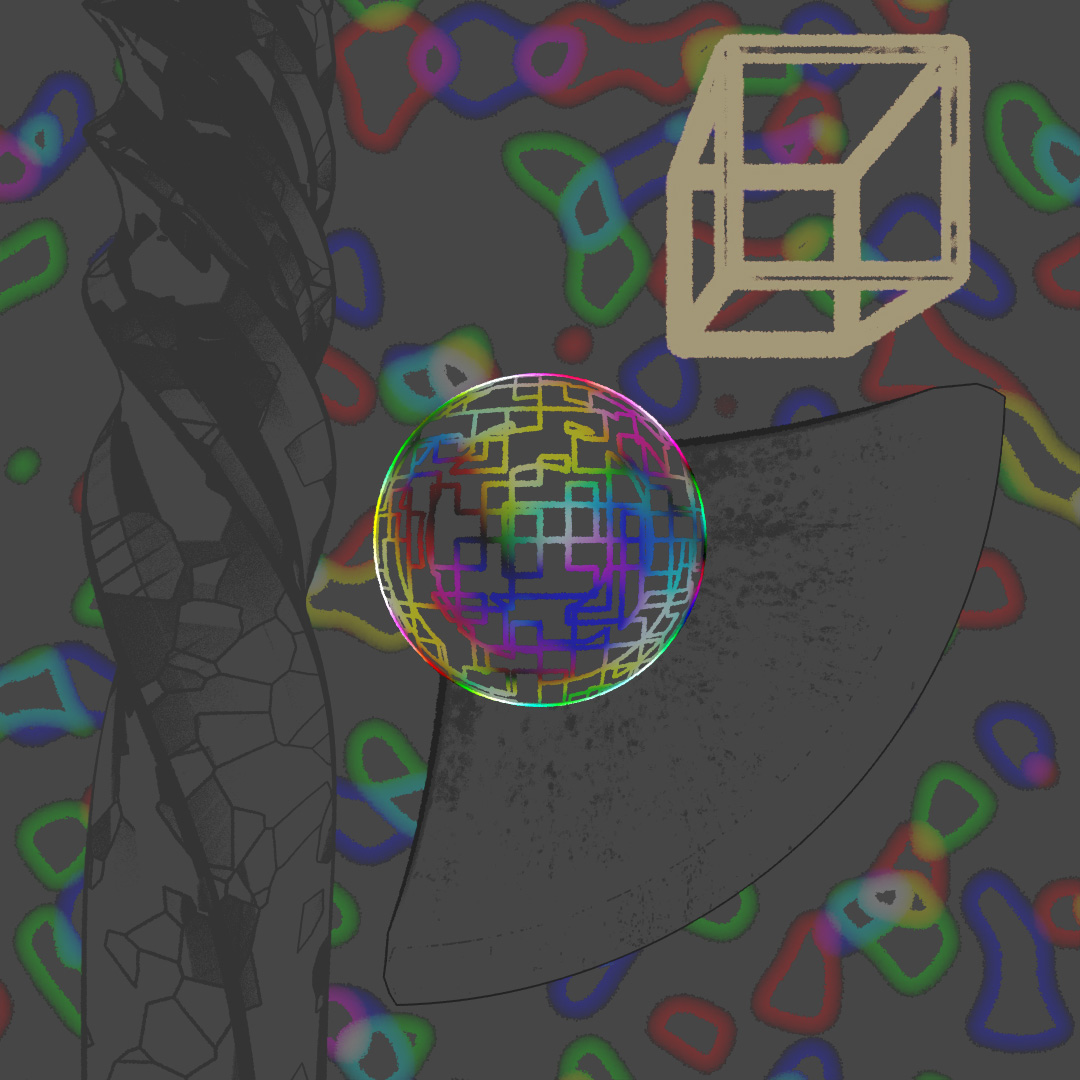
#362: Shapes and Colors
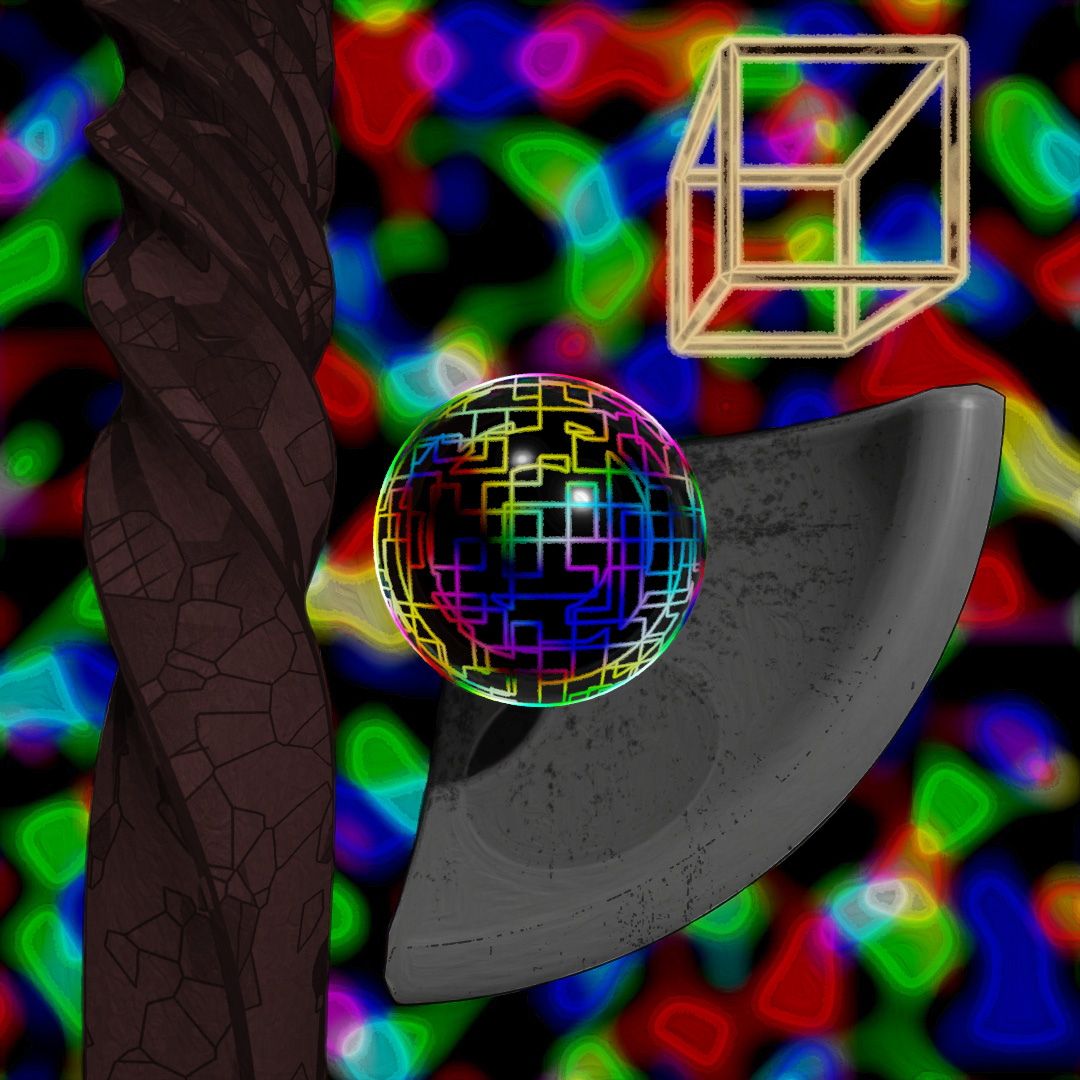
More practice in starting with a base of photorealistic materials and then layering on Toon Shader versions to add texture and glowing lines for a stylized look.

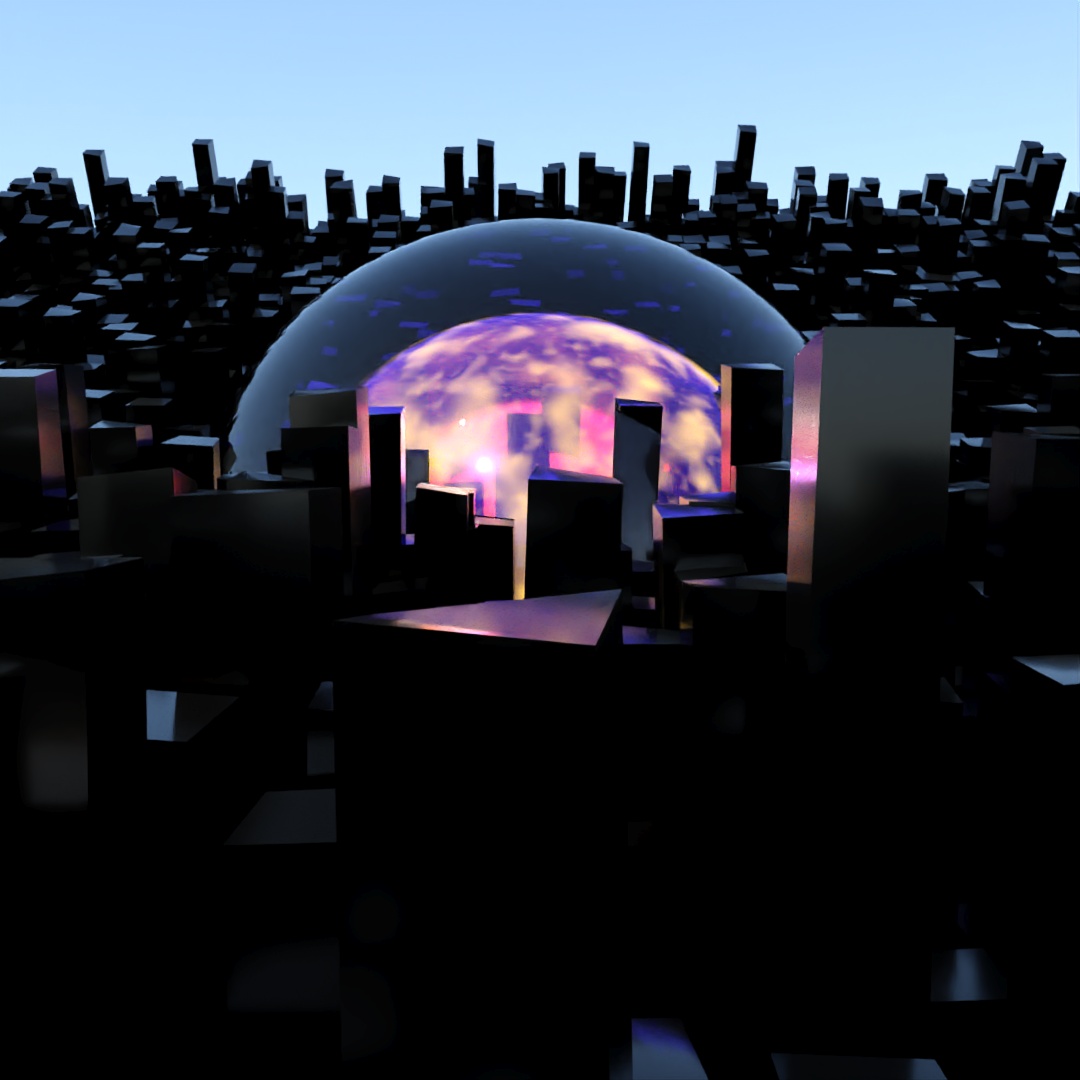
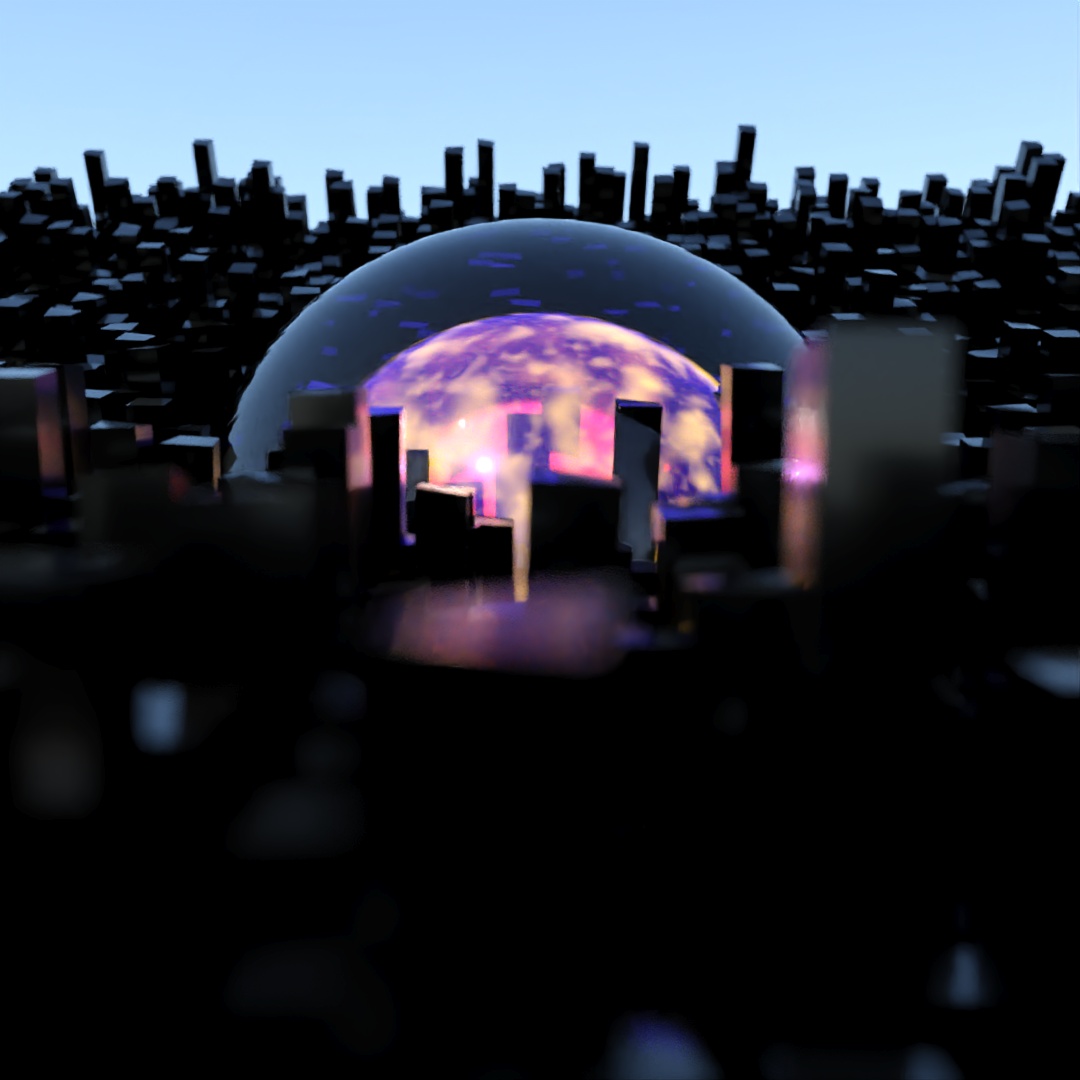
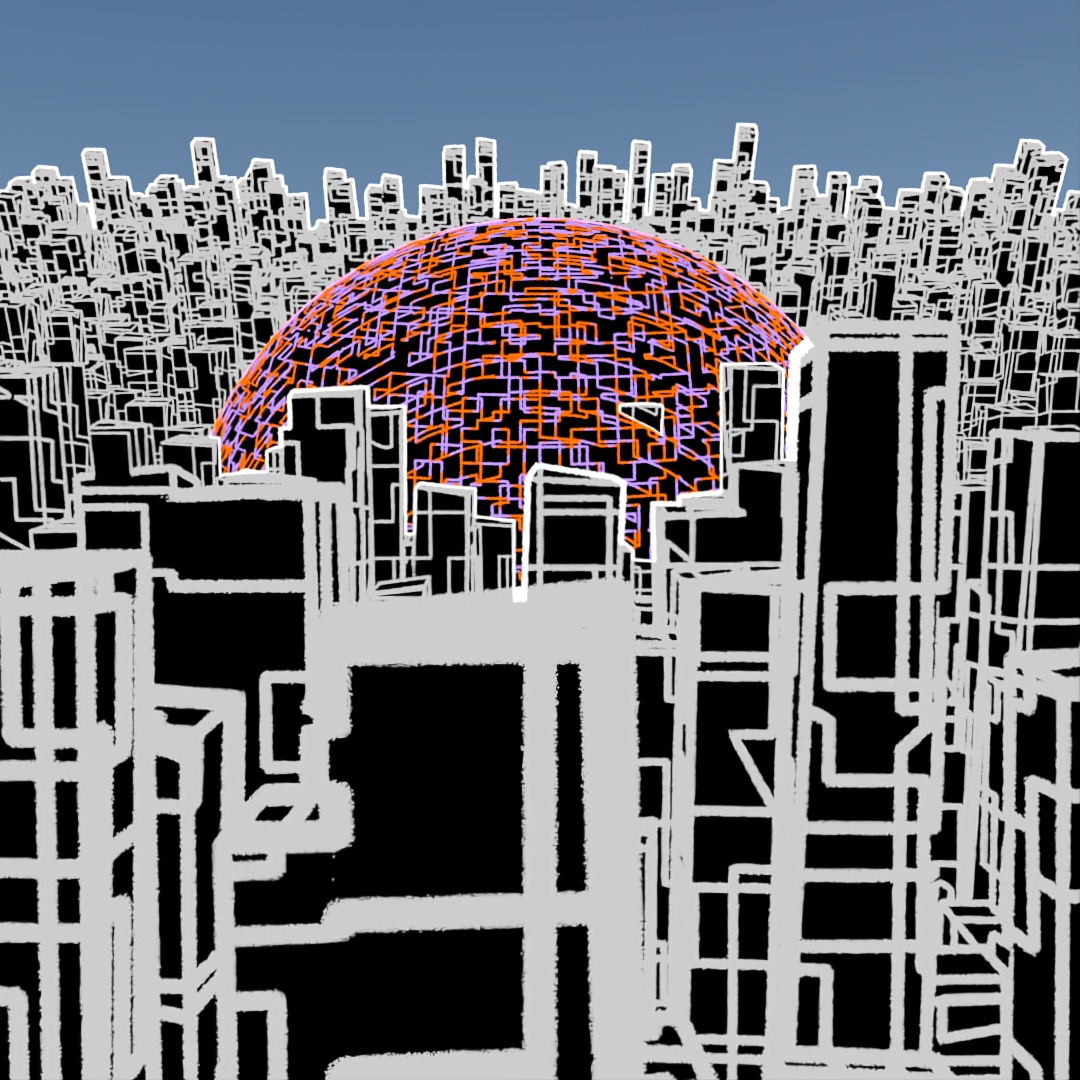
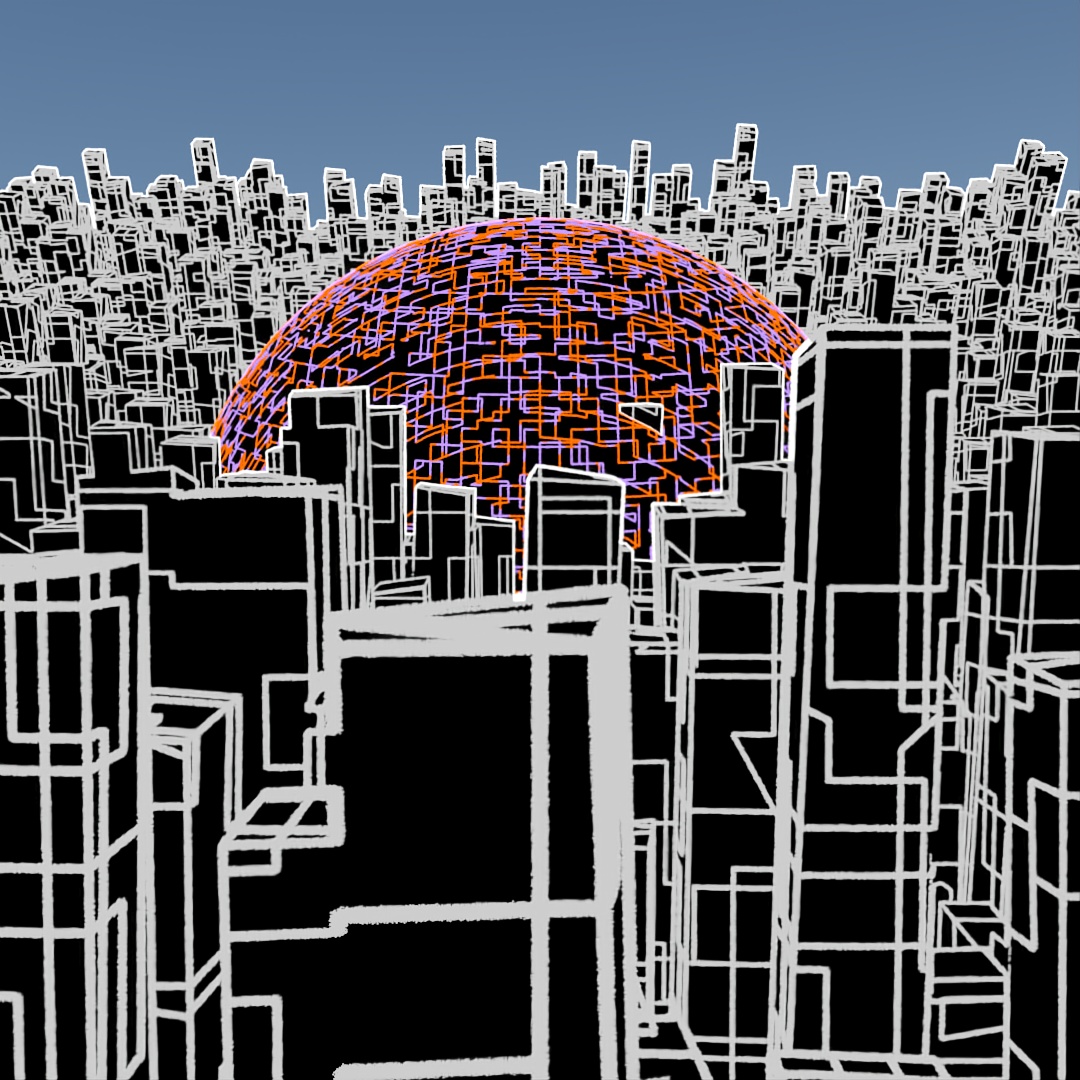
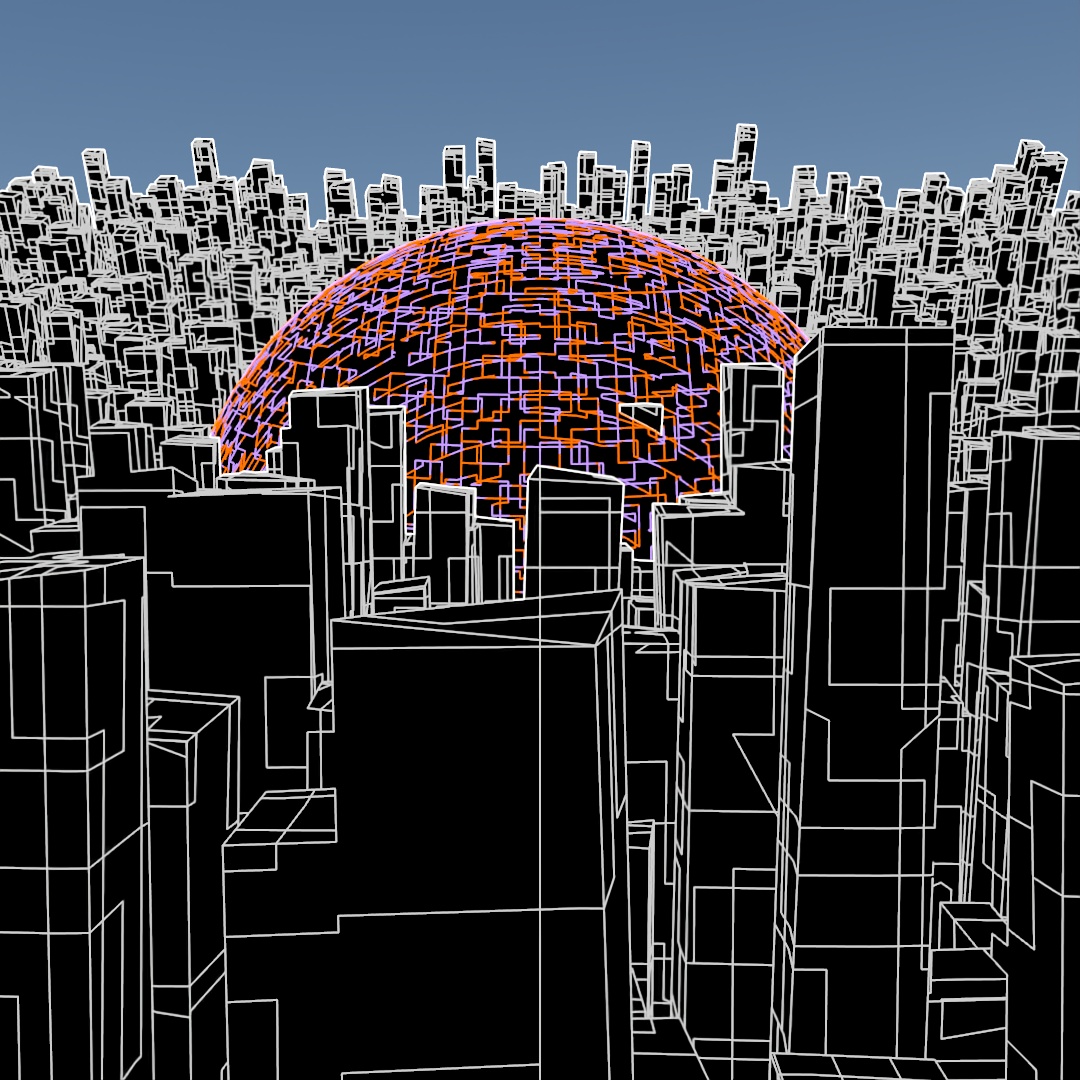
#363: ScatterBox’d
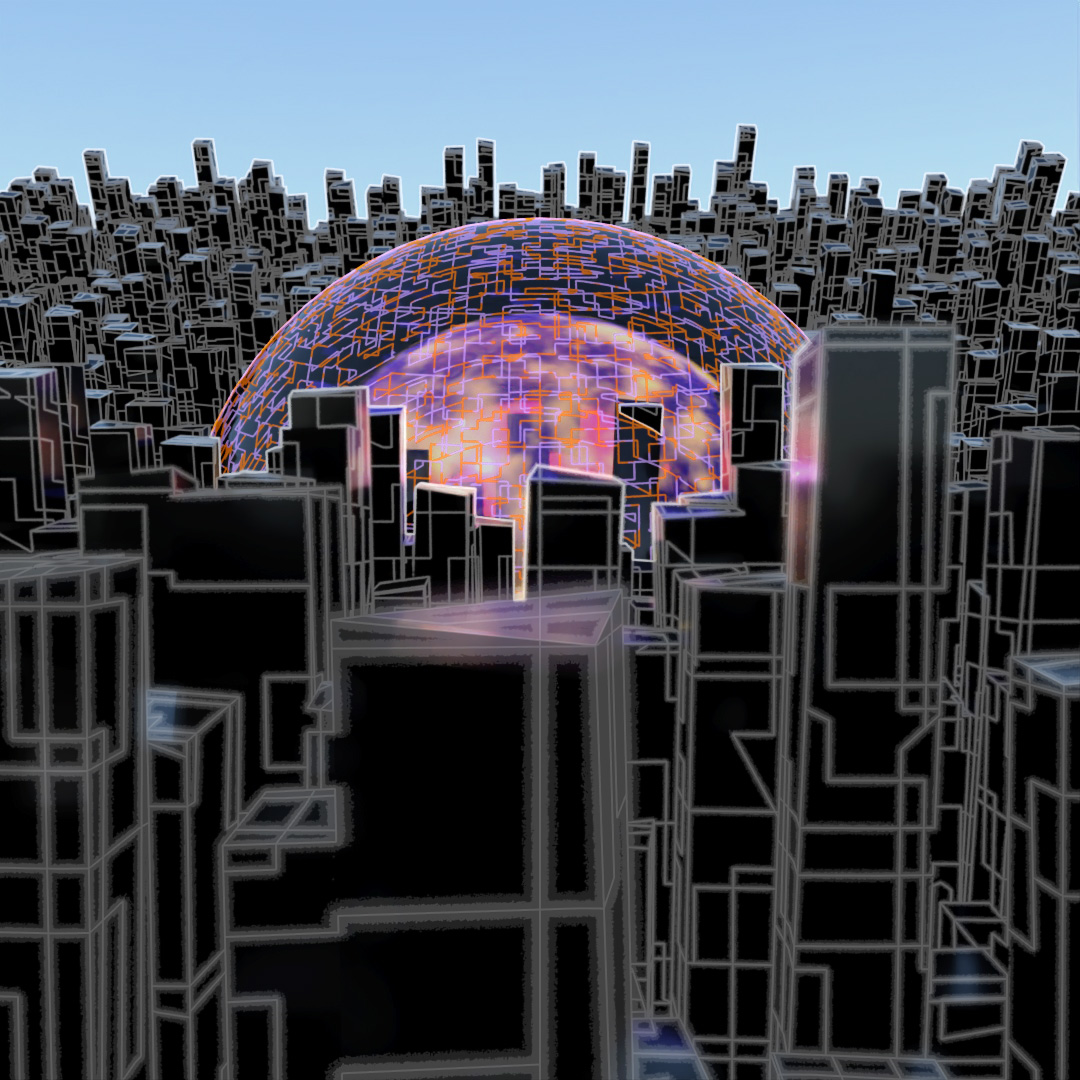
Started off with a tall skinny black glossy plastic box and used Scatter to distribute copies across the surface of a curved plane. Used the parameters to randomly vary the z-position, add up to a 2° rotation and 5% chaos to the vertices of the copies. In the middle I added a large transparent sphere, a medium sized transparent sphere with a noise map of orange emission and then a small sphere of emissive yellow. Then rendered different versions with Depth of Field on and varying apertures and also Toon Shader versions and layered them all together.

Leave a comment