
Everydays Project #315-321
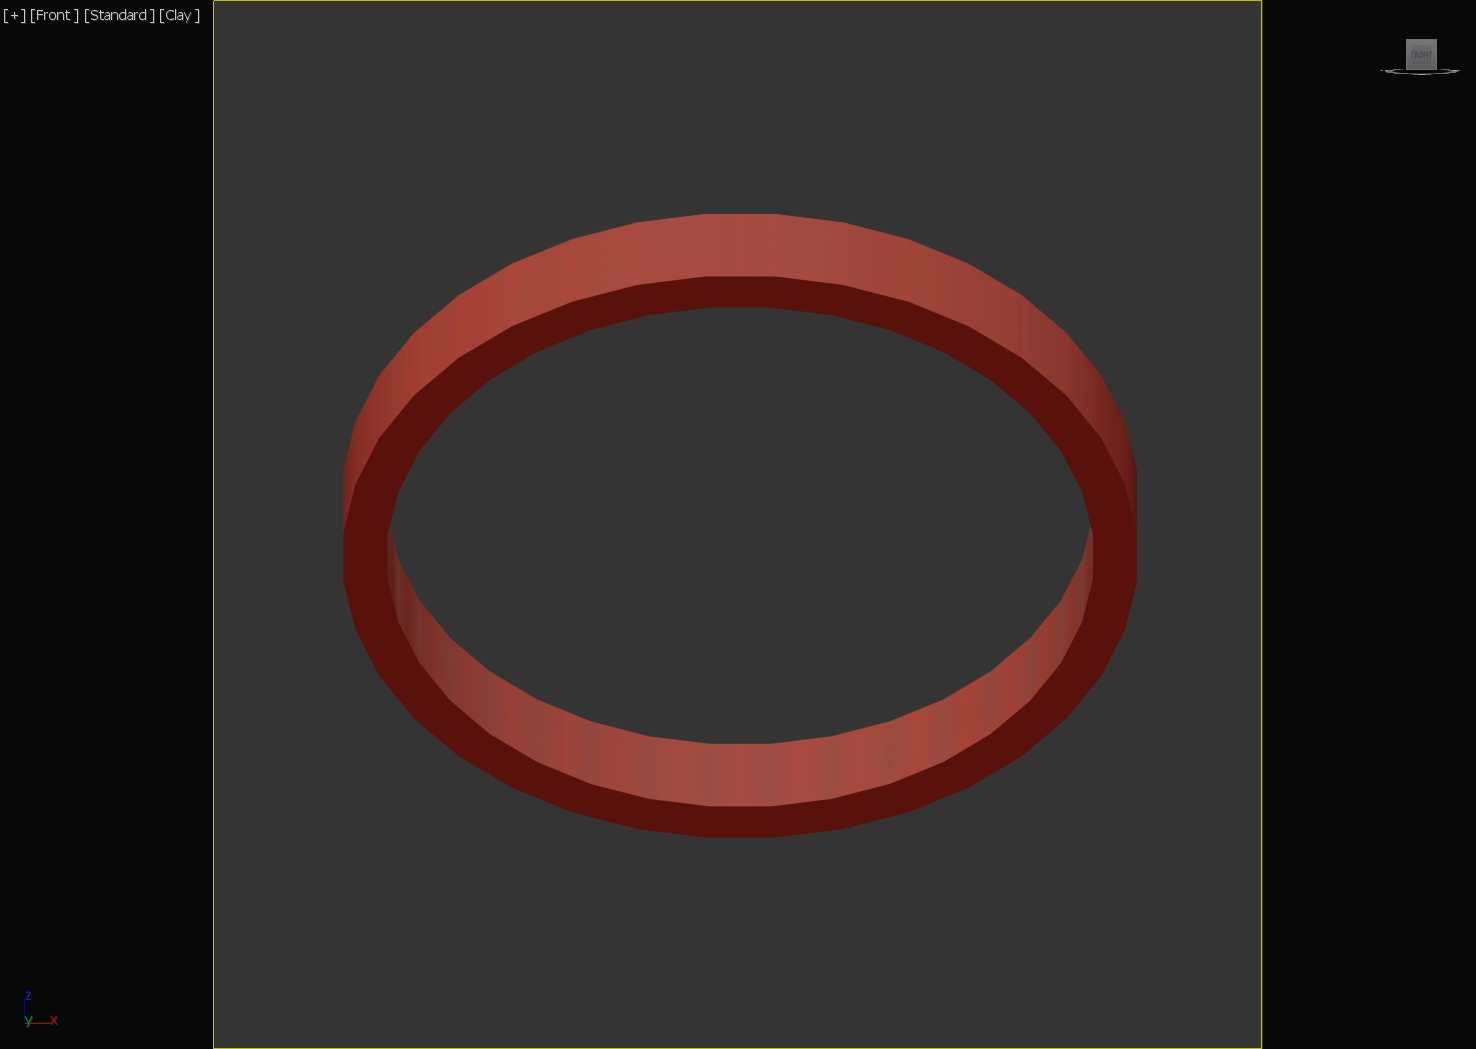
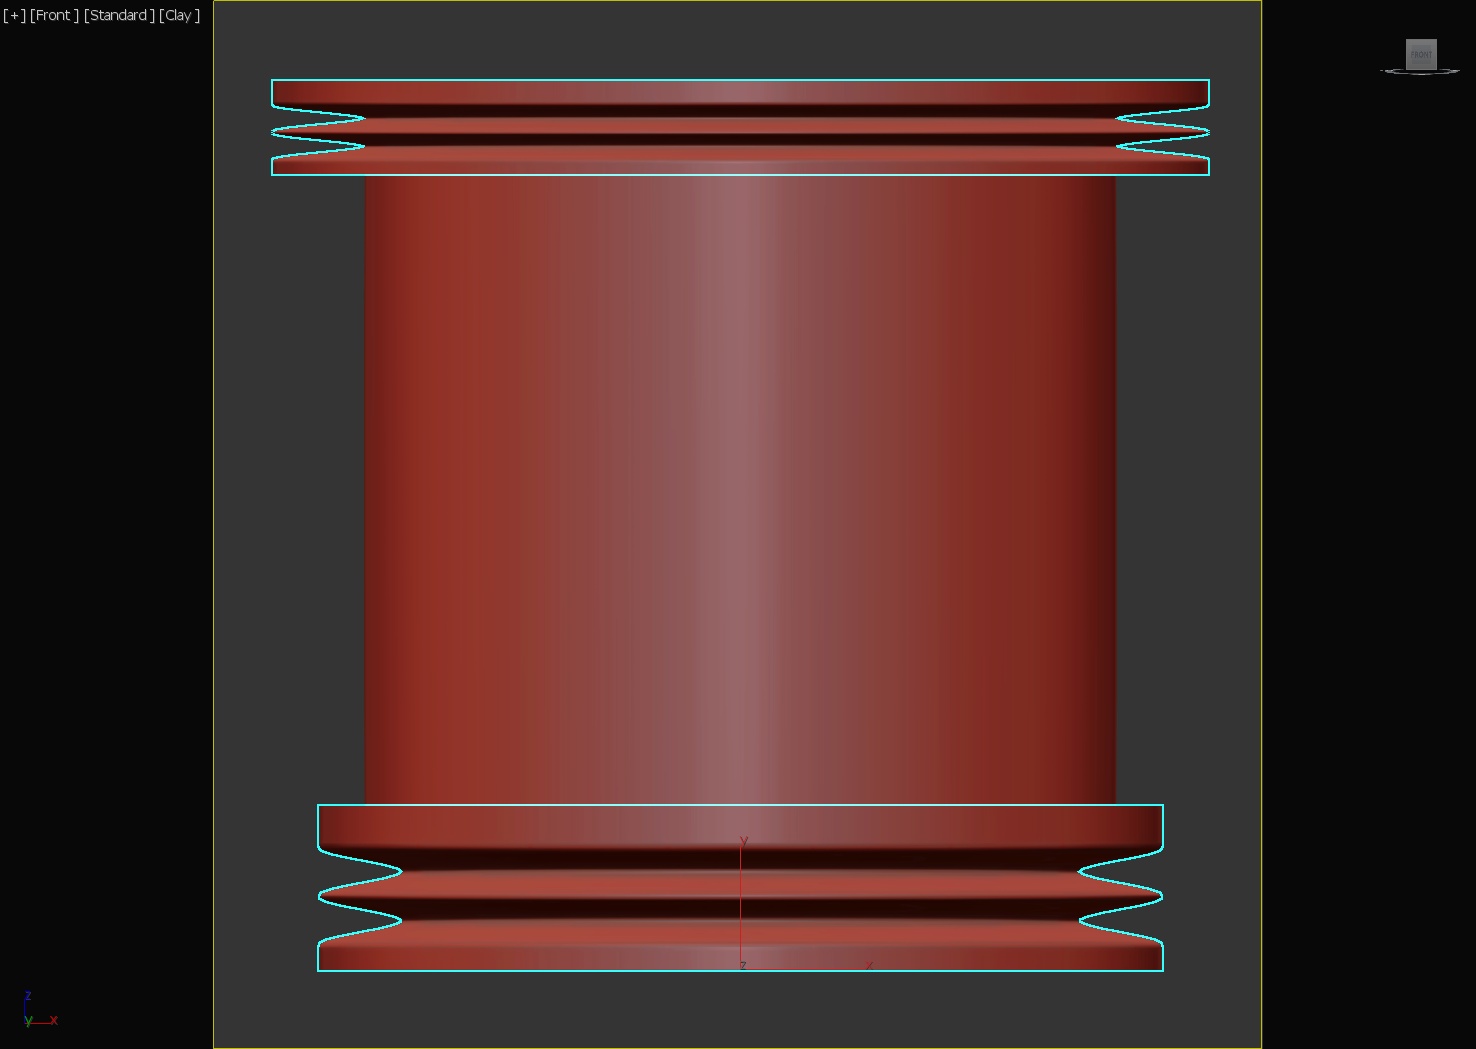
#315: Concentric
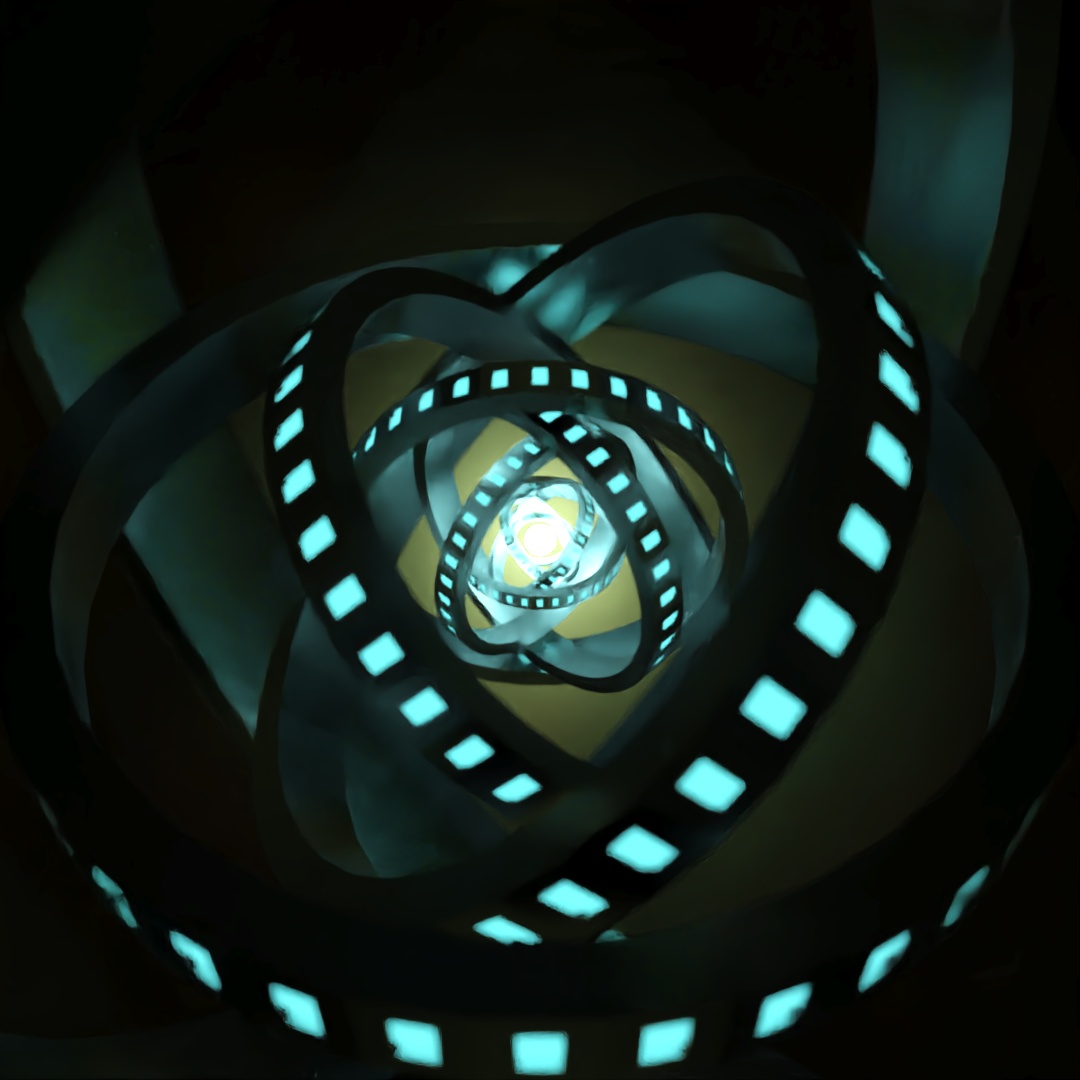
Trying to make something visually interesting but simple (and in less than an hour). Started out with a short tube centered around the origin. I then used EditPoly to inset all of the outer faces, extrude the faces in a negative direction, and then detach the newly created faces. I used an aluminum material on the original tube. For the inset faces, I customized the plastic material to have a slight blue emission. Then I cloned the ring and faces, scaled them by 150% multiple times and rotated each larger ring. I added a point light in the middle, a very large copper sphere around the whole scene as background and turned on the depth of field for the camera with an extremely small aperture of f/0.5.

#316: Remembering Paradise
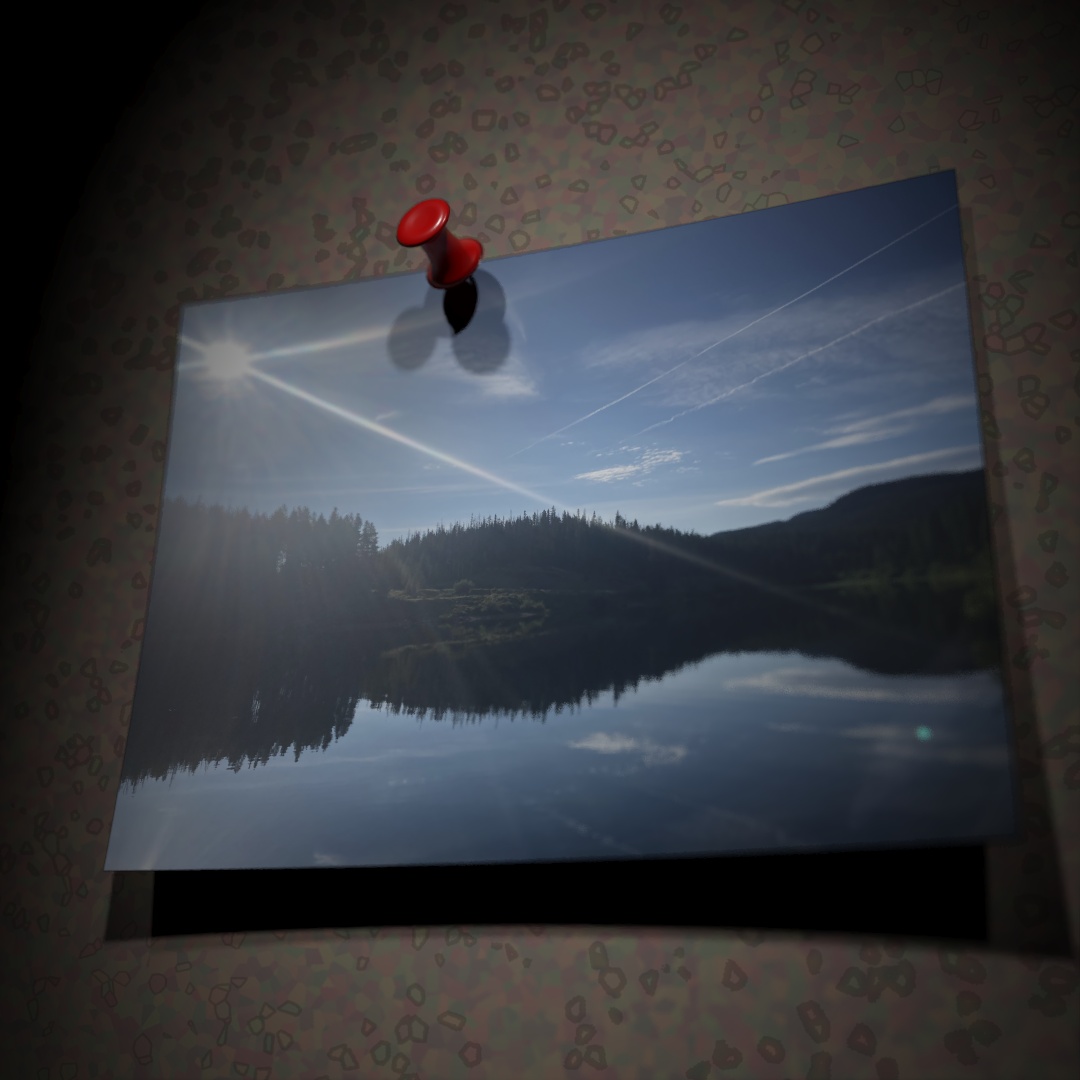
Caught myself staring at my desktop background, a picture I took at Chambers Lake in Colorado a few years back. At one point in time, I was trying to do photography professionally and I still have boxes of physical photographs from that time. I realized I haven’t actually printed a photo in years. Times change and nearly everything is digital. So I tried modeling a physical photo, with a pushpin and a cork-board background. The Toon Shader adds that extra level of “real photo in an illustrated world” feeling. Some bend modifiers to make the plane look like photo that’s become curved over the years. Adding the UVW Map prior to the bend modifiers ensures that the image bends with the plane accurately.
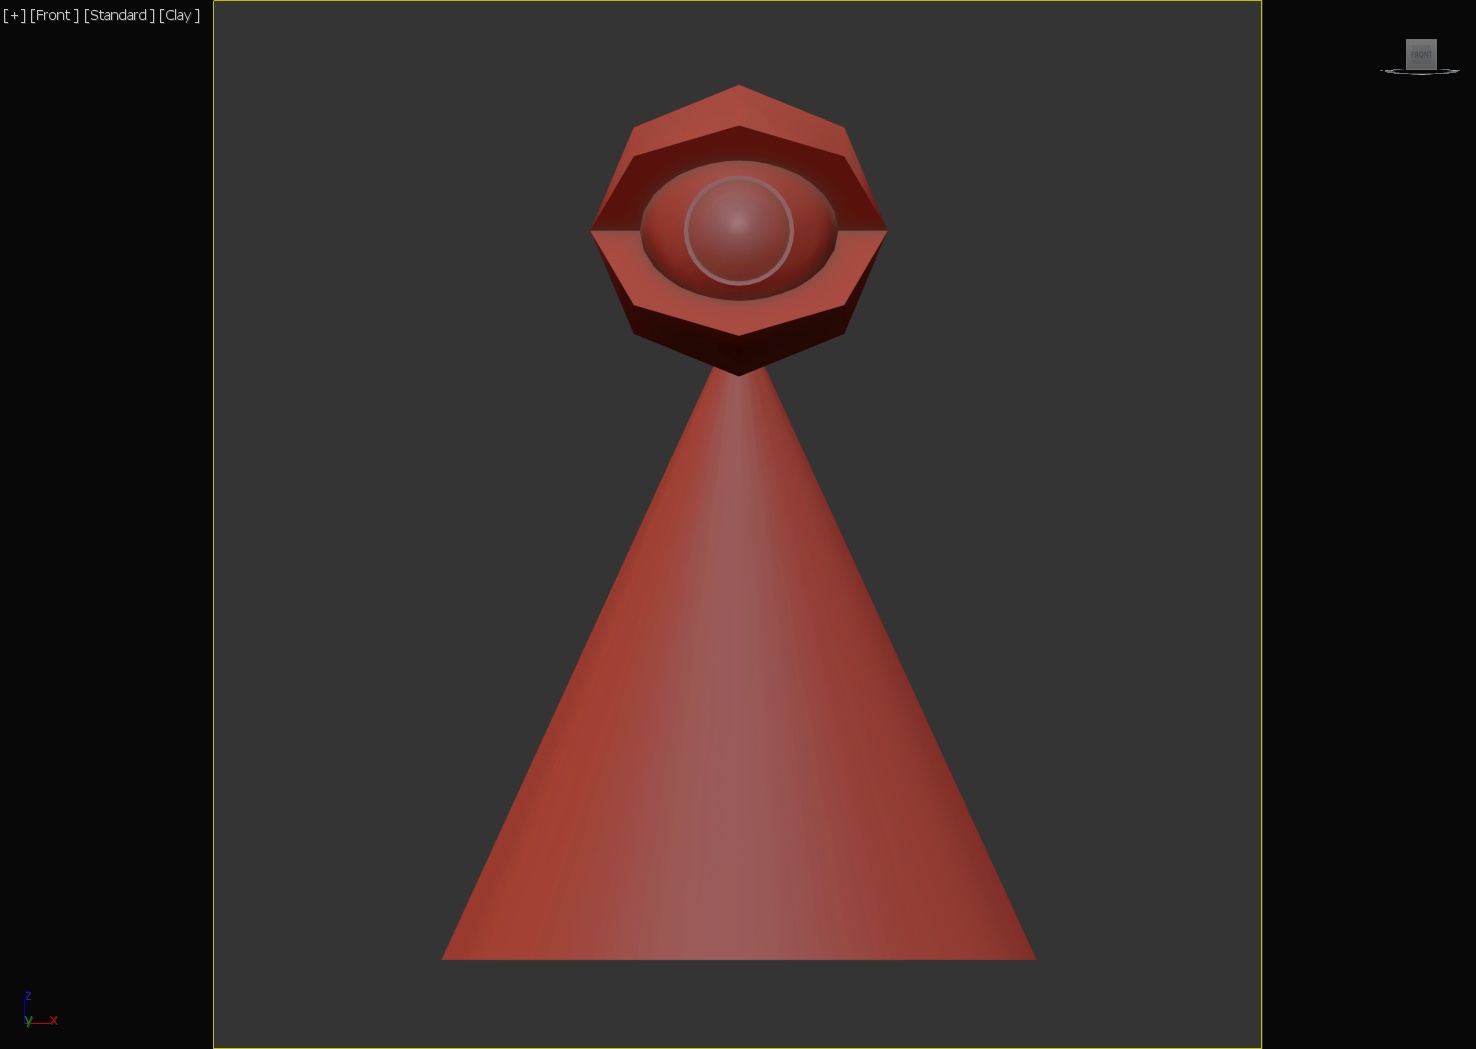
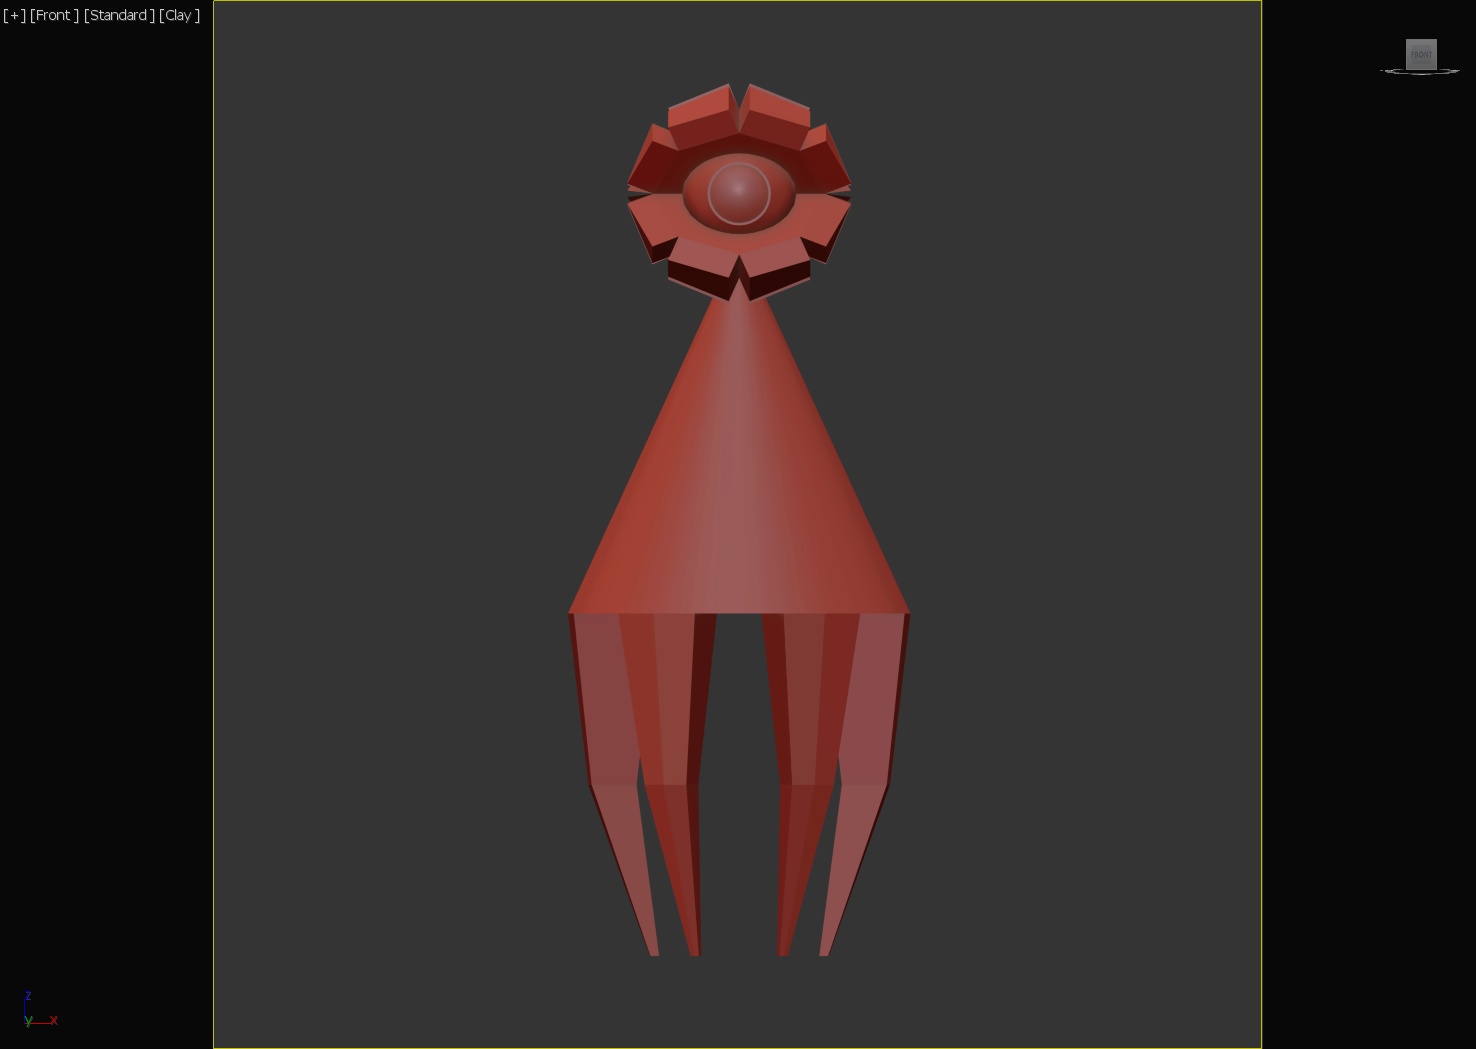
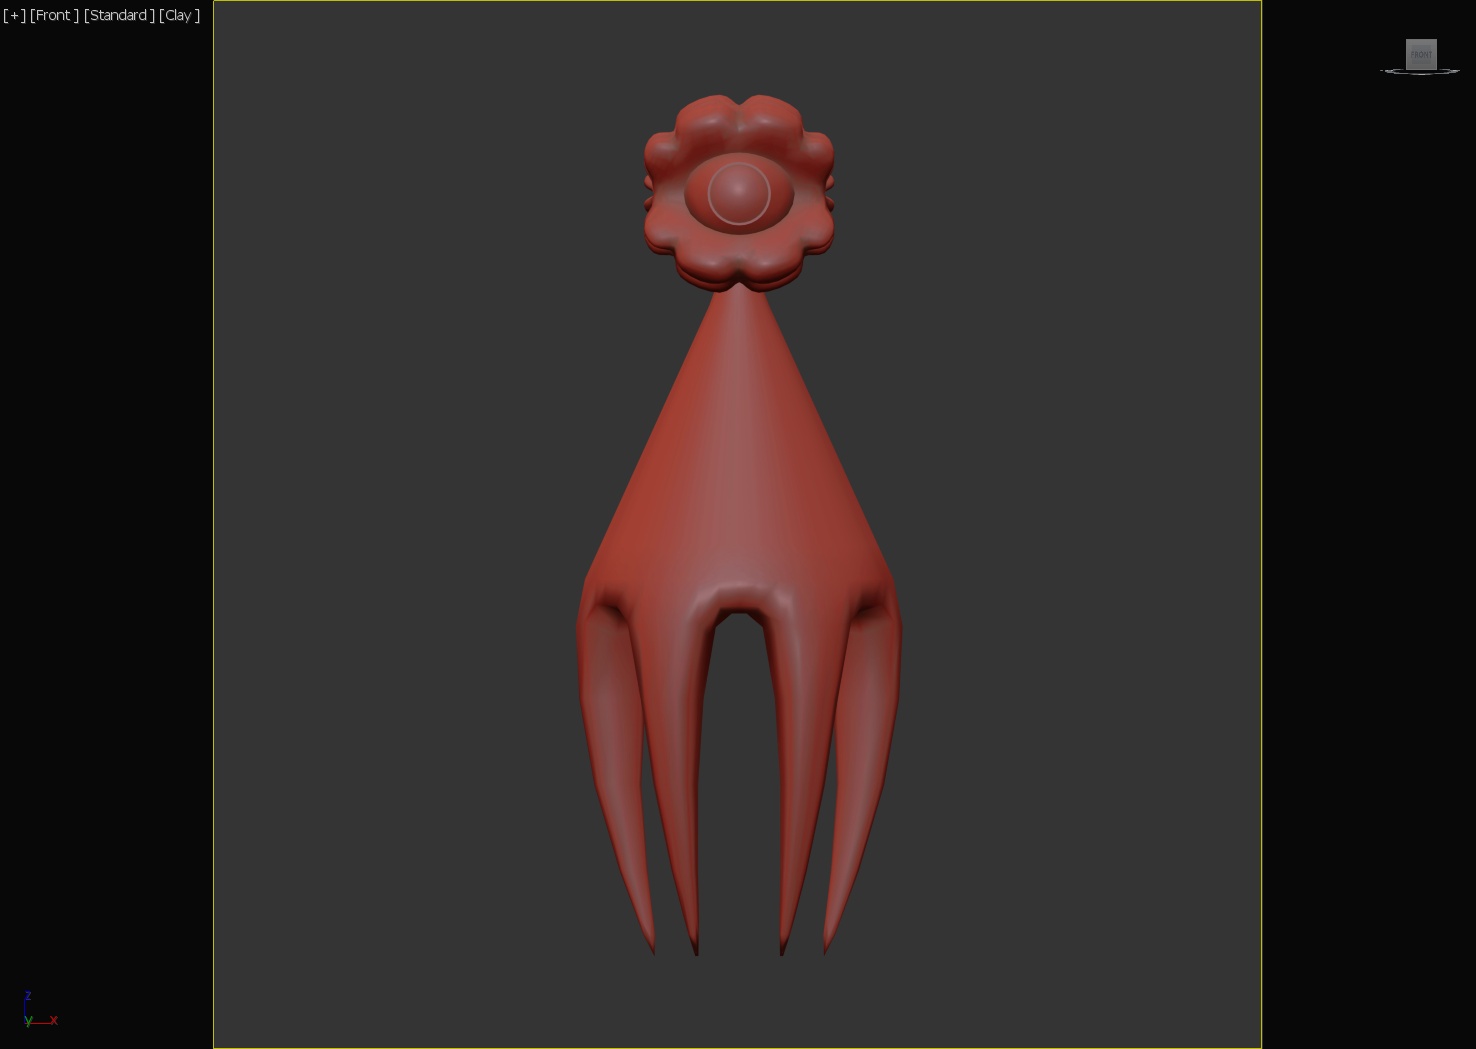
#317: Weird Aquarium
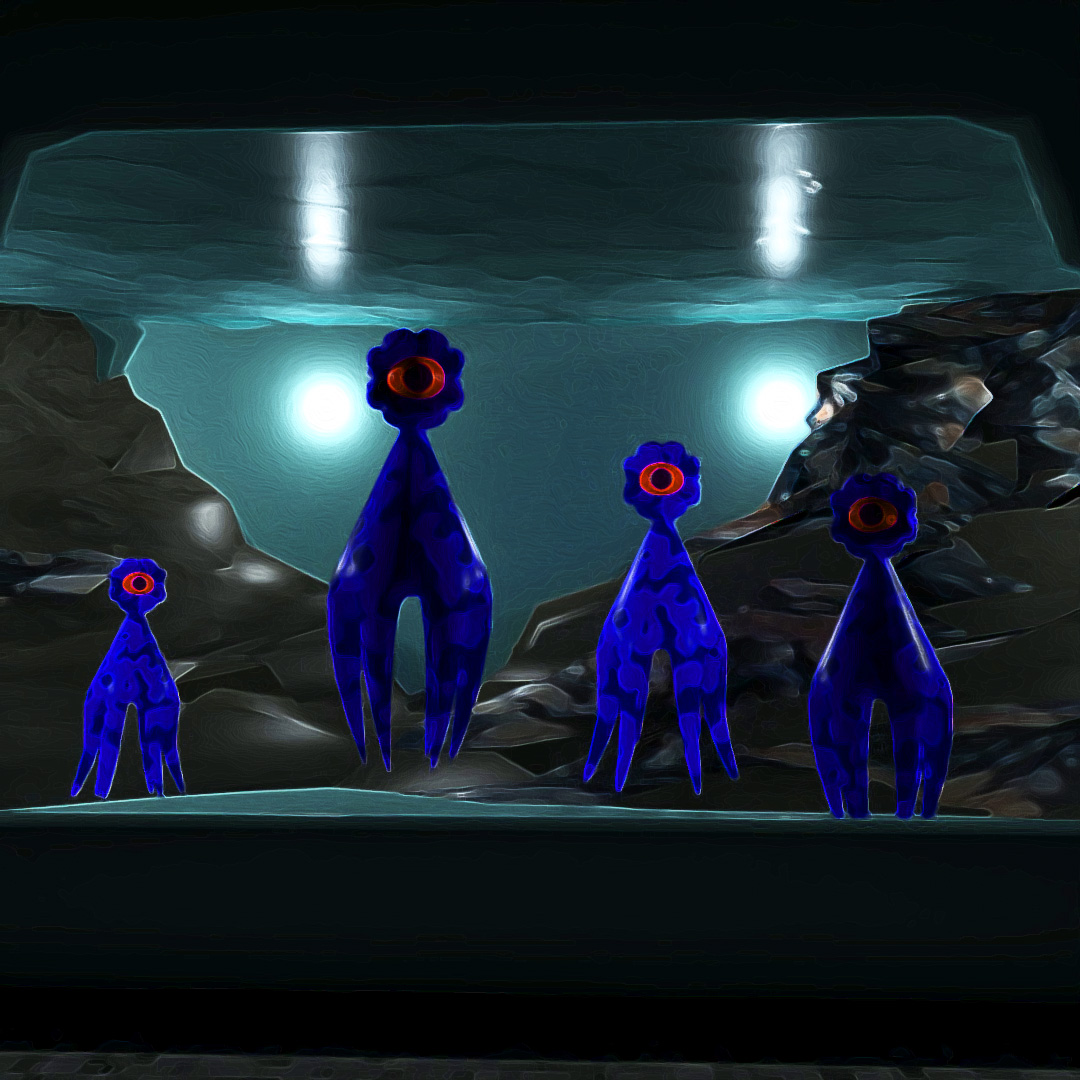
Wanted to make some sort of alien aquarium, housing eye-squids. The squids’ bodies are cones with 6 separate bottom faces extruded, the top extruded and turbosmooth applied. Their eyelids are spheres with “slice” on, all of their outer faces extruded “by polygon” and then turbosmooth applied. The background rocks are large cones with noise modifiers with different seeds. I used polished granite and polished concrete for the materials of the noise cones to give the rocky overlapping look. The top plane has a noise modifier and is a glass material.
#318: Instructional
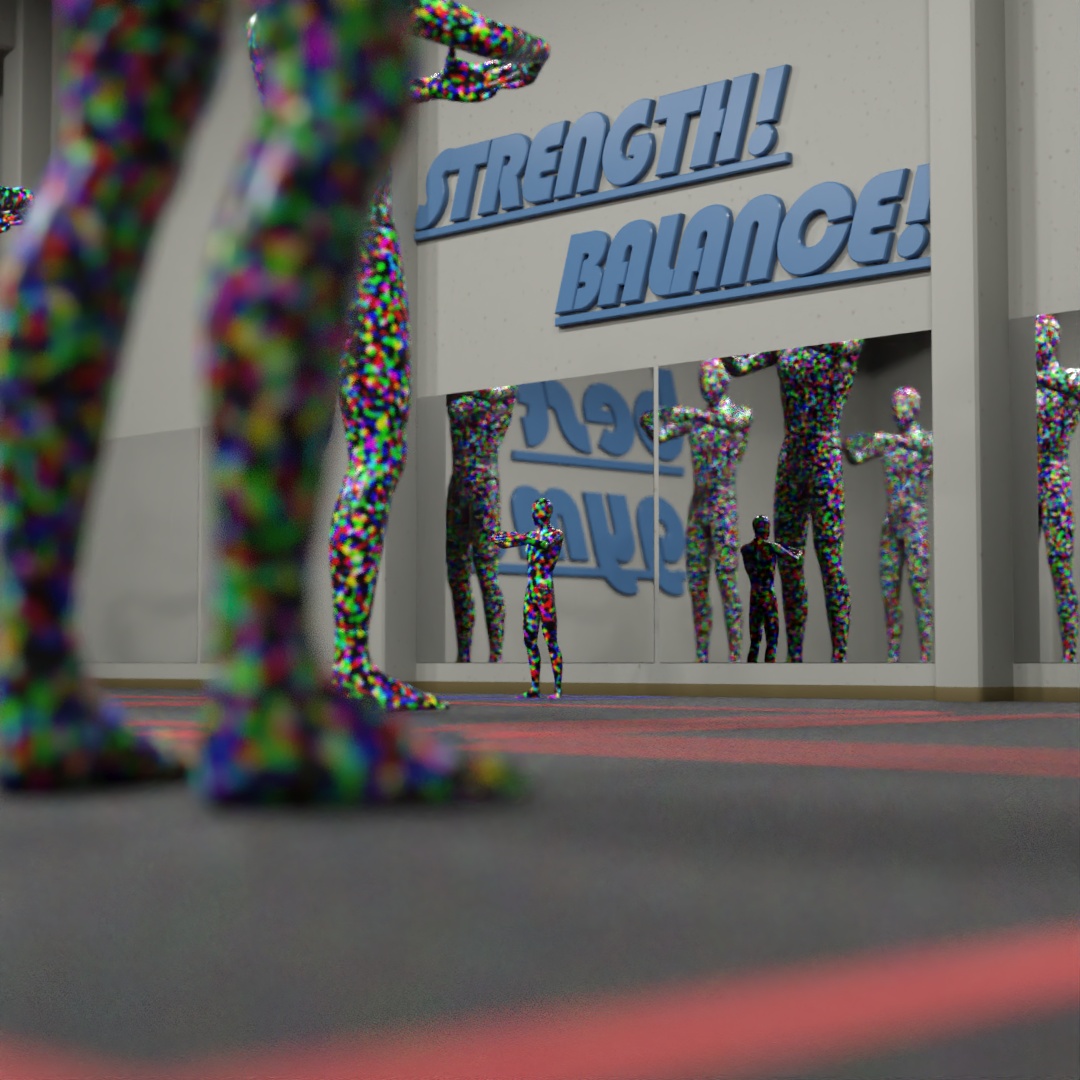
I’m hoping to enter Clinton Jones‘ upcoming 3D Community Challenge, “Moving Meditations”. While watching his livestream, I started working on an environment for my animation. I began trying to make an exercise room, the kind you might take a yoga class in. Very tall mirrors so that everyone can observe themselves and be self conscious about their flaws, big non-specific motivational catchphrases on the wall and painted squares on the ground so you know where you belong. I used the stand-in model included in the contest files, with a colorful plastic material applied. My idea is to have a human-sized instructor at the front of the room and giant robots that are following instruction, so I used the scaled up stand-ins to help make sure the room was large enough.
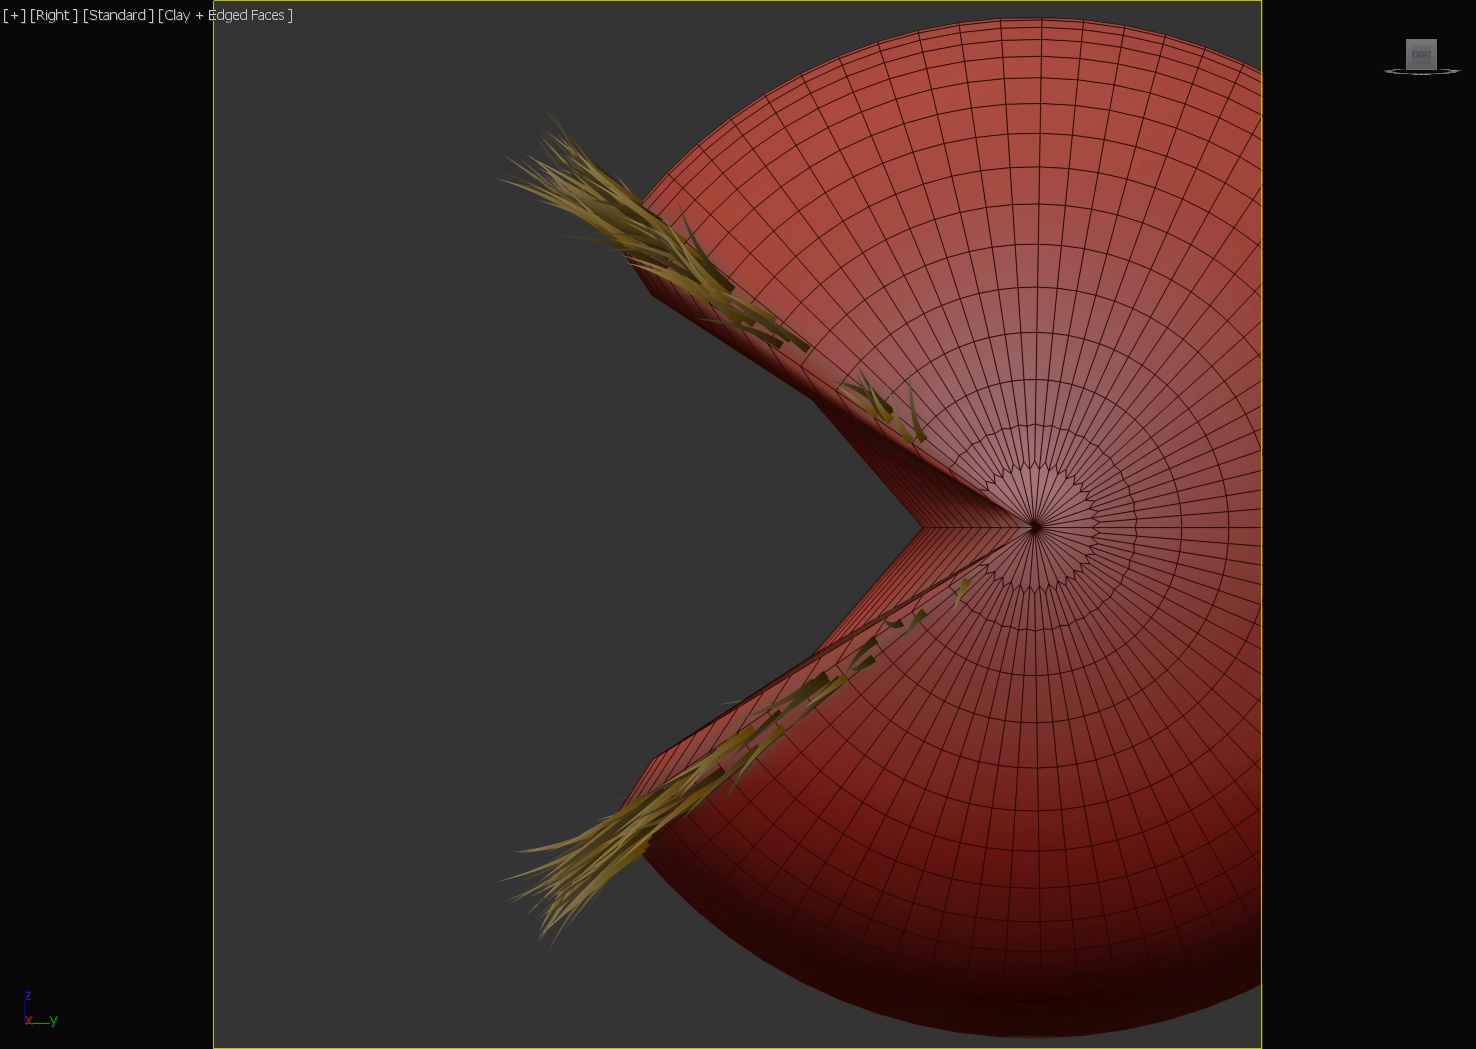
#319: Weirder Dreams
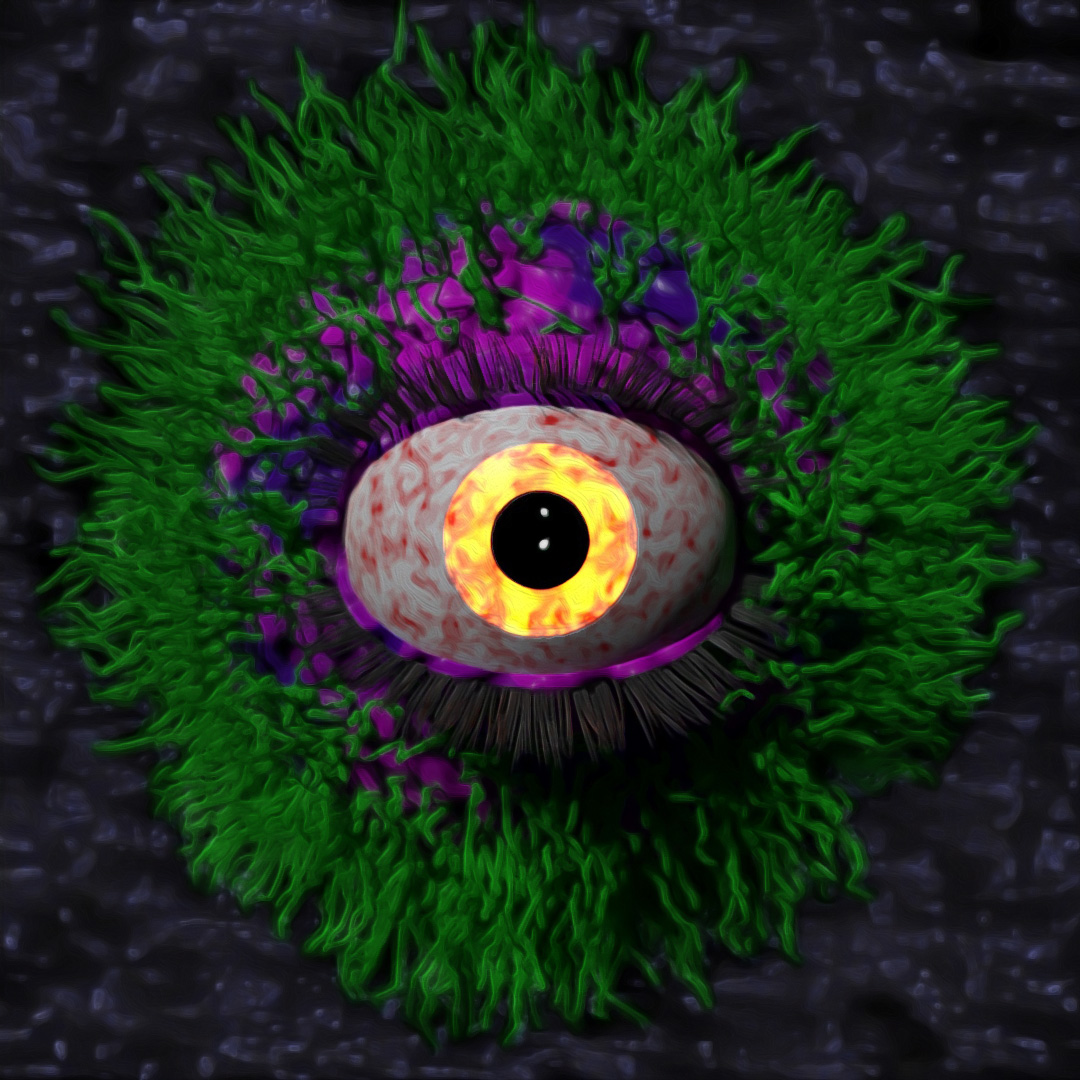
Up until this point, I had been completely intimidated by the “Hair and Fur” modifier. I decided to give it a try though, and it sure is fun! I wanted the hairy eye to look very messy and chaotic so I played with a bunch of the settings, specifically “clumping”, “frizz” and “kink” parameters. I used edit poly to remove some front faces in the large sphere to make sure the hair didn’t grow out from the eyeball. Also, to make the green hair look like it is coming out of the purple skin, the purple skin sphere is slightly larger than the green hairy sphere. To make the eyelashes, I used edit poly to detach a thin strip of faces from the eyelids, and applied a second “Hair and Fur” modifier with short straight hairs.
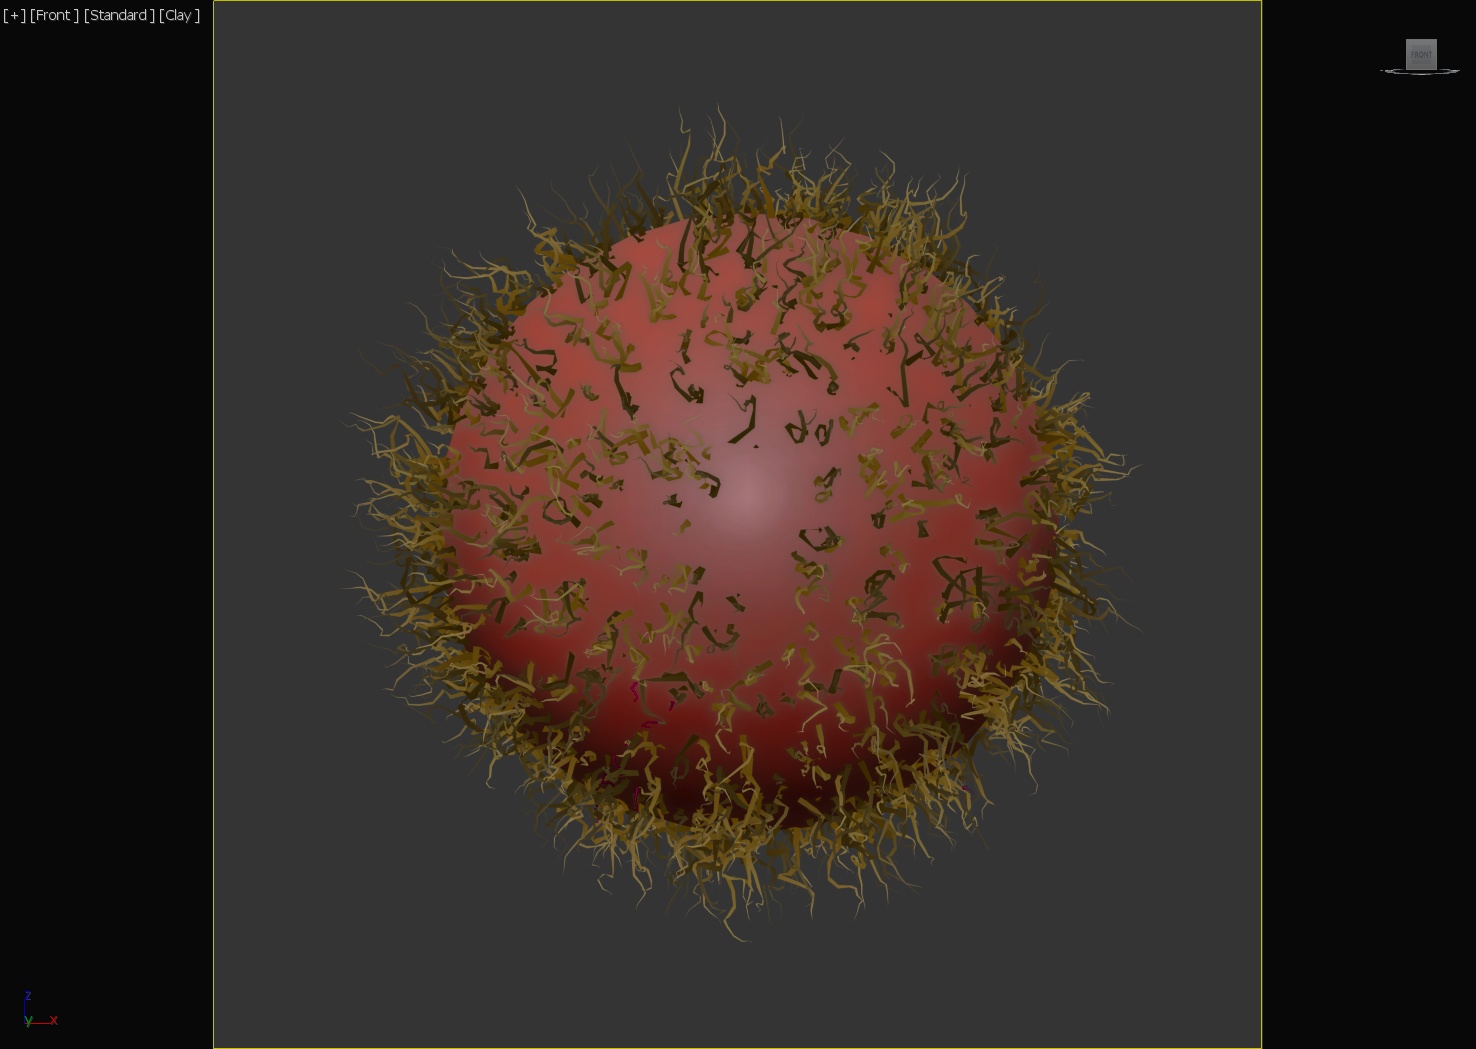
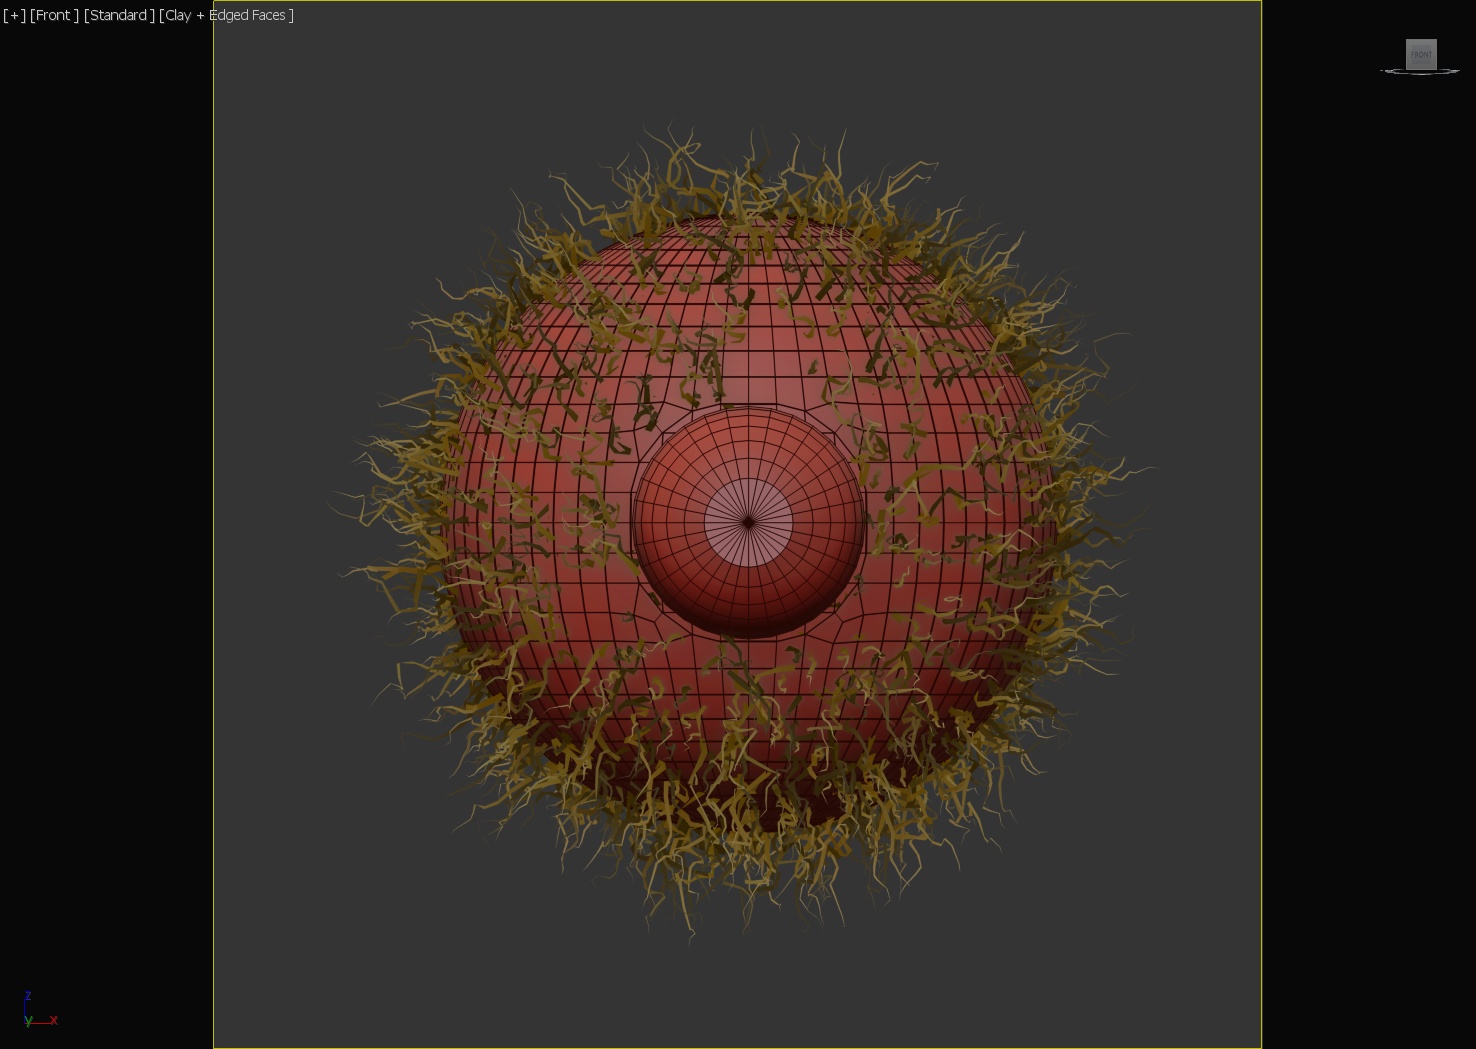
#320: Hairy Balls
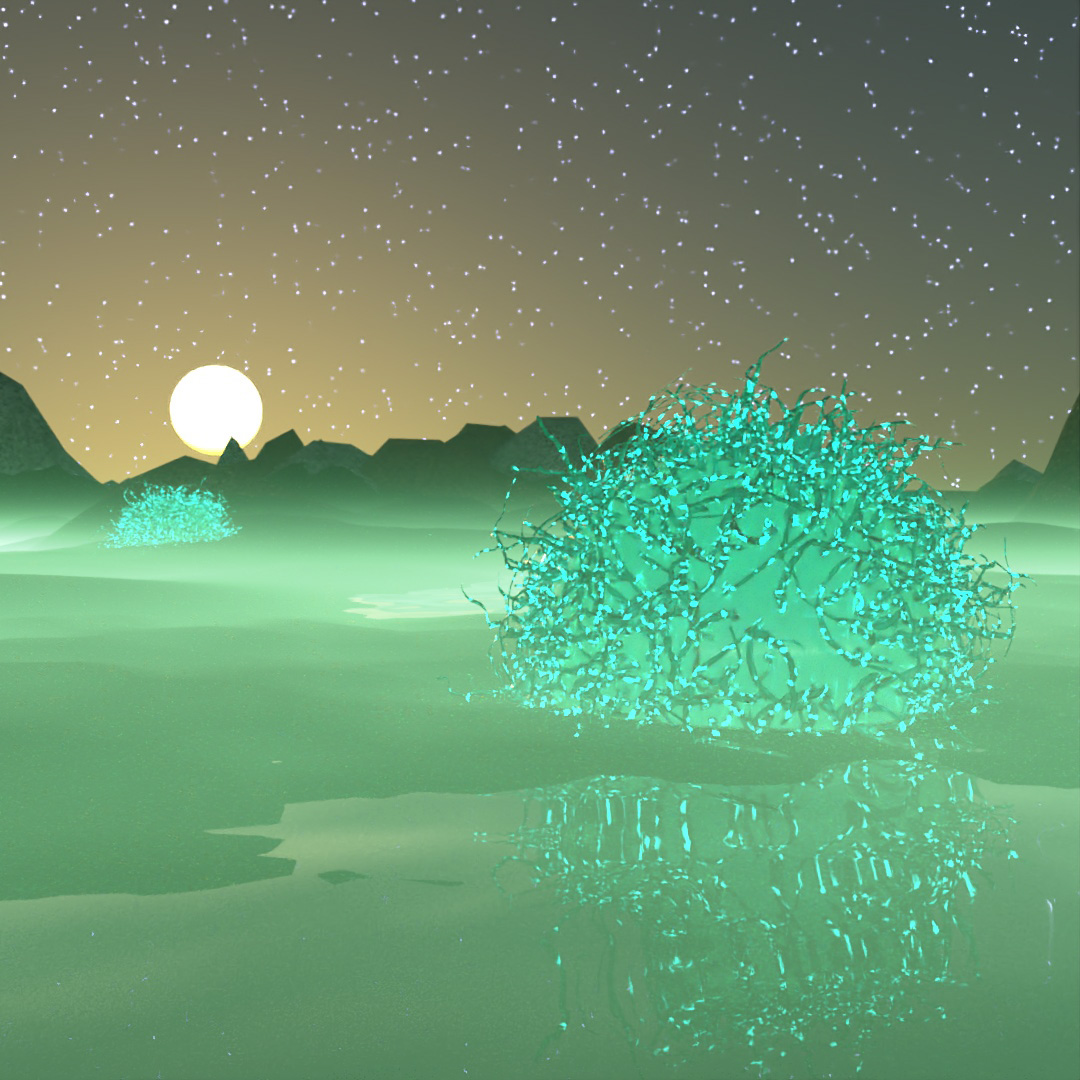
Wanted to play around with hair and fur again. Two big spheres with “Hair and Fur” modifiers applied. Large planes with noise modifiers to make them look rocky. Close reflective plane with noise modifier applied to create a water surface. I also discovered that fog now works with GPU Arnold rendering! I don’t know which update this happened in, but I used to have to use CPU if I wanted fog. So that was a cool surprise.
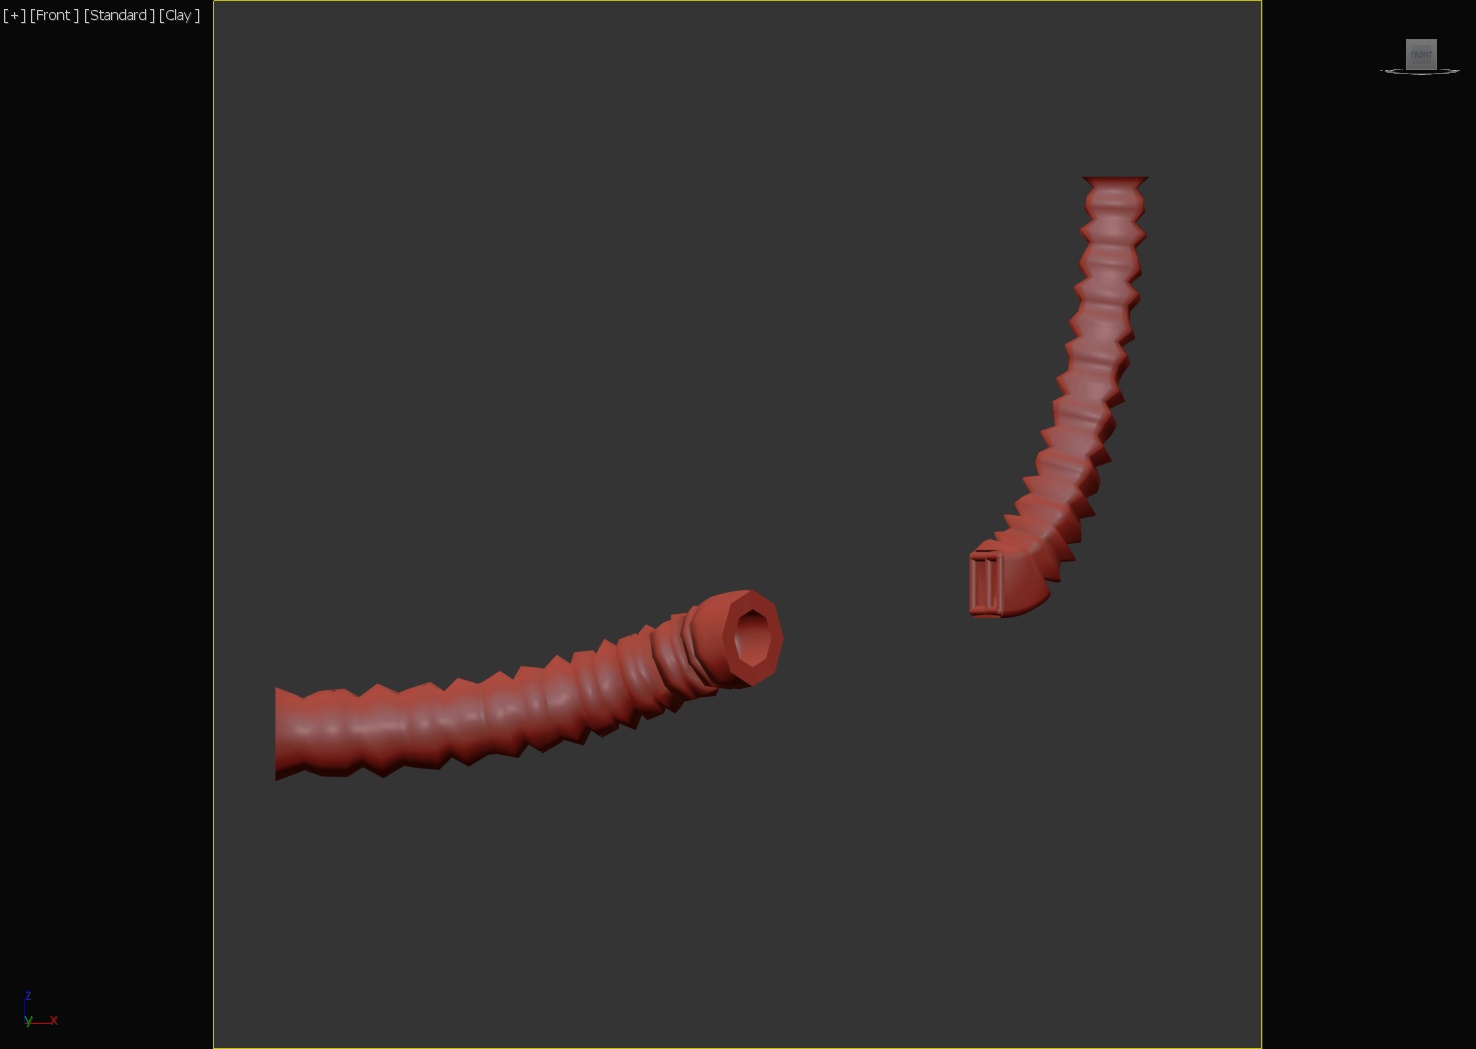
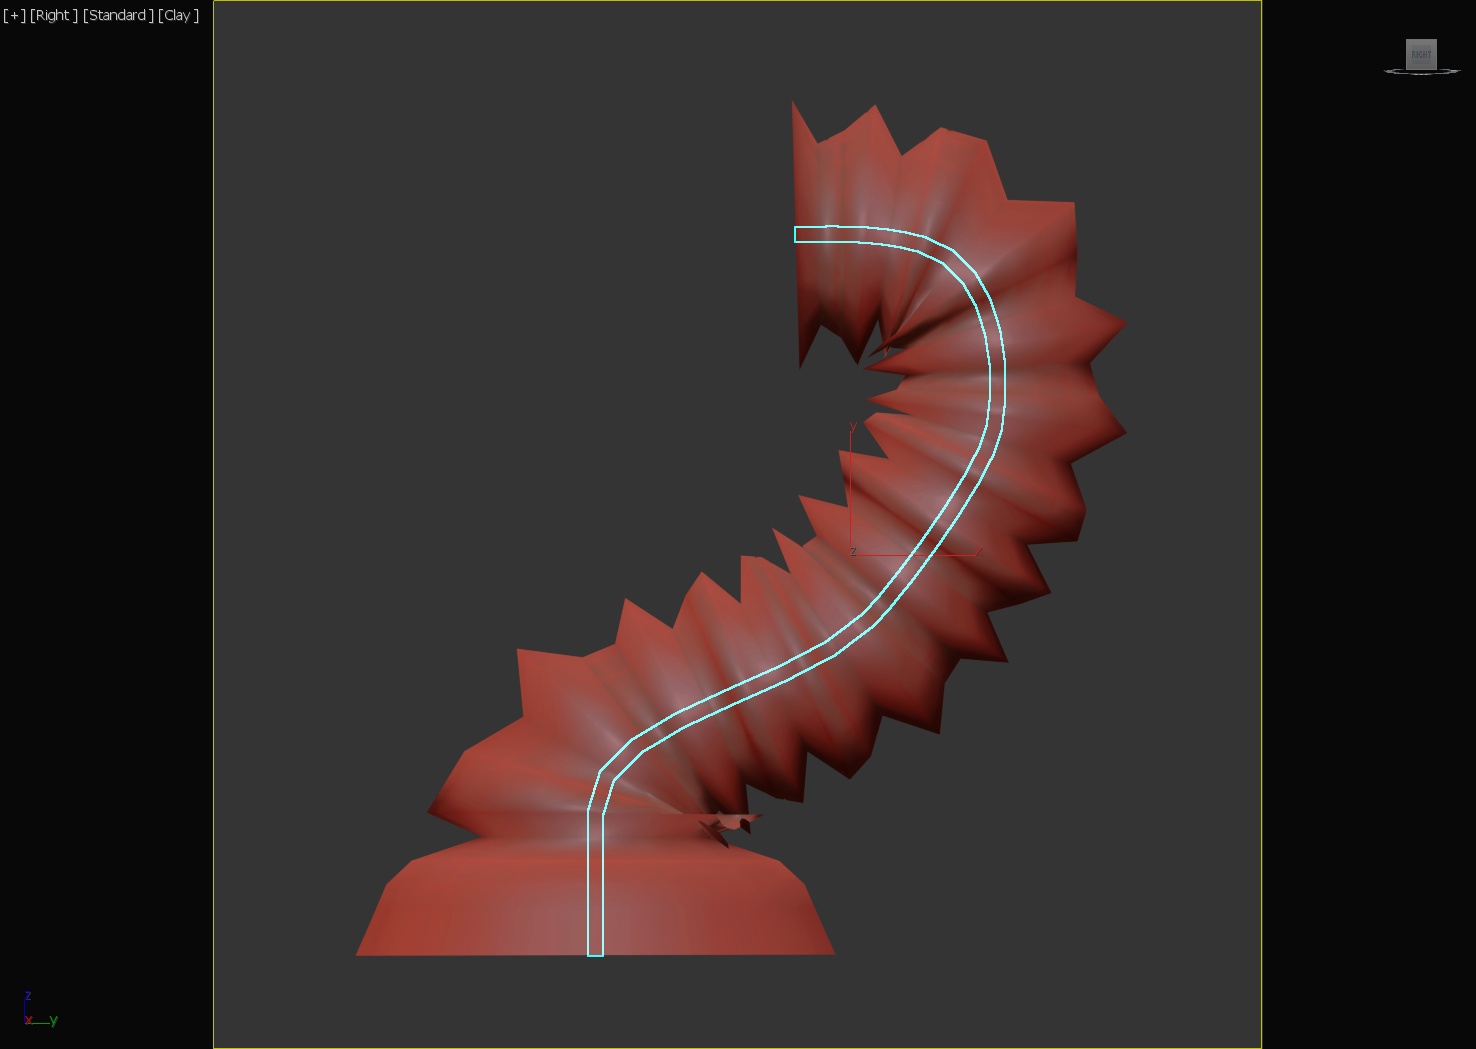
#321: Hoses 1
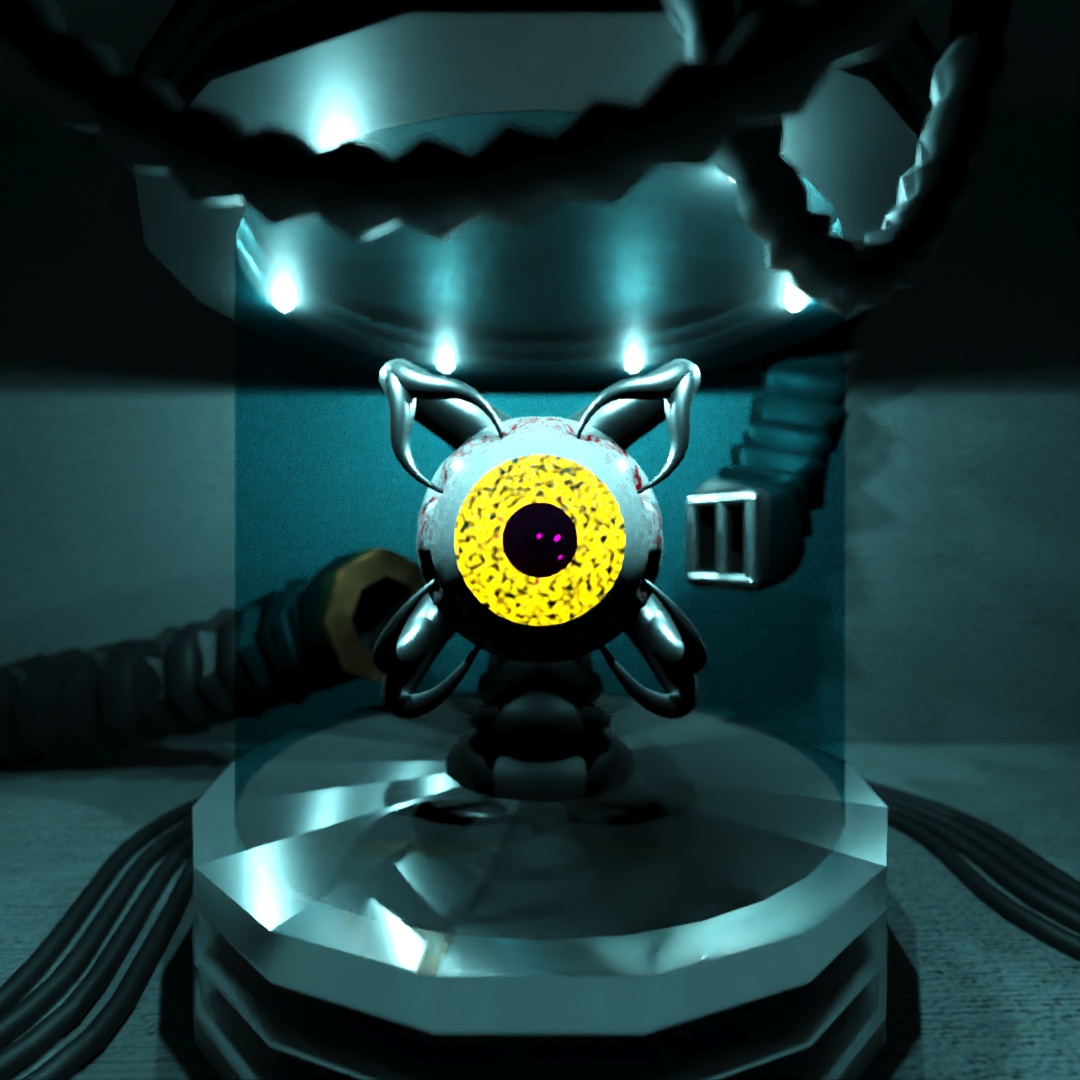
I’m thinking of using hoses to connect the parts of my robots in my contest animation so I wanted to practice different ways to create hoses, cords and tubes and also different ways to use the “hose” shape. In 3DSMax, the hose can be “free” or it can be bound to other objects at its ends. In this image, the bottom and top of the container are very short, wide free hoses with a cylinder between them. Both of the tubes coming out of the back of the container are hoses with their ends bound to faces of the container and the surrounding room. The hose holding up the eye is a free hose with a taper modifier and path-deformed to a spline. The metalic probes inserted into the eye are cones which are path-deformed to splines. The two hoses hanging from the ceiling have their ends bound to dummy faces I have above the camera. The cords on the ground are splines with the “enable in renderer” turned on.


Leave a comment